Raspberry Chocolates
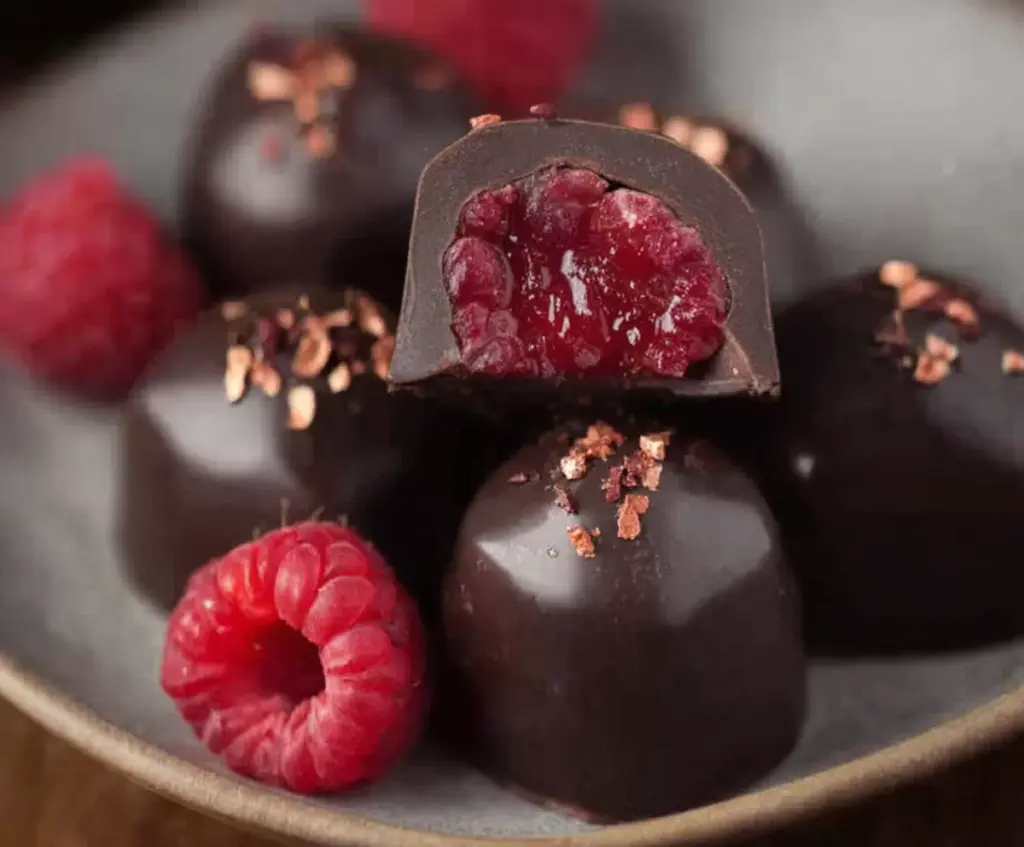
Raspberry Chocolates are a delightful treat that bring together the sweet and tangy flavor of fresh raspberries with the rich, smooth taste of chocolate. Each bite is a little burst…
Tip: save now, cook later.Raspberry Chocolates are a delightful treat that bring together the sweet and tangy flavor of fresh raspberries with the rich, smooth taste of chocolate. Each bite is a little burst of fruity goodness wrapped in creamy chocolate, making these chocolates a perfect sweet snack or a special homemade gift. The combination of juicy raspberries and luscious chocolate is simple but so satisfying.
I love making these Raspberry Chocolates when I want something that feels a bit fancy but is super easy to whip up. One of my favorite things I’ve discovered is that using a bit of dark chocolate balances the tartness of the raspberries beautifully, not too sweet and just right. I usually pop a few in the freezer for a chilled treat, which makes them even more refreshing and fun to eat.
If you’re serving these at a gathering or just enjoying them with a cup of tea, they’re always a hit. I find that people love the surprise of finding the fruity center under the smooth chocolate shell. Raspberry Chocolates remind me of special moments, like holiday afternoons or cozy evenings, making a simple dessert feel like a little celebration.
Key Ingredients & Substitutions
Raspberries: Fresh raspberries are best for a juicy burst inside the chocolate. If fresh aren’t available, try frozen raspberries that are well-drained. Avoid overripe berries to prevent soggy chocolates.
Dark Chocolate: I recommend 70% cocoa dark chocolate for a good balance of bittersweet flavor that pairs well with tart raspberries. If you prefer sweeter chocolates, you can use milk chocolate instead.
Cocoa Nibs or Freeze-Dried Raspberries for Topping: These add a nice crunch and a little extra flavor. If you don’t have these, chopped nuts or even finely grated orange zest work well too.
How Do You Get a Smooth, Shiny Chocolate Shell?
Tempering the chocolate properly is key to shiny, crisp shells that don’t melt too easily. If you don’t temper, your chocolate might look dull or feel soft.
- Melt about two-thirds of your chocolate slowly over low heat or in the microwave, stirring often.
- Add the remaining chocolate off heat to cool it down while stirring (this is called “seeding”).
- Keep stirring until smooth and glossy, then use it quickly to coat molds.
- Working fast and at the right temperature helps the chocolate harden perfectly with a nice snap.
Equipment You’ll Need
- Silicone or plastic chocolate mold – makes shaping the chocolates easy and helps them release smoothly.
- Heatproof bowl – perfect for melting chocolate over simmering water without burning it.
- Small spoon or pastry brush – helps you spread chocolate evenly inside the mold cavities.
- Refrigerator – to chill and set the chocolate layers quickly and firmly.
- Microwave-safe bowl (optional) – if you prefer melting chocolate in the microwave.
Flavor Variations & Add-Ins
- Use white chocolate instead of dark for a sweeter, creamier taste that pairs well with raspberry tartness.
- Add a pinch of cinnamon or chili powder to the melted chocolate for a warm or spicy twist.
- Swap raspberries with fresh strawberries or blueberries for a different berry flavor.
- Mix chopped nuts or shredded coconut into the chocolate coating for texture and extra flavor.
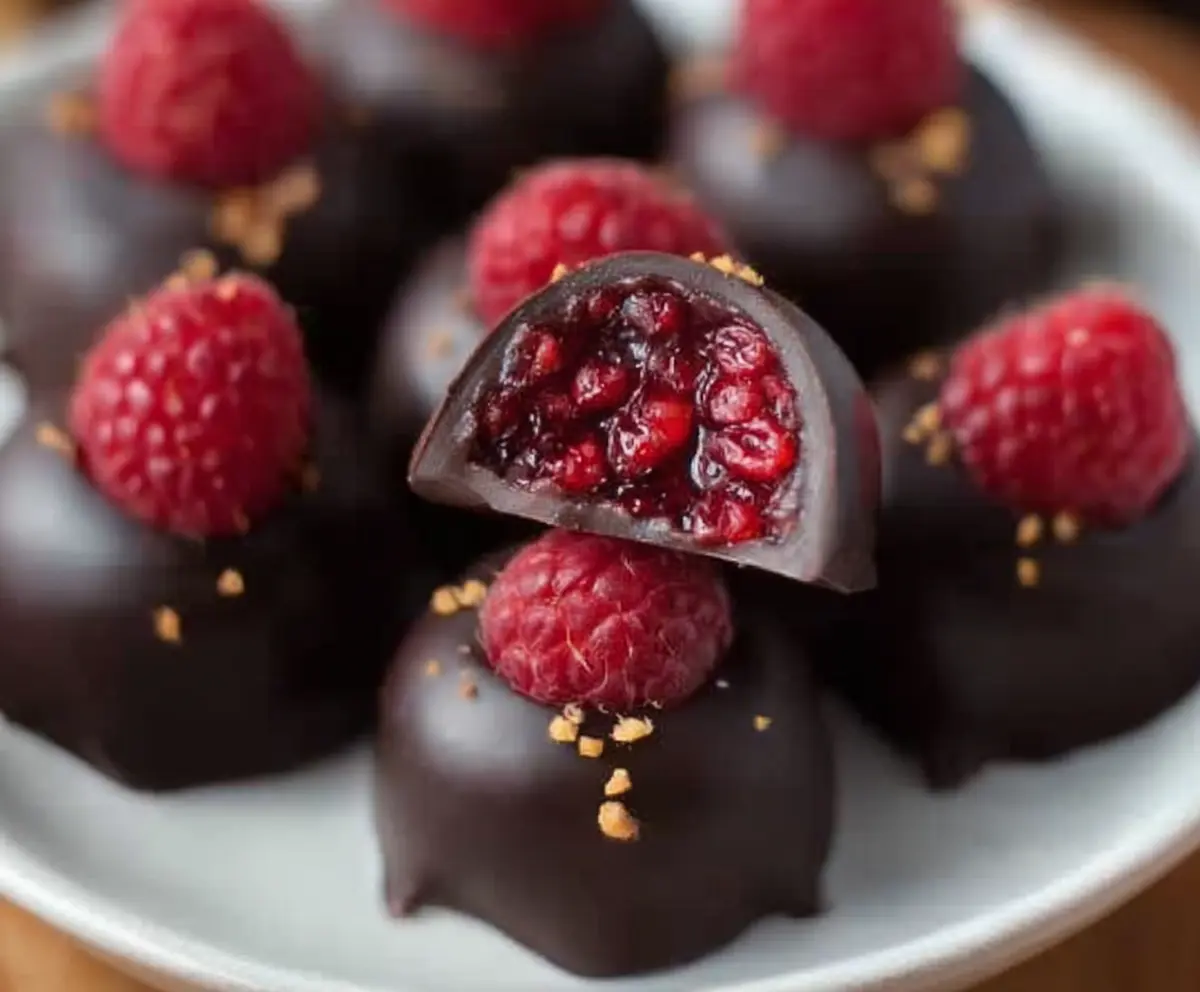
Raspberry Chocolates
Ingredients You’ll Need:
- 12 fresh raspberries
- 200 grams (7 oz) dark chocolate (70% cocoa recommended)
- 1 tbsp cocoa nibs or crushed freeze-dried raspberries for garnish (optional)
How Much Time Will You Need?
Preparing these raspberry chocolates will take about 15 minutes, plus chilling time. You need around 5 minutes to let the first chocolate layer set and about 30 minutes for the chocolates to fully firm up in the refrigerator.
Step-by-Step Instructions:
1. Prepare Your Mold:
Start by choosing a clean, dry silicone or plastic mold with small cavities for chocolates. This will shape your chocolates perfectly and help you remove them easily later.
2. Melt the Chocolate:
Gently melt the dark chocolate using a double boiler: place a heatproof bowl over simmering water, stirring often until smooth. Alternatively, melt the chocolate in short bursts in the microwave, stirring between each burst to avoid burning.
3. Coat the Mold:
Pour a thin layer of melted chocolate into each mold cavity. Use a spoon or brush to cover the bottom and sides evenly. Tilt the mold if you need to cover the sides completely. Chill in the fridge for around 5 minutes until this first chocolate layer hardens.
4. Add the Raspberries:
Place one fresh raspberry in the center of each chocolate-lined cavity, gently pressing it to make sure it’s surrounded by chocolate.
5. Cover and Finish:
Pour more melted chocolate over the raspberries to fill the mold cavities completely. Tap the mold lightly on your work surface to remove air bubbles and smooth the surface. If you like, sprinkle cocoa nibs or crushed freeze-dried raspberries on top for a pretty finish.
6. Chill and Serve:
Put the mold back into the fridge for at least 30 minutes, or until the chocolates are fully firm. Then carefully pop them out by pressing from the bottom. Serve chilled or at room temperature and enjoy!
Can I Use Frozen Raspberries Instead of Fresh?
Yes, you can use frozen raspberries, but be sure to thaw them completely and pat them dry to prevent excess moisture, which can affect the chocolate’s texture and cause it to melt unevenly.
How Should I Store Raspberry Chocolates?
Store the chocolates in an airtight container in the refrigerator to keep them firm and fresh. They usually stay good for up to a week. Let them sit at room temperature for a few minutes before enjoying for the best flavor.
Can I Substitute Milk or White Chocolate?
Absolutely! Milk or white chocolate can be used if you prefer a sweeter, creamier taste. Just keep in mind they have different melting points, so adjust your chilling time accordingly.
Is It Necessary to Temper the Chocolate?
Tempering helps the chocolate set with a smooth, shiny finish and a crisp snap. If you don’t temper, the chocolates will still taste great but might have a duller appearance and softer texture.