
Red, White, and Blue Marshmallow Bars
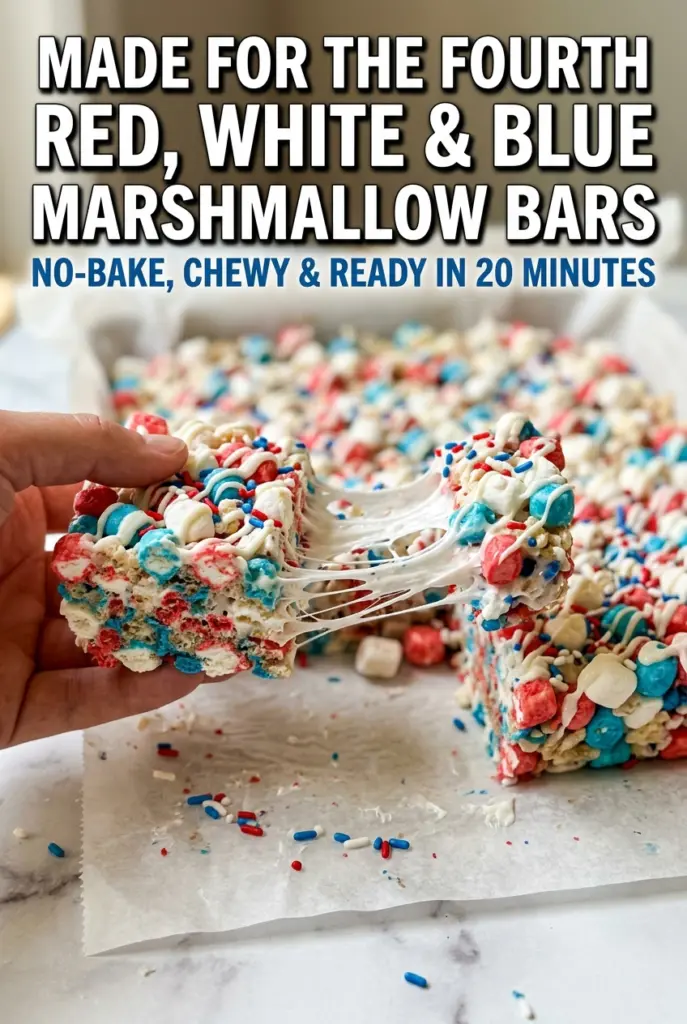
These red, white, and blue marshmallow bars come out soft, chewy, and just sturdy enough to slice cleanly after they cool. The base tastes like a classic crispy treat, but…
Tip: save now, cook later.These red, white, and blue marshmallow bars come out soft, chewy, and just sturdy enough to slice cleanly after they cool. The base tastes like a classic crispy treat, but the extra mini marshmallows folded in at the end give every bite a burst of color and a little pocket of gooey sweetness. They disappear fast because they’re familiar enough for kids, but festive enough that adults grab a second square without thinking twice.
The trick is keeping the marshmallow mixture gentle. White marshmallows melt into a smooth binder, while the red, white, and blue minis go in at the end so they hold their shape and stay bright instead of dissolving into a muddy swirl. A little vanilla rounds out the sweetness, and just a pinch of salt keeps the whole pan from tasting flat. Press the mixture lightly into the pan and you get bars that stay chewy instead of turning hard and dense.
Below you’ll find the small details that matter most: how to keep the cereal from getting crushed, why the colorful marshmallows should be folded in off the heat, and a few variations if you want to change up the finish.
The marshmallows stayed soft and the colors looked so good after they set. I loved that the bars held together without getting hard, and the white chocolate drizzle made them feel extra special for our cookout.
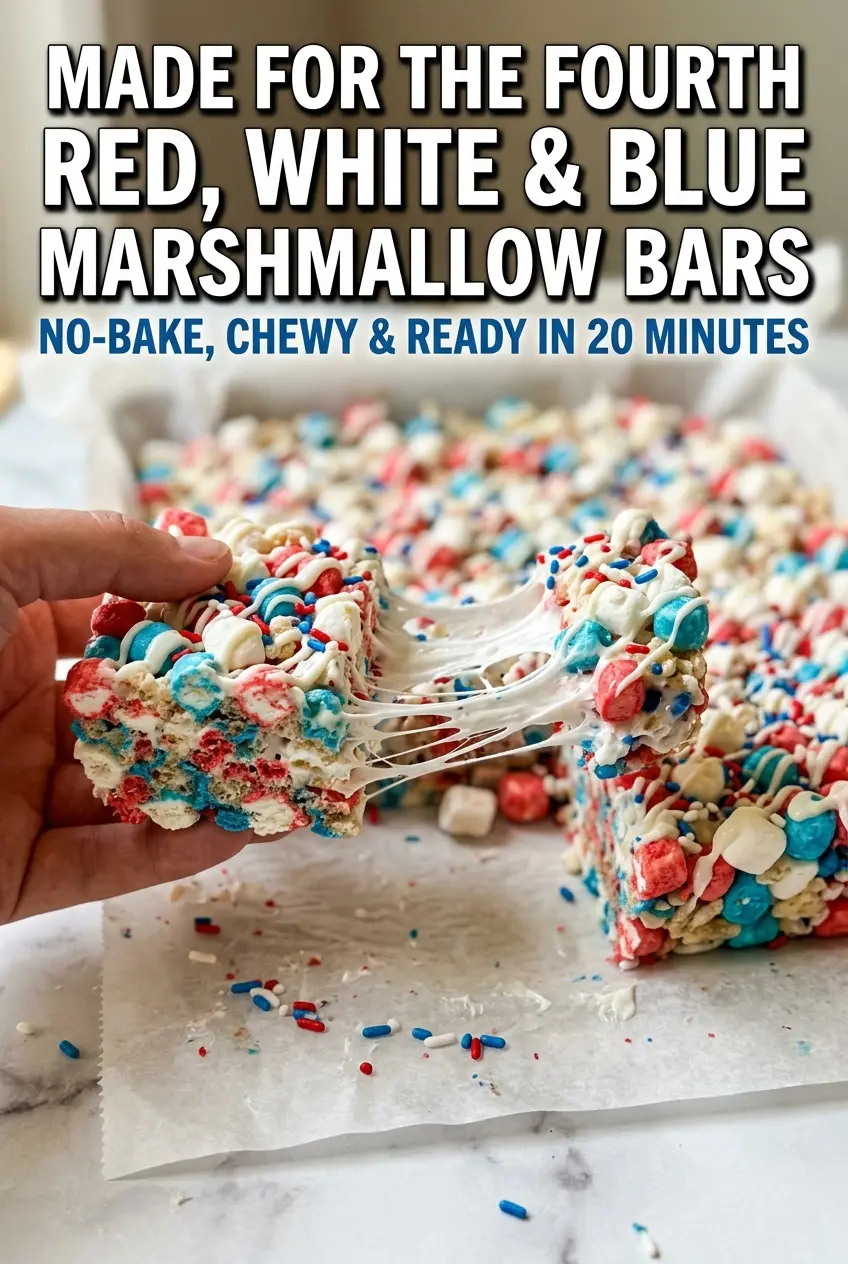
These red, white, and blue marshmallow bars are the kind of Fourth of July treat that vanishes as soon as you cut the pan.
The Reason These Bars Stay Chewy Instead of Hard
Most crispy treats go wrong in two places: the marshmallow base gets overheated, or the mixture gets packed into the pan too firmly. Heat the marshmallows just until they melt smooth. If they start bubbling hard or looking dry around the edges, they’ve gone too far and the finished bars will set up stiff instead of tender.
The other mistake is pressing down like you’re building a brick. These bars need a light hand. A gentle press gives you an even layer without crushing the cereal, which keeps the texture crisp and chewy instead of compact and tough. That loose, airy texture is what makes the colorful marshmallows stand out when you bite into them.
- Use medium-low heat so the butter and marshmallows melt without scorching.
- Fold the cereal in quickly while the base is still warm enough to coat every piece.
- Add the red, white, and blue marshmallows off the heat so they soften just enough to hold their shape.
- Cool the pan fully before slicing, or the bars will slump and tear.
What Each Ingredient Is Actually Doing in This Pan
- Unsalted butter — This is the flavor base and the fat that keeps the marshmallow mixture soft. Salted butter works in a pinch, but unsalted gives you better control since the recipe already includes salt.
- White mini marshmallows — These melt into the smooth binder that holds the bars together. Fresh marshmallows melt more cleanly than older bags that have dried out, so use a new bag if yours has been sitting open for a while.
- Rice Krispies cereal — This gives the bars their light crunch and structure. Generic crisp rice cereal works fine if that’s what you have.
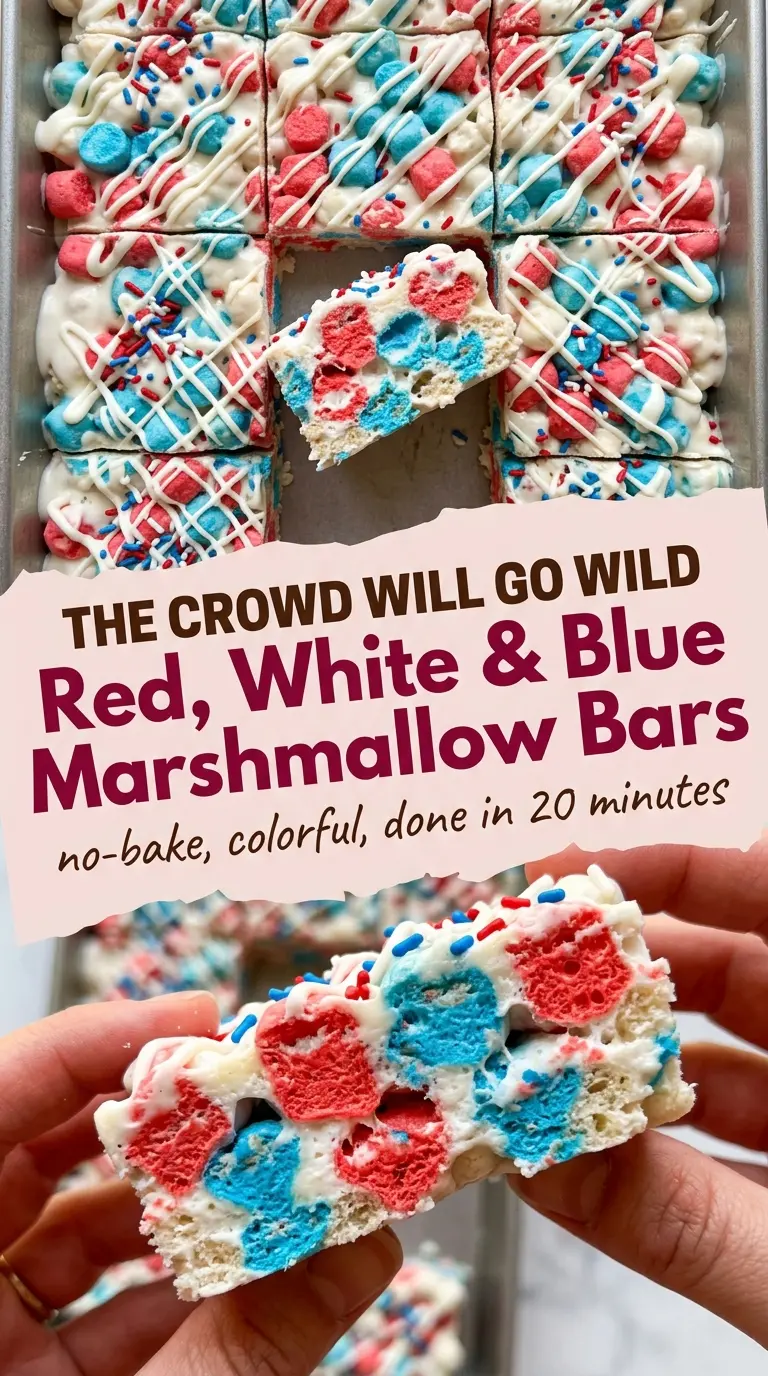
- Red, white, and blue mini marshmallows — These are the visual payoff. Stir them in at the end so they don’t completely melt; if you add them too early, the colors bleed and you lose the confetti look.
- Vanilla extract — It softens the sweetness and makes the bars taste more like a finished dessert than a simple marshmallow square.
- Salt — Just a small pinch keeps the whole pan from tasting one-note. It matters more here than people think.
- White chocolate chips — Optional, but the drizzle adds a creamy finish and helps the bars look extra polished for a party tray.
- Sprinkles — Best used right after the bars go into the pan while the top is still tacky. Wait too long and they’ll bounce right off.
How to Build the Pan So the Colors Stay Bright
Melting the Base
Start with the butter over medium-low heat and let it melt completely before the marshmallows go in. Once the white marshmallows are added, stir constantly until the mixture turns glossy and smooth. If the heat is too high, the sugar can overcook and the bars will set up dense with a slightly stale edge.
Coating the Cereal
Remove the pan from the heat before the vanilla and salt go in, then fold in the Rice Krispies while the mixture is still warm and loose. Work fast enough to coat every piece, but don’t stir so aggressively that you crush the cereal. If the base starts to firm before everything is coated, it means you waited too long and the bars will have dry pockets.
Keeping the Colored Marshmallows Distinct
Add the red, white, and blue mini marshmallows after the cereal is mixed in. Use a gentle folding motion just until they’re distributed. That keeps them puffed and visible in the finished bars instead of disappearing into the melted base.
Pressing and Setting
Spoon the mixture into the prepared pan and press it down lightly with buttered hands or parchment. The goal is an even layer, not a compressed one. Let the pan cool at room temperature for at least 30 minutes before slicing so the bars hold together without smearing.
Extra Crunch With a Kettle-Style Finish
Add an extra cup of cereal and press the bars a little more lightly if you want a firmer, crunchier square that slices cleanly for a dessert tray. The bars won’t be as soft, but they’ll hold up better in warm weather.
Dairy-Free Version
Swap the butter for a plant-based buttery stick and use dairy-free marshmallows if that’s what you keep on hand. The texture stays close to the original, though the flavor is a little less rich and a touch sweeter.
Make It for a Bigger Crowd
Double the recipe and use a larger sheet pan if you’re serving a party. Keep the marshmallow mixture moving once it comes off the stove because it sets fast, and work in two quick additions of cereal if the bowl starts getting crowded.
Storage and Reheating
- Refrigerator: Up to 5 days, but the bars will firm up and lose a little of their soft chew.
- Freezer: They freeze well for up to 2 months if wrapped tightly and stored in an airtight container. Thaw at room temperature so the marshmallow texture stays soft.
- Reheating: These don’t need reheating. If they’ve gotten a little firm, leave them at room temperature for 15 to 20 minutes before serving. Microwaving makes them sticky and can turn the marshmallows rubbery.
Answers to the Questions Worth Asking
Red, White, and Blue Marshmallow Bars
Ingredients
Equipment
Method
- Grease a 9×13-inch baking pan generously with butter or non-stick spray and set aside.
- In a large saucepan over medium-low heat, melt the butter until fully liquid and just starting to foam.
- Add the bag of white mini marshmallows and stir constantly until fully melted and smooth, about 3–4 minutes.
- Remove from heat immediately, then stir in the vanilla extract and salt.
- Working quickly, fold in the Rice Krispies cereal using a rubber spatula until every piece is evenly coated in the marshmallow mixture.
- Add the red, white, and blue mini marshmallows and fold gently so their colors stay distinct and vibrant.
- Transfer the mixture into the prepared pan and press gently into an even layer without pressing too hard.
- If using, scatter sprinkles over the top immediately while the surface is still tacky, then drizzle with melted white chocolate.
- Let the bars cool at room temperature for at least 30 minutes before cutting into squares or rectangles.
- Slice and serve.
- Store covered at room temperature for up to 3 days.