Beef Chile Colorado
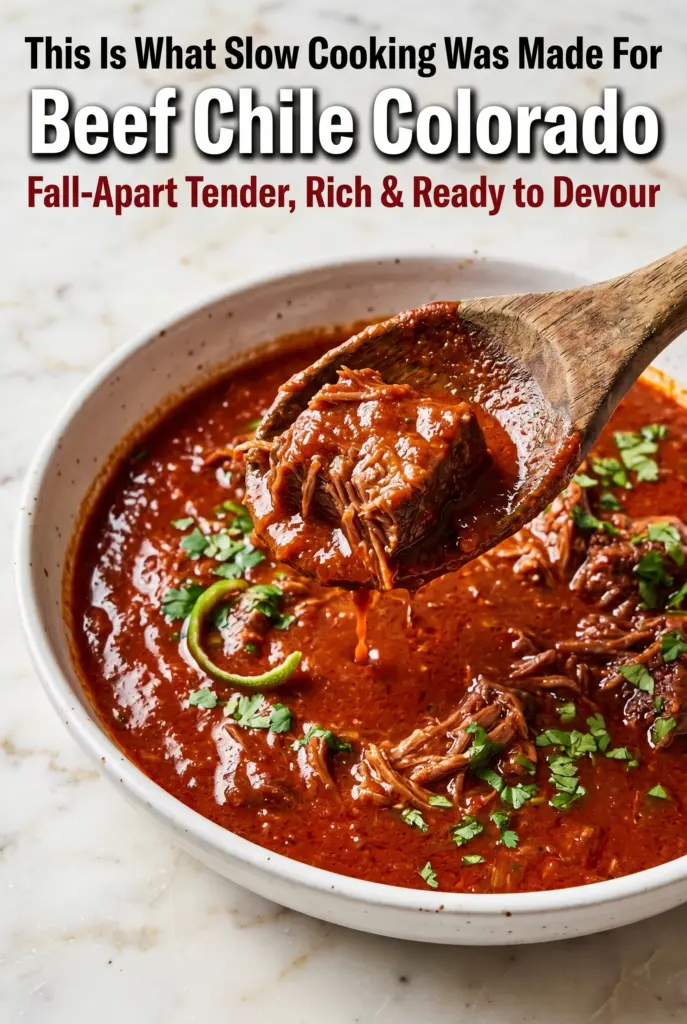
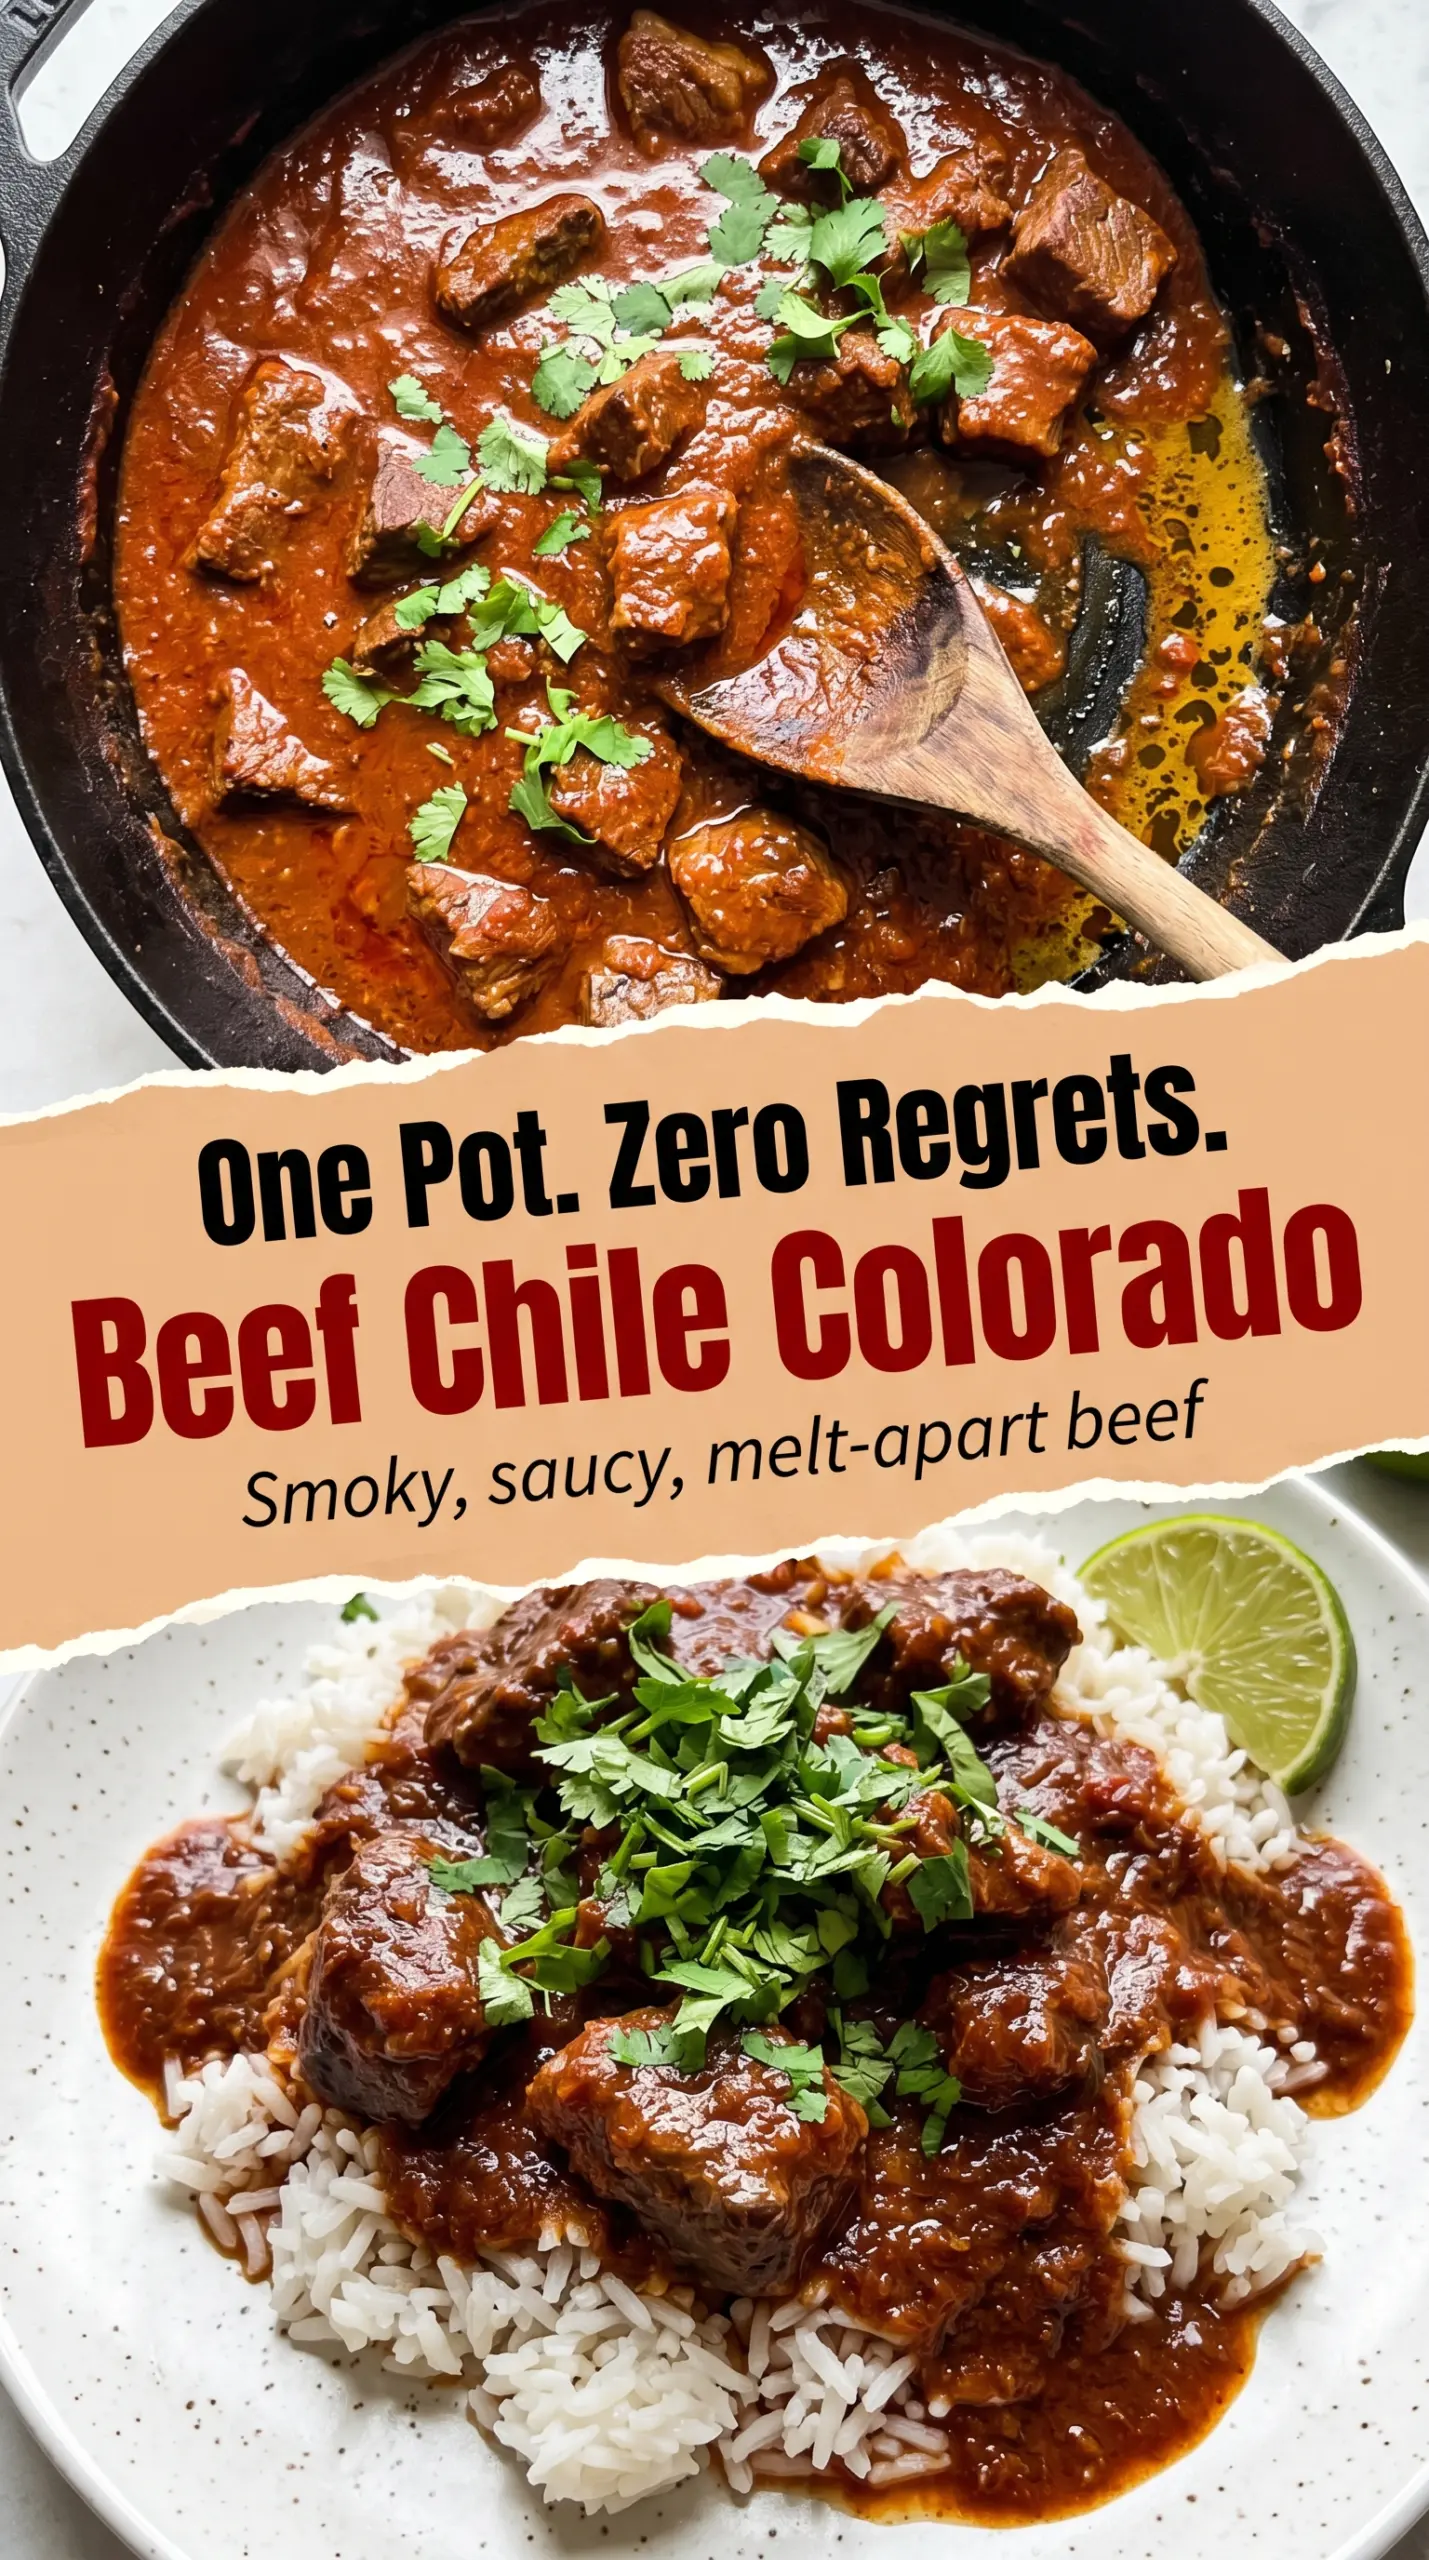
Beef Chile Colorado turns a tough cut into spoon-tender comfort with a sauce that tastes deep, roasted, and layered instead of flat or one-note. The beef holds onto that brick-red…
Tip: save now, cook later.Beef Chile Colorado turns a tough cut into spoon-tender comfort with a sauce that tastes deep, roasted, and layered instead of flat or one-note. The beef holds onto that brick-red chile gravy all the way through the braise, so every bite lands with enough heat, smoke, and savory richness to stand on its own over rice or tucked into a tortilla.
What makes this version work is the way the dried chiles get treated before they ever hit the pot. Toasting them wakes up their oils, soaking them softens their edge, and straining the sauce gives you that velvety texture instead of a gritty one. Browning the beef in batches matters too, because those dark bits left in the pan become part of the sauce instead of getting lost.
Below, I’ll walk through the parts that matter most: how to keep the chile sauce smooth, how to braise the beef until it shreds with a fork, and a few useful ways to serve, store, and adapt the dish without flattening the flavor.
The chile sauce turned out silky and the beef was fall-apart tender after about 2 hours and 15 minutes. I served it with tortillas and the whole pot disappeared fast.
Love this beef chile colorado? Save it to Pinterest for the nights when you want tender braised beef and a smooth chile sauce without fuss.
The Reason the Chile Sauce Stays Smooth Instead of Grainy
The biggest mistake in chile colorado is rushing the sauce. If the chiles go straight from dry skillet to blender without soaking long enough, you end up with a sauce that tastes sharp and looks dusty instead of plush. If you skip the straining step, tiny skins and chile fibers stay behind and give you a gritty finish that never fully cooks out.
Toast the chiles just until fragrant. They should darken slightly and smell smoky, not bitter. Then let them soak until they bend easily and blend into a paste with no visible pieces. That soaking liquid carries a lot of the flavor, so it goes back into the blender instead of getting poured off.
The other thing that matters is heat. Once the sauce goes into the pot, let it simmer gently. Hard boiling can separate the fat and make the sauce look oily before the beef is tender.
What Each Ingredient Is Actually Doing in This Dish
- Dried guajillo chiles — These bring the bright red color and a clean, moderate heat. They’re the backbone of the sauce, so don’t swap them for chili powder if you want the same depth. If you can’t find guajillos, use more ancho plus a small pinch of cayenne for heat, but the sauce will be darker and less lively.
- Dried ancho chiles — Anchos add sweetness, raisin-like depth, and that soft earthy note that makes the sauce taste rounded instead of sharp. They’re worth using in their dried form; canned or powdered substitutes won’t give the same layered flavor. If you’re short, add one more pasilla and a teaspoon of unsweetened cocoa for a little of that dark warmth.
- Dried pasilla chiles — Pasillas deepen the sauce and give it a mild smoky edge. They’re not just filler; they help the color and make the chile blend taste more complete. If you can’t find them, use another ancho, but the finished sauce will be a little less complex.
- Beef chuck — Chuck has enough fat and connective tissue to turn silky during a long braise. Lean stew meat won’t give you the same tender, spoonable result. Cut it into even chunks so it cooks at the same pace and breaks down evenly.
- Tomato paste — This isn’t here to make the dish taste like tomato sauce. It adds a little body and a deeper savory note once it cooks with the onions and garlic. Let it darken for a minute or two so it loses that raw metallic edge.
- Beef broth — Use a broth you’d actually drink on its own. Since there isn’t much else in the pot, a weak broth makes a weak sauce. If yours is salty, hold back a little on the added salt until the end.
Building the Braise So the Beef Stays Tender
Toast and Soak the Chiles
Lay the chiles in a dry skillet and move them around just until they become fragrant, about 30 to 45 seconds per side. If they smell sharp or bitter, they went too far and the whole sauce will taste burned. Once they’ve toasted, soak them in hot broth until fully soft and flexible. Dry spots left in the chiles show up later as flecks in the sauce and make blending harder than it needs to be.
Blend and Strain the Sauce
Blend the softened chiles with the soaking liquid, garlic, cumin, oregano, paprika, salt, and pepper until the mixture looks glossy and uniform. Stop and scrape the blender once if needed; a smooth puree here saves you trouble later. Then press the sauce through a fine mesh strainer. This is the step that turns the sauce from homemade into velvety.
Brown the Beef in Batches
Pat the beef dry before it hits the pan. Wet beef steams, and steamed beef doesn’t brown. Work in batches so the pieces have room to sear, then leave them alone until a crust forms and they release from the pot on their own. If the pan gets crowded, the liquid in the meat cools everything down and you lose that deep browned flavor.
Let the Low Simmer Do the Work
Once the chile sauce and broth go into the Dutch oven, bring the pot just to a gentle simmer and then lower the heat. You want lazy bubbles, not a rolling boil. Stir now and then so nothing sticks on the bottom, and cook until the beef gives way easily with a fork and the sauce clings in a glossy coat. If the sauce gets too thick before the beef is done, add a splash of broth instead of cranking the heat.
Three Ways to Make This Beef Chile Colorado Work for Your Table
For Burritos and Tacos
Let the sauce reduce a little more before serving so it clings tightly to the beef and doesn’t flood the tortilla. A thicker finish works better for hand-held meals and keeps the filling from sliding out. Spoon in a little extra onion if you want more bite against the rich braise.
Gluten-Free Serving Ideas
Serve it over rice, mashed potatoes, or corn tortillas instead of flour tortillas. The chile colorado itself is naturally gluten-free as long as your broth is, so this is an easy one to adapt without changing the flavor. Watch packaged broth labels, since that’s the place hidden gluten usually sneaks in.
Dairy-Free Version
Skip the sour cream garnish and finish with lime, cilantro, and diced white onion instead. That keeps the sauce clean and bright without losing anything important. If you want a creamy contrast, use a dairy-free cashew crema, but keep it on the side so it doesn’t mute the chile flavor.
Make-Ahead and Leftover Friendly
Chile colorado tastes even better the next day after the spices settle into the beef. If you’re serving guests, make it a day ahead, chill it, then reheat slowly before dinner. The sauce will tighten in the fridge, which is normal; a splash of broth brings it right back.
Storage and Reheating
- Refrigerator: Store in an airtight container for up to 4 days. The sauce thickens as it chills and the flavor gets deeper.
- Freezer: It freezes well for up to 3 months. Cool completely, portion into freezer-safe containers, and leave a little room for expansion.
- Reheating: Reheat gently on the stovetop over low heat with a splash of broth. High heat is the mistake here; it can dry out the beef and make the sauce look greasy before it’s hot all the way through.
Questions I Get Asked About This Recipe

Beef Chile Colorado
Ingredients
Equipment
Method
- Toast the dried guajillo, ancho, and pasilla chiles in a dry skillet over medium heat for 30–45 seconds per side until fragrant, using a gentle press and a quick sizzle; do not let them burn.
- Place the toasted chiles in a heatproof bowl, pour 2 cups of hot beef broth over them, and let soak for 20–25 minutes until completely soft and pliable.
- Blend the soaked chiles and soaking broth with the peeled garlic, cumin, oregano, smoked paprika, salt, and black pepper on high for 1–2 minutes until completely smooth.
- Strain the sauce through a fine-mesh strainer, pressing to extract all liquid, then discard the solids.
- Pat the beef chuck cubes dry, then season all over with the salt, black pepper, and cumin.
- Heat the vegetable oil in a large Dutch oven over medium-high heat and sear the beef in batches until deeply browned, about 3–4 minutes per side, then transfer to a plate.
- Reduce heat to medium, add the diced onion, and cook until softened and golden, about 5 minutes.
- Add the minced garlic and tomato paste and cook for 1–2 minutes until fragrant and the paste deepens in color.
- Return the beef to the pot, pour the strained chile sauce over the beef, then add the remaining 2 cups of beef broth and stir gently so the liquid nearly covers the beef.
- Bring to a gentle simmer, reduce heat to low, cover, and cook for 2 to 2½ hours, stirring occasionally, until fork-tender and the sauce thickens into a glossy brick-red coat; taste and adjust salt.
- Ladle the chile colorado over white rice or spoon into warm flour tortillas, then top with cilantro and a squeeze of lime; add sour cream if desired and serve immediately.