
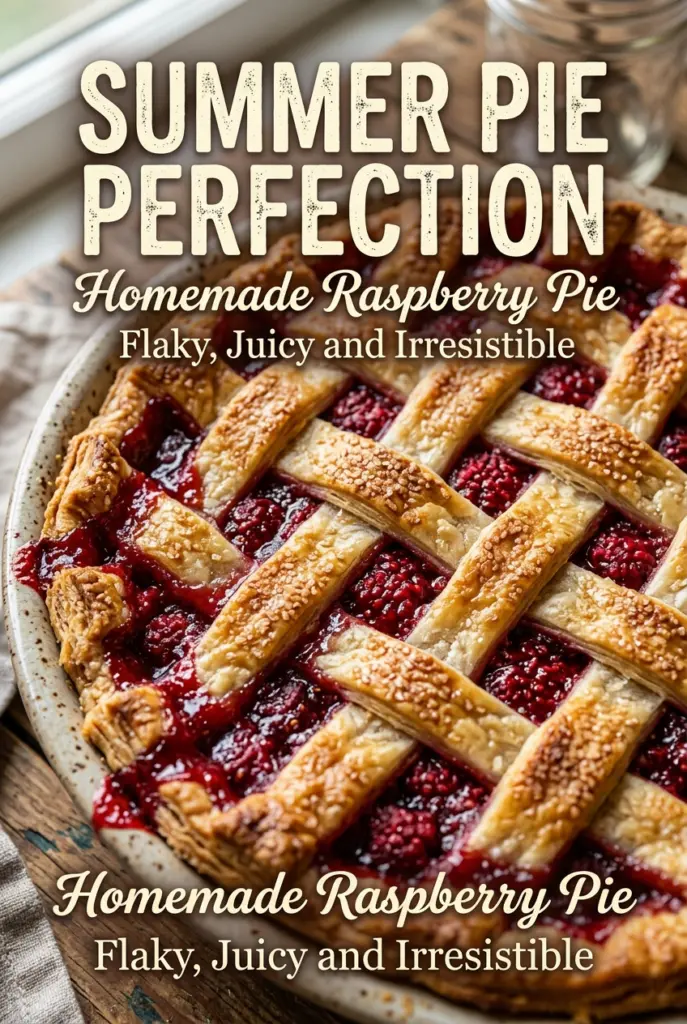
Homemade Raspberry Pie
Raspberry pie has a way of disappearing fast once it hits the table. The filling turns glossy and spoonable, the berries keep their bright, tangy edge, and the crust stays…
Tip: save now, cook later.Raspberry pie has a way of disappearing fast once it hits the table. The filling turns glossy and spoonable, the berries keep their bright, tangy edge, and the crust stays sturdy enough to slice cleanly without losing that flaky bite. This version leans into that sweet-tart balance instead of burying the fruit under too much sugar, which is what makes each slice taste like raspberries first and dessert second.
The trick is in the cornstarch and the bake time. Raspberries release a lot of juice, and if you don’t give the filling enough thickener and enough heat, you end up with a runny slice that spreads across the plate. The crust also needs to start cold and stay cold until it goes into the oven, because warm butter is the fastest path to a tough, bland pie shell.
Below you’ll find the small details that matter most: how to keep the bottom crust from getting soggy, when the filling is actually done, and how to make the lattice top look neat without overworking the dough.
The filling set up beautifully after cooling, and the lattice crust stayed crisp instead of getting soggy. I used frozen raspberries and it still baked up with that glossy, old-fashioned finish.
Save this raspberry pie for the days when you want a glossy berry filling and a flaky lattice crust that slices cleanly.
The Reason Raspberry Pie Turns Runny Before It Ever Slices Cleanly
Raspberries are one of the juiciest pie fruits you can use, and that’s exactly why they give people trouble. The filling can look thick in the bowl and still collapse once it hits the heat if the cornstarch hasn’t been given enough time to work. This pie needs a full bake until the filling bubbles in the center, not just around the edges, because that bubbling is what tells you the starch has activated all the way through.
The other mistake is cutting too soon. Fresh berry pie has to cool completely or the filling stays loose and floods the crust. If you want neat slices, treat the cooling time as part of the recipe, not an optional pause.
What Each Ingredient Is Doing in This Pie
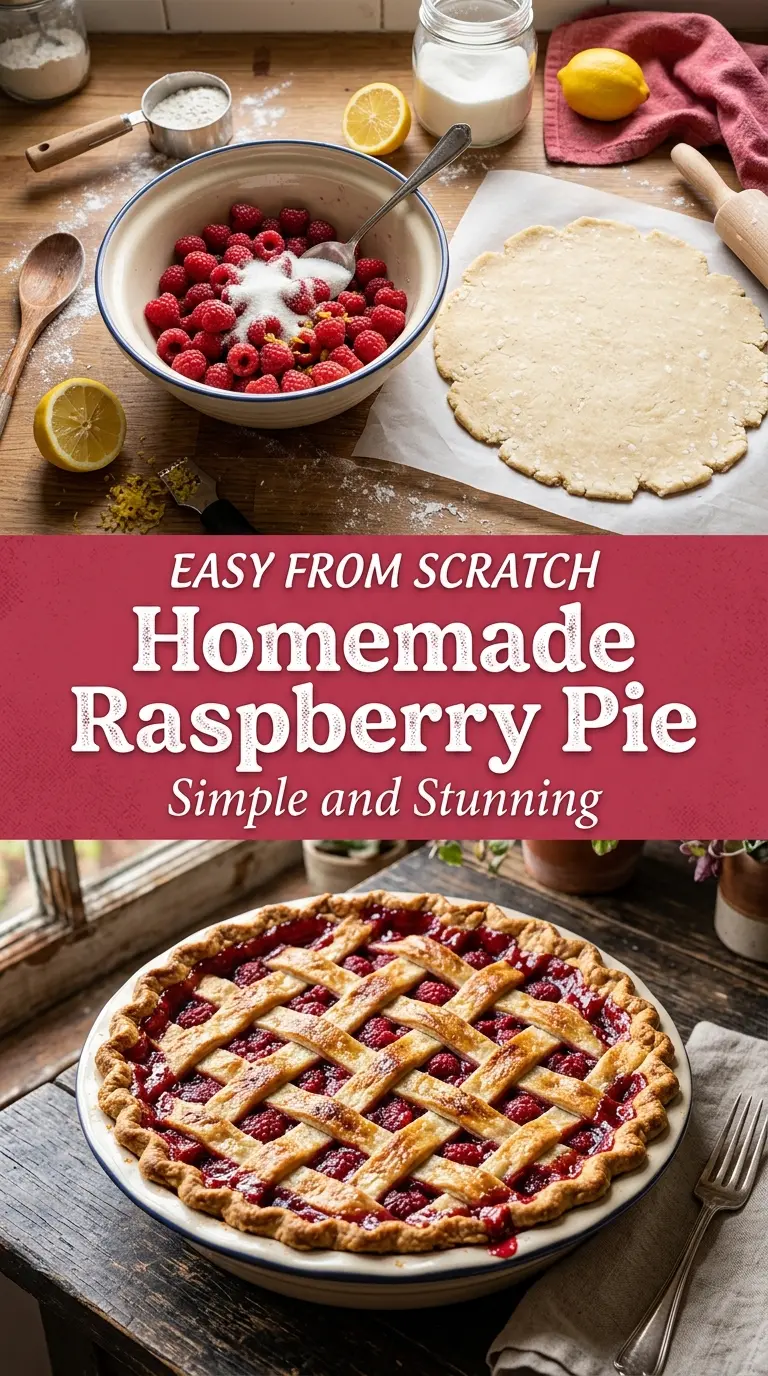
- All-purpose flour — This gives the crust enough structure to hold the juicy filling without turning tough. A standard unbleached flour works well here; pastry flour makes a more delicate crust, but it can be harder to handle.
- Cold unsalted butter — Butter is what creates those flaky layers. Keep it cold and cut it into the flour until you still see pea-sized bits, because those pockets melt in the oven and lift the crust.
- Ice water — You need just enough to bring the dough together. Too much water develops gluten and makes the crust chewy, so add it slowly and stop as soon as the dough holds when pressed.
- Fresh raspberries — Their texture and brightness are the whole point of the pie. Frozen raspberries work too, but don’t thaw them first or you’ll lose even more liquid into the filling.
- Cornstarch — This is the thickener that turns the berry juices into a sliceable filling. Arrowroot can work in a pinch, but it sets a little softer and can look slightly glossy in a different way.
- Lemon juice and vanilla — Lemon sharpens the fruit and vanilla rounds out the edges. Neither one should dominate; they’re there to make the berries taste fuller, not different.
- Egg wash and coarse sugar — The egg gives the crust color and shine, while the coarse sugar adds a crisp top finish. Skip the sugar if you want a less sweet finish, but keep the egg wash for better browning.
Building the Crust, Filling, and Bake So Nothing Turns Watery
Mixing the Dough Without Warming the Butter
Start by combining the dry ingredients, then cut in the cold butter until the mixture looks like coarse crumbs with some larger bits still visible. Those larger pieces matter; they’re what create flakiness once the pie goes into the oven. Add the ice water a little at a time and stop as soon as the dough holds together when squeezed. If you knead it until smooth, the crust will bake up dense instead of layered.
Letting the Dough Rest
Divide the dough into two discs and chill them for at least an hour. That rest time relaxes the gluten and firms the butter again, which makes the dough easier to roll and less likely to shrink in the oven. If the dough feels sticky or soft while you’re rolling it out, put it back in the fridge for a few minutes before continuing.
Thickening the Berry Filling
Toss the raspberries with the sugar, cornstarch, lemon juice, and vanilla until the berries are evenly coated. You’ll notice the mixture gets glossy almost immediately, but it still needs the oven to fully thicken. If you see dry pockets of cornstarch at the bottom of the bowl, keep tossing until everything looks evenly coated, or you’ll get uneven set spots in the baked pie.
Baking Until the Center Bubbles
Roll out the bottom crust, add the filling, top with the lattice, and crimp the edges firmly. Brush the top with beaten egg and scatter over the coarse sugar for color and crunch. Bake until the crust is deeply golden and the filling is visibly bubbling through the lattice in the center, usually 45 to 55 minutes. If the edges brown too fast, cover them loosely with foil and keep baking until the filling has that active, steady bubble.
Three Practical Ways to Adapt This Raspberry Pie
Make It With Frozen Raspberries
Frozen raspberries work well here, and they’re often the better choice outside peak berry season. Use them straight from the freezer so they don’t leak extra liquid before baking, and expect the filling to need the full bake time. The texture stays soft and juicy, but the flavor still comes through clearly.
Gluten-Free Crust
Swap in a gluten-free pie crust blend that’s designed for baking and handles butter in a similar way. The filling doesn’t need any changes, but gluten-free dough usually benefits from a longer chill so it rolls without cracking. The finished pie will still slice well, though the crust will be a little more tender and less elastic.
Lower-Sugar Version
You can reduce the sugar in the filling if your raspberries are very ripe, but don’t cut it too aggressively or the pie will taste sharp and the filling can set differently. Start by reducing it by a quarter cup and taste the berries before baking. The result will be brighter and less sweet, with the fruit taking center stage.
Storage and Reheating
- Refrigerator: Store covered for up to 4 days. The crust softens a little after the first day, but the filling stays nicely set.
- Freezer: This pie freezes well after baking and cooling completely. Wrap it tightly, freeze for up to 2 months, and thaw overnight in the refrigerator before serving.
- Reheating: Warm slices in a 300°F oven for 10 to 15 minutes. Skip the microwave if you want the crust to stay crisp, because it makes the filling loose and the pastry soggy.
Answers to the Questions Worth Asking
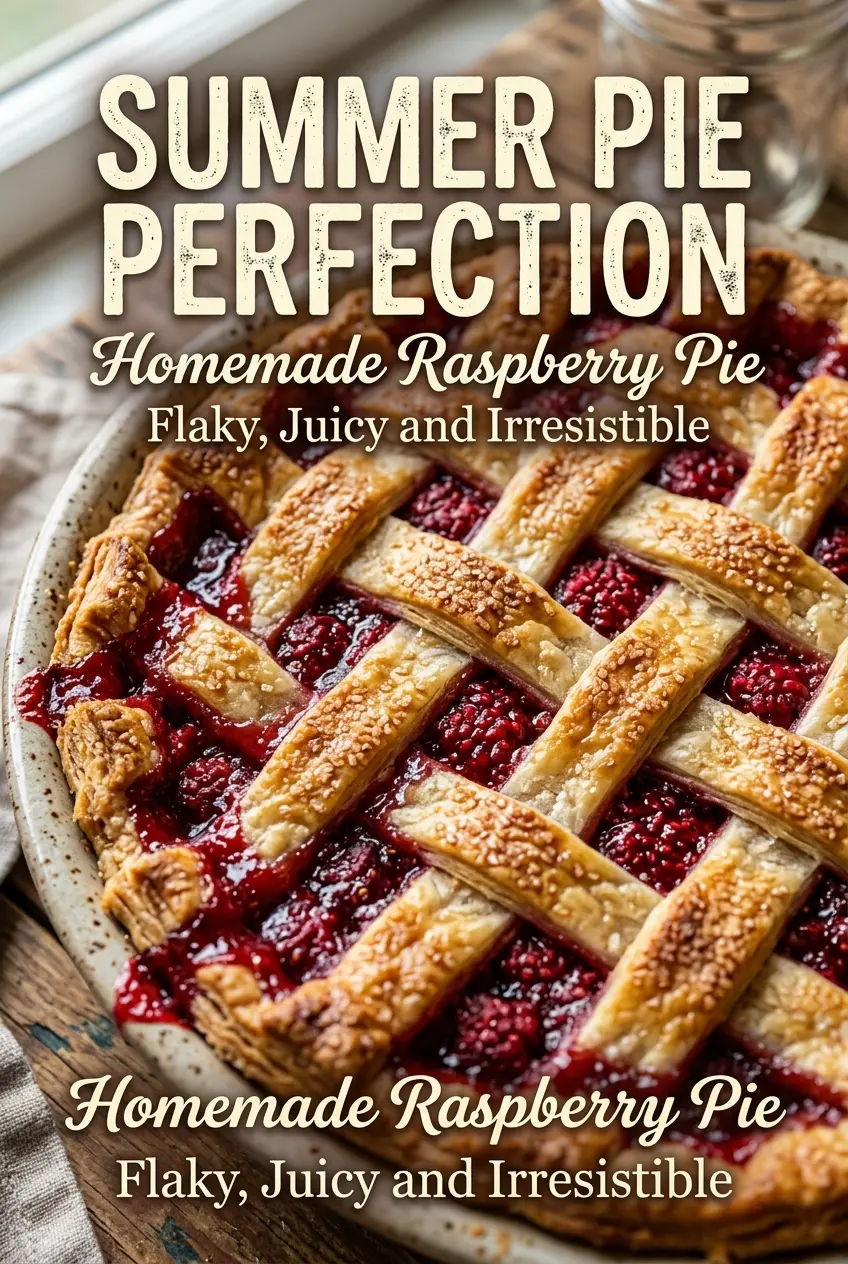
Homemade Raspberry Pie
Ingredients
Equipment
Method
- In a large bowl, combine all-purpose flour, salt, and granulated sugar.
- Cut in cold unsalted butter until coarse crumbs form.
- Add ice water gradually until dough comes together.
- Divide dough into two discs and refrigerate for 1 hour.
- Preheat oven to 400°F (200°C).
- Toss fresh raspberries with granulated sugar, cornstarch, lemon juice, and vanilla extract until evenly coated.
- Roll out one pie dough disc and fit it into a 9-inch pie plate.
- Add raspberry filling to the crust.
- Roll out remaining pie dough disc and create a lattice top over the filling.
- Trim and crimp the edges to seal.
- Brush crust with beaten egg and sprinkle with coarse sugar.
- Bake for 45–55 minutes until filling bubbles and crust is golden brown.
- Cool completely before slicing.
- Slice the pie and serve at room temperature.