
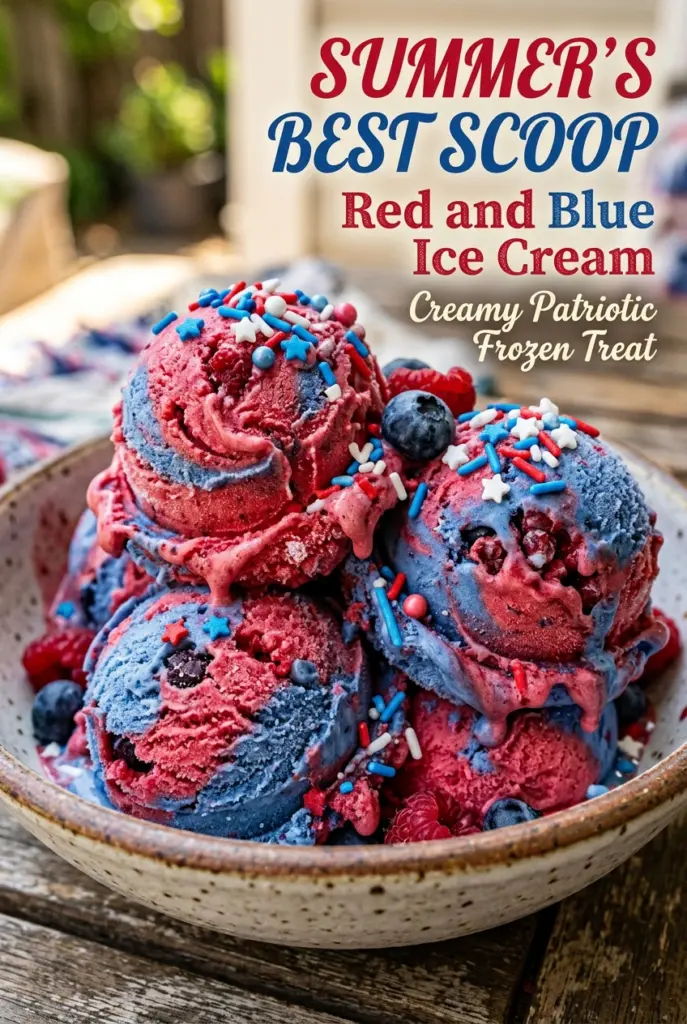
Red and Blue Ice Cream
Red and Blue Ice Cream turns a simple no-churn vanilla base into something that looks party-ready the second you slice into it. The texture stays creamy and scoopable instead of…
Tip: save now, cook later.Red and Blue Ice Cream turns a simple no-churn vanilla base into something that looks party-ready the second you slice into it. The texture stays creamy and scoopable instead of icy, and the red, white, and blue ribbons give each spoonful a mix of plain vanilla richness and bright berry swirls. It’s the kind of dessert that gets a reaction before anyone even tastes it.
The key is keeping the base light but stable. Whipping the cream to stiff peaks gives the ice cream its structure, while the sweetened condensed milk keeps it smooth without an ice cream machine. The colors work best when you tint just enough to make the swirls vivid; if you overmix, you’ll lose that clean marbled look and end up with one muddy shade instead of distinct layers.
Below, I’ll show you how to get those ribbons to hold their shape, how much berry sauce to add without weighing the mixture down, and a few smart swaps if you want to adjust the colors or sweetness for your own table.
The ice cream stayed creamy after freezing overnight, and the berry swirls didn’t disappear when I scooped it. My kids loved that every slice had red, white, and blue layers instead of one blended color.
Red and Blue Ice Cream for a patriotic scoop that keeps its swirls and serves up clean, creamy slices
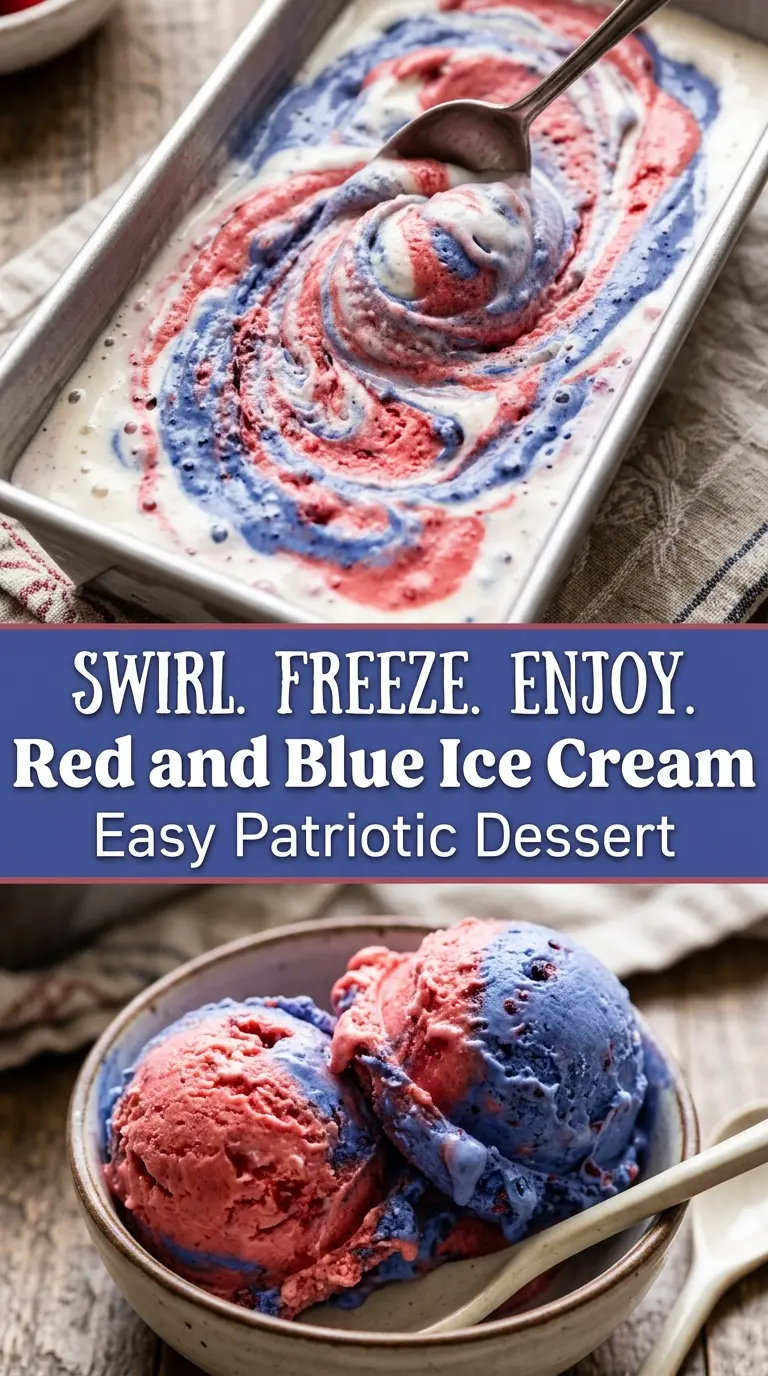
The Secret to Keeping the Swirls Separate Instead of Muddy
Red, white, and blue ice cream only looks striking when the colors stay distinct. The most common mistake is stirring the tinted mixtures too much after the colors are added. Once you start folding the shades together, the marbling fades fast and the whole pan turns into one pale pink-blue blend.
The other thing that matters is consistency. The berry sauces should be thick enough to ribbon through the base, not thin enough to sink straight to the bottom. If your sauce runs, chill it first so it clings to the mixture and leaves those bold streaks you want when you scoop.
- Whipped cream — Stiff peaks give the ice cream body. Soft peaks collapse under the condensed milk and you end up with a looser freeze.
- Sweetened condensed milk — This keeps the dessert smooth and scoopable without churning. Don’t swap it for evaporated milk; it won’t give you the same texture or sweetness.
- Gel food coloring — Gel gives strong color without thinning the base. Liquid coloring can work in a pinch, but it takes more drops and can loosen the mixture.
- Berry sauces — Use a thick strawberry or blueberry sauce so the swirls hold shape. If yours is thin, simmer it a few minutes and cool it before using.
Building the Base and Layering the Colors
Whipping the Cream to Stiff Peaks
Start with cold cream in a chilled bowl if you can. Beat it until the whisk leaves firm trails and the peaks stand straight without drooping. Stop there; if you keep going, the cream turns grainy and loses the light texture that makes no-churn ice cream work.
Folding in the Condensed Milk
Stir the sweetened condensed milk with the vanilla first, then fold in the whipped cream in two or three additions. Use a spatula and cut down through the middle, then sweep up from the bottom so you don’t knock out all the air. The mixture should look uniform and billowy, not dense or streaky with white cream.
Coloring, Layering, and Swirling
Divide the base into three bowls, then tint one red and one blue while leaving one plain. Spoon the mixtures into the pan in alternating dollops, then drag a knife through only a few times to create ribbons. Too many passes and the colors blur; just enough gives you those bright patches and clean marbling.
Finishing with Sauce and Freezing
Drizzle the berry sauces between the layers or over the top before freezing, then use the knife once more if you want finer streaks. Cover the pan tightly so ice crystals don’t form on the surface. Freeze it until firm all the way through, at least 6 hours, and overnight is even better for neat scoops.
Three Ways to Make This Ice Cream Fit the Party
Use only one berry flavor for a simpler swirl
If you don’t want two sauces, use just strawberry sauce or just blueberry sauce and keep the third section plain. You’ll lose a little of the red-and-blue contrast, but the result is cleaner and easier to scoop, especially for younger kids who like predictable flavors.
Make it dairy-free with coconut cream
Use full-fat coconut cream in place of the heavy cream and choose a dairy-free sweetened condensed milk alternative. The texture will be a touch firmer and carry a faint coconut note, which works well with berry sauces and still freezes into a scoopable dessert.
Turn it into an ice cream loaf with a tighter swirl
Use a metal loaf pan and keep the dollops closer together so the stripes run through every slice. This version is easier to cut into neat bars or squares for a party tray, though it does freeze a little more firmly than a deep container.
Skip the sprinkles for a smoother finish
The sprinkles are only for the look, so leave them off if you want a cleaner slice or a smoother top. The berry swirls carry enough visual interest on their own, and the texture stays a little less busy on the spoon.
Storage and Reheating
- Refrigerator: Don’t refrigerate this one; it melts fast and loses the structure that makes it scoopable.
- Freezer: It keeps well for about 2 weeks when wrapped tightly. Press parchment or plastic wrap directly against the surface to reduce ice crystals.
- Reheating: Not applicable. Let it sit at room temperature for 5 to 10 minutes before scooping so the knife or scoop slides through cleanly instead of shattering the frozen layers.
Answers to the Questions Worth Asking
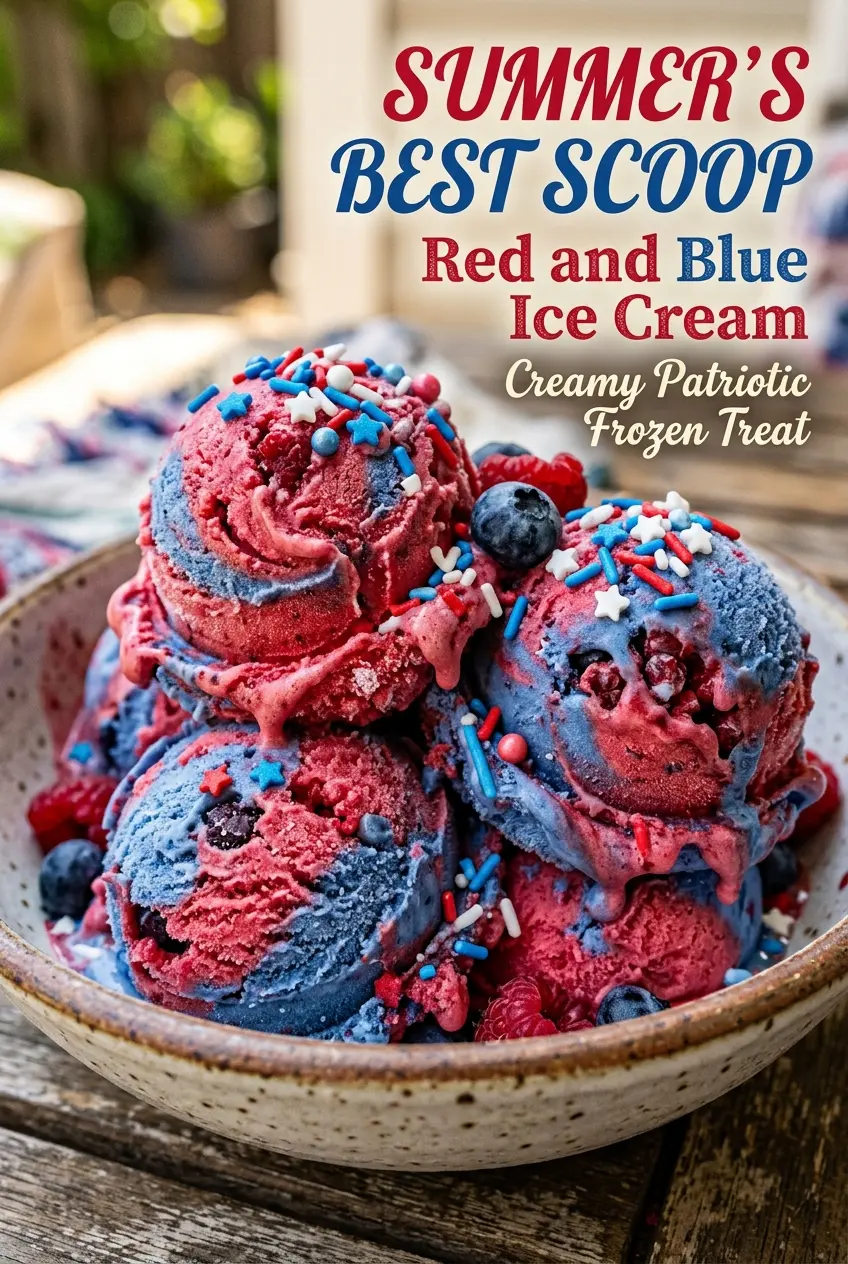
Red and Blue Ice Cream
Ingredients
Equipment
Method
- Whip the heavy whipping cream in a large bowl with an electric mixer until stiff peaks form, about 3–5 minutes, and the cream holds its shape when you lift the beaters (look for stiff peaks that don’t droop).
- In another bowl, combine the sweetened condensed milk and vanilla extract until smooth, about 30–60 seconds (the mixture should look glossy and evenly blended).
- Fold the whipped cream into the condensed milk mixture until no white streaks remain, using gentle strokes so the texture stays airy.
- Divide the mixture into three bowls.
- Leave one bowl white so it remains the base color for your swirls.
- Tint one bowl red using red gel food coloring, mixing until the color is uniform with no streaks (adjust intensity to your preference).
- Tint another bowl blue using blue gel food coloring, mixing until the color is uniform with no streaks (adjust intensity to your preference).
- Spoon the mixtures alternately into a loaf pan, layering red, white, and blue so the colors are visible from the top.
- Swirl gently with a knife to create red, white, and blue ribbons, making a few shallow passes rather than stirring all the way through.
- Drizzle the red berry syrup or strawberry sauce and blueberry sauce throughout the pan, letting some streak and pools form between layers.
- Sprinkle with red, white, and blue sprinkles if desired so they stick to the soft surface.
- Freeze the ice cream for at least 6 hours or overnight, until firm enough to scoop (it should look fully set and not slushy).
- Scoop and serve immediately, for clean swirls and the most scoopable texture.