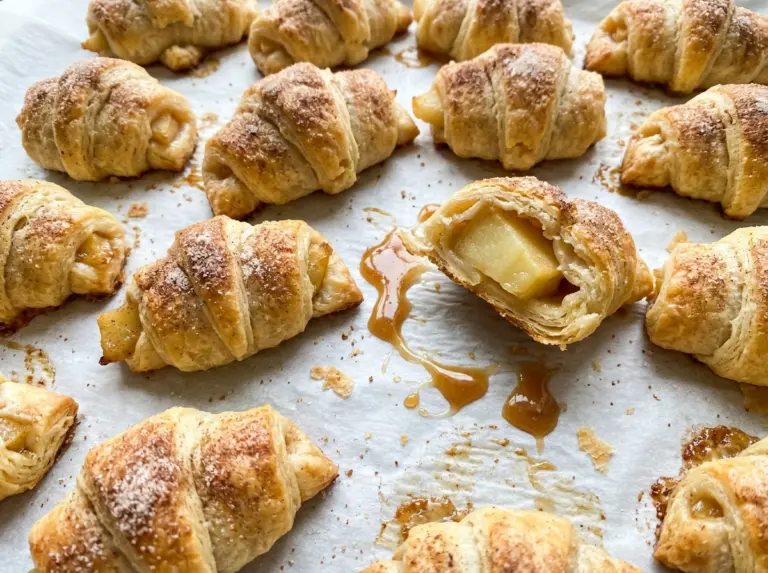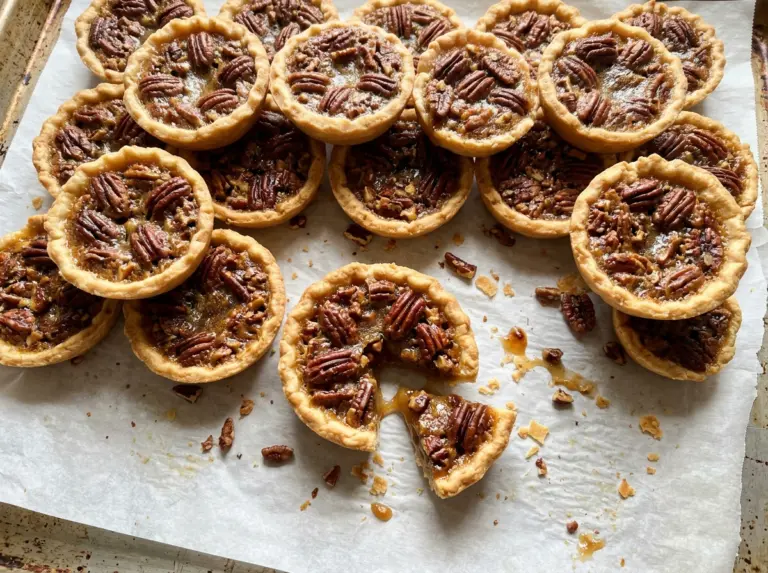
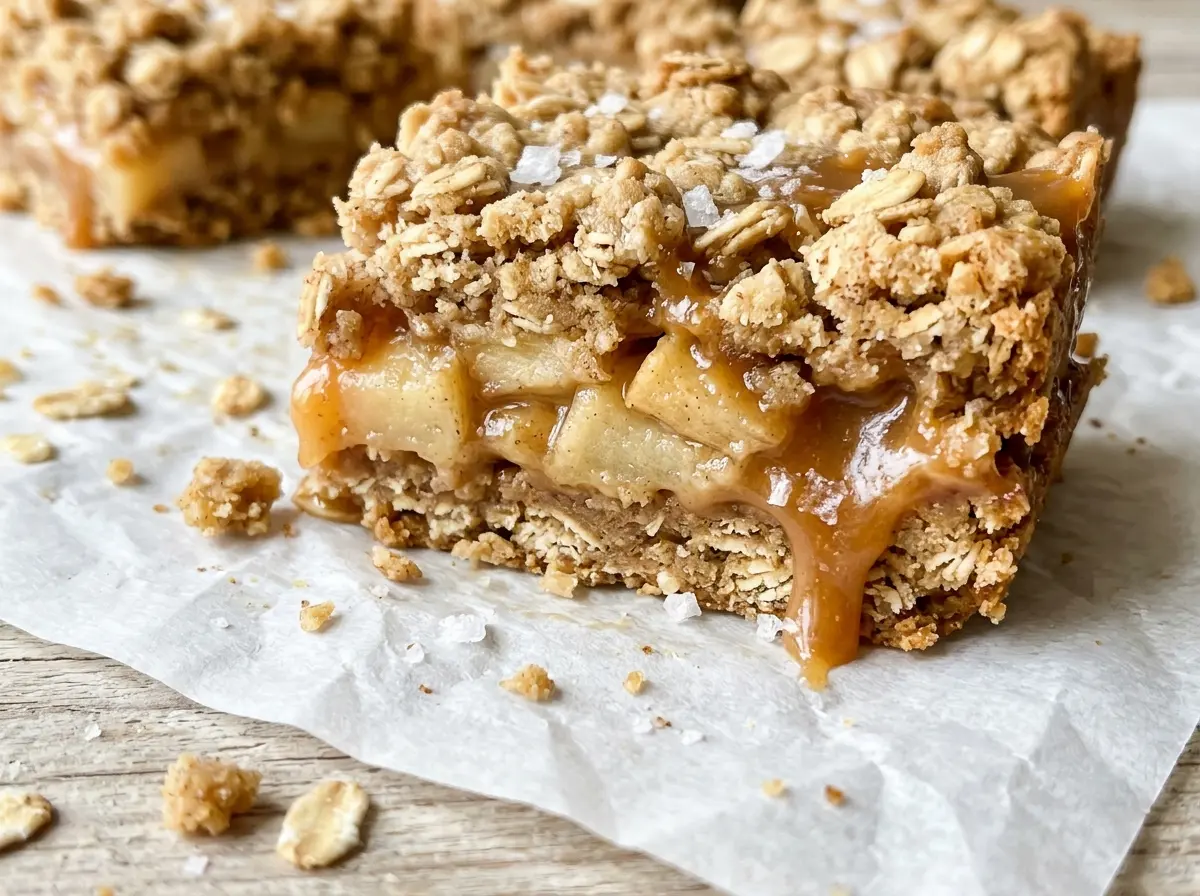
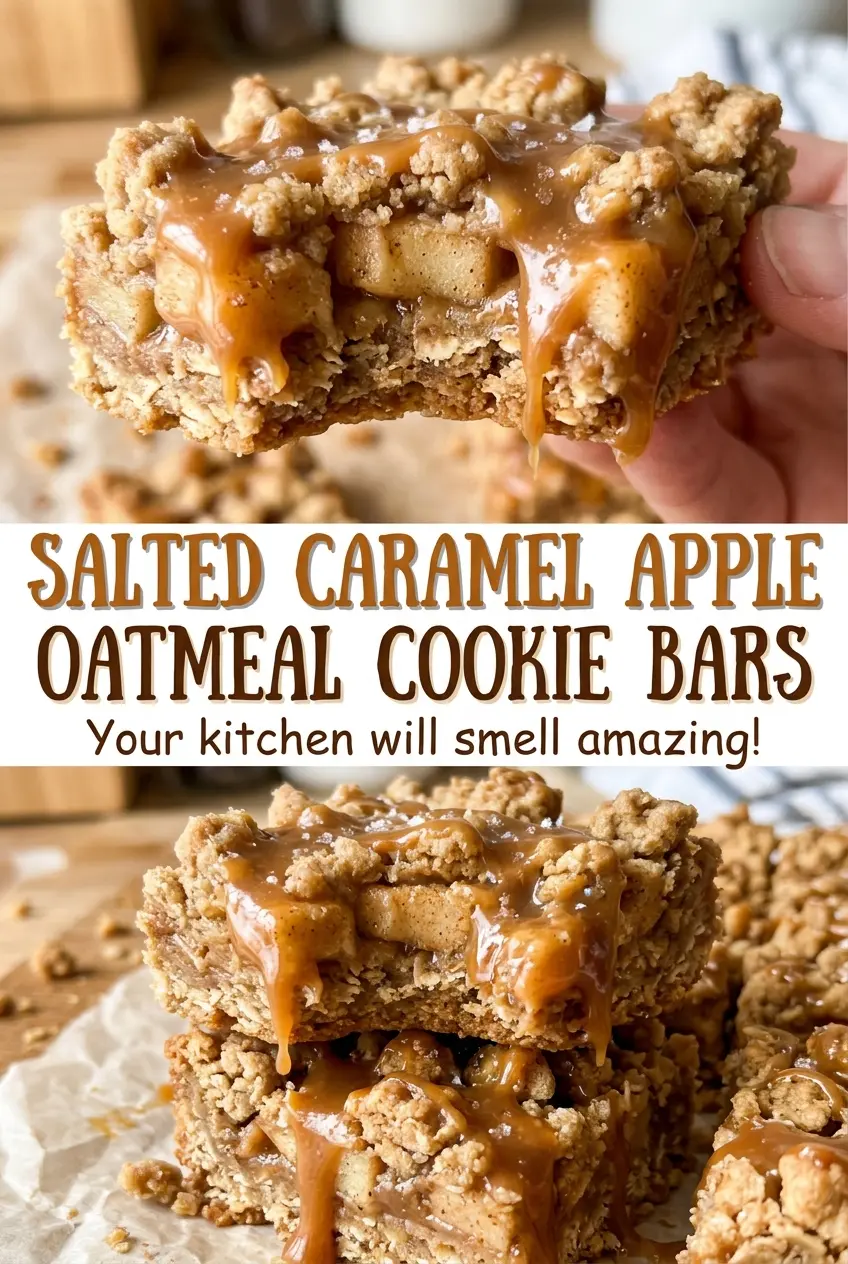
As the apples cook, their cinnamon-sugar syrup changes from thin and watery to glossy enough to cling to each little piece. That’s the point where these salted caramel apple oatmeal cookie bars start to come together: soft fruit tucked between chewy oat-cookie layers, with a salted caramel finish.
I cook the apple filling before it goes into the pan, so excess moisture cooks off instead of soaking into the bottom crust. The dough is sturdy enough to hold the fruit, but still tender, and crumbling the top leaves little golden patches over the apples. Once the caramel sets, each bar cuts into a neat square with a soft apple center and a buttery oat bite.
Kitchen Note
Press the bottom layer all the way into the corners so every bar has a sturdy base. Keep the remaining dough in loose crumbles rather than packing it into a second solid layer; that way, the apples peek through between the golden oat pieces.
Save these salted caramel apple oatmeal cookie bars for a bake with tender cinnamon apples, chewy oat layers, and a caramel-and-sea-salt finish.
Why the Apples Need to Cook Before They Meet the Cookie Dough
Raw diced apples release plenty of juice as they bake. If that liquid goes straight into the pan, it has nowhere to go beneath the cookie layers, and the base can turn damp before the top is golden. Cooking the fruit first gives that moisture a head start evaporating while the cornstarch thickens the remaining juices.
You’re looking for tender pieces that still keep their shape, not apples cooked down to sauce. Stirring often helps the fruit heat evenly and keeps the thickening syrup from sticking to the skillet. The filling also cools before it goes onto the dough, so it won’t soften the bottom layer while you assemble the bars. That extra skillet step gives you a distinct apple layer instead of a wet patch in the middle.
What Gives These Bars Their Chewy Oat Base and Glossy Caramel Top
- Old-fashioned rolled oats — These keep their shape in the dough and give the bars a substantial, chewy bite. A standard store-brand bag works well; quick oats break down more and won’t give the same texture.
- Salted butter and light brown sugar — Softened butter creams smoothly with brown sugar, whose molasses notes suit the apples and caramel. Salted butter seasons the cookie layer; unsalted butter works in the same amount, though the bars taste less salty overall.
- Firm apples — Choose fruit that stays in pieces as it cooks. Granny Smith brings a tart edge, while a firm sweeter apple gives a softer contrast to the salted topping. Peeling and cutting the fruit evenly helps it soften at the same pace.
- Granulated sugar, cornstarch, cinnamon, and lemon juice — Sugar sweetens the fruit, cornstarch thickens its juices, cinnamon brings warmth, and lemon juice keeps the filling from tasting flat. Fresh lemon juice is a good choice, though bottled lemon juice works here too.
- All-purpose flour and baking soda — Flour gives the oat dough structure, and baking soda helps it bake into a tender cookie layer. Regular all-purpose flour is all you need; there’s no advantage to buying a specialty brand for this bake.
- Soft caramels and heavy cream — Soft caramels melt into a smooth drizzle when warmed with cream. Packaged soft caramels are convenient and consistent; pourable caramel sauce is a poor swap because it may stay too thin to set on the bars.
- Flaky sea salt — Its crisp flakes give the sweet caramel a little contrast. Use flaky salt for the finish rather than fine table salt, which is much easier to overdo in a sprinkle.
From Oat Dough to Set Caramel: The Stages That Matter
Cream the Butter and Build the Dough
Heat the oven to 350°F, coat a 9×13-inch baking pan with cooking spray, and line it with parchment paper, leaving an overhang on the long sides. Beat the softened butter and brown sugar on medium for 2 to 3 minutes, until creamy, then beat in the egg and vanilla. Whisk the flour, oats, and baking soda in a separate bowl before mixing them into the butter mixture on low. Stop as soon as no dry flour remains; working the dough longer won’t make the bars more tender.
Cook the Apples Until the Syrup Thickens
Combine the diced apples with the granulated sugar, cornstarch, cinnamon, and lemon juice in a 10-inch skillet. Cook over medium heat for 8 to 10 minutes, stirring often, until the apples are tender but still hold their shape and the syrup has thickened. If the fruit still looks surrounded by watery juice, keep cooking and stirring until that liquid turns glossy. Transfer the filling to a bowl and let it cool for 15 minutes.
Layer the Filling and Bake Until the Center Sets
Press about two-thirds of the dough evenly into the prepared pan. Spread the cooled apple filling over the base, then crumble the remaining dough across the top. Bake for 35 to 40 minutes, until the surface is golden brown and the center is set. A pale, soft-looking center needs more time; don’t pull the pan just because the edges have colored.
Melt, Drizzle, and Let the Caramel Set
Once the bars have cooled completely in the pan, at least 2 hours, melt the unwrapped caramels with the heavy cream in a 1-quart saucepan over low heat. Stir often for 4 to 6 minutes, until the caramel is smooth. Drizzle it over the cooled bars while it’s warm, then sprinkle with flaky sea salt. Give the topping 15 minutes to set before cutting the pan into 24 bars.
Easy Ways to Adjust the Apple, Oat, or Salted Caramel Finish
Choose a tarter apple balance
Use firm tart apples such as Granny Smith, or combine tart and sweeter firm apples. The filling will lean brighter and less sweet against the caramel without changing how you prepare it.
Make a gluten-free batch
Replace the all-purpose flour with a cup-for-cup gluten-free baking blend and use certified gluten-free old-fashioned oats. The bars may have a slightly more tender, delicate crumb, so let them cool completely before cutting; choose gluten-free-labeled caramels as well.
Soften the salty finish
For a less pronounced sweet-salty contrast, use a lighter sprinkle of flaky sea salt over the caramel. You’ll still get a few crisp salty bites, but the caramel reads as the main finish.
Storage and Reheating
- Refrigerator: Store the bars in an airtight container for up to 4 days. The chilled cookie layer firms up, while the apple filling stays soft.
- Freezer: They freeze well. Wrap individual bars and freeze in a sealed container for up to 2 months; thaw in the refrigerator before serving.
- Reheating: These bars are good at room temperature and don’t need reheating. If you warm a portion, use short microwave bursts; too much heat makes the caramel runny.
Questions That Come Up When Baking Apple Oatmeal Cookie Bars
Salted Caramel Apple Oatmeal Cookie Bars
Ingredients
Equipment
Method
- Heat the oven to 350°F.
- Lightly coat a 9x13-inch baking pan with the cooking spray and line it with parchment paper, leaving an overhang on the long sides.
- In a large bowl, beat the butter and brown sugar with a mixer on medium speed for 2 to 3 minutes, until creamy.
- Beat in the egg and vanilla until combined.
- In a medium bowl, whisk together the flour, oats, and baking soda.
- Mix the flour mixture into the butter mixture on low speed until no dry flour remains.
- Combine the apples, granulated sugar, cornstarch, cinnamon, and lemon juice in a 10-inch skillet.
- Cook over medium heat for 8 to 10 minutes, stirring often, until the apples are tender but still hold their shape and the syrup is thickened.
- Transfer the filling to a bowl and let it cool for 15 minutes.
- Press about two-thirds of the cookie dough evenly into the prepared pan.
- Spread the apple filling over the dough.
- Crumble the remaining dough evenly on top.
- Bake for 35 to 40 minutes, until the top is golden brown and the center is set.
- Cool completely in the pan, at least 2 hours.
- Melt the caramels with the heavy cream in a 1-quart saucepan over low heat, stirring often, for 4 to 6 minutes until smooth.
- Drizzle the warm caramel over the cooled bars.
- Sprinkle with the flaky sea salt.
- Let the caramel set for 15 minutes before cutting into 24 bars.