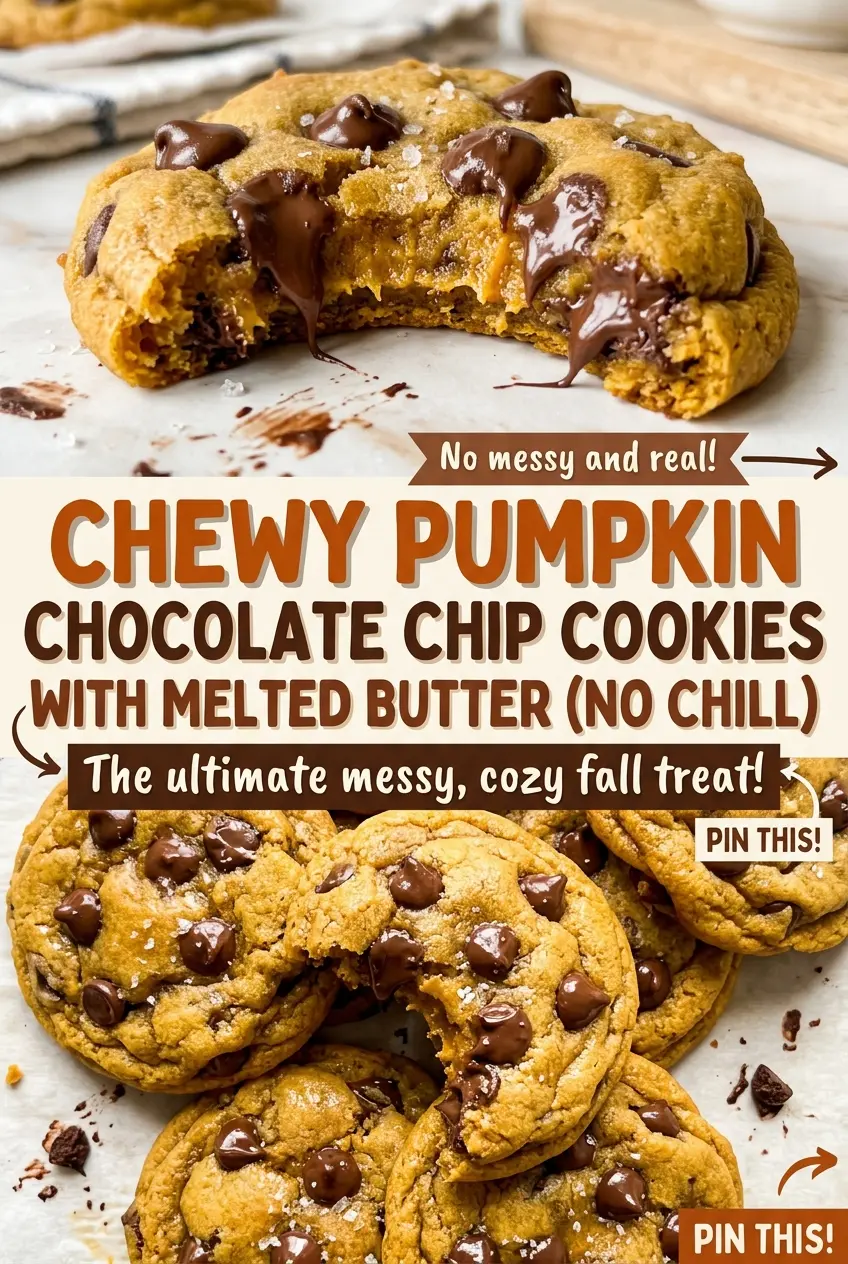
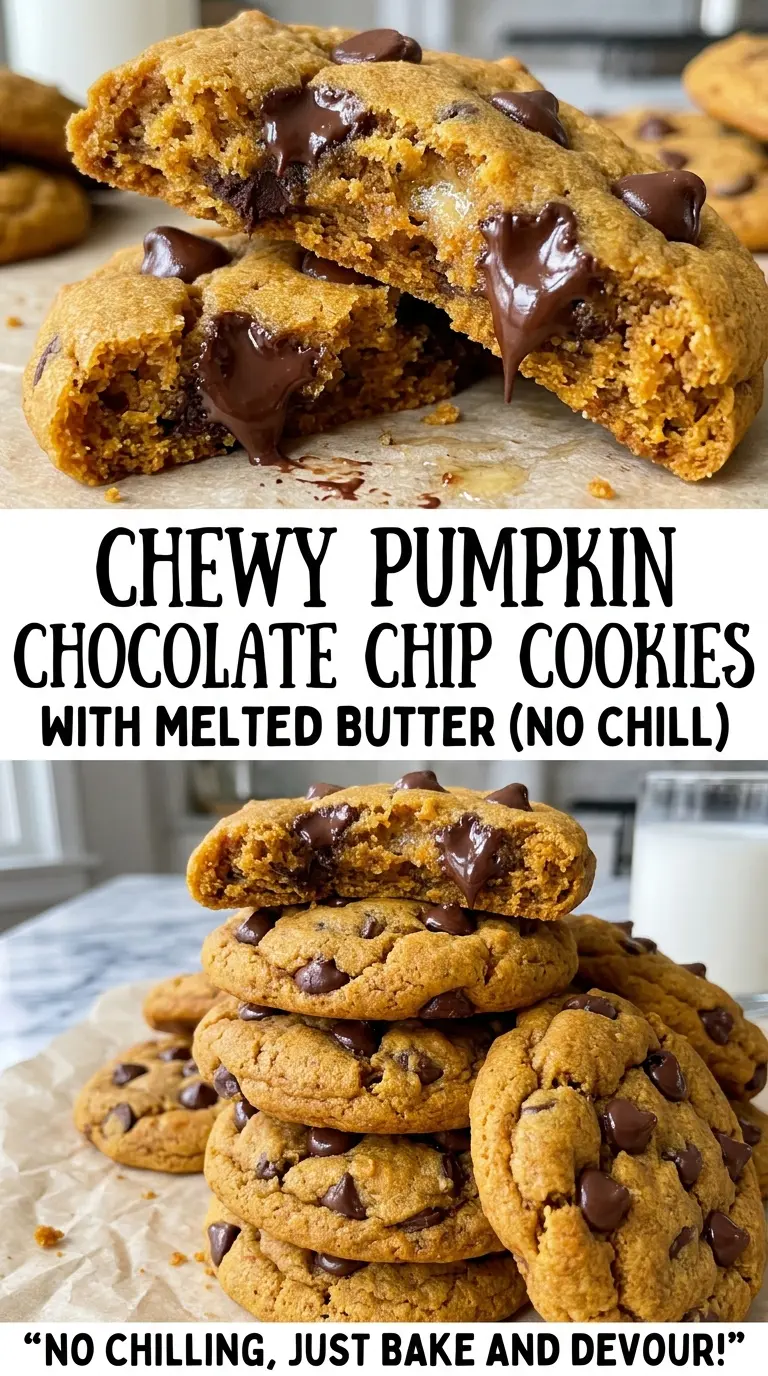
When pumpkin puree goes straight into cookie dough, its extra moisture can leave you with a soft, cakey cookie instead of one that’s chewy. Blotting it first takes a few minutes, but it makes a noticeable difference in these chewy pumpkin chocolate chip cookies with melted butter. The dough comes together without a mixer, and there’s no chilling step between mixing and baking.
I whisk the melted butter and sugars together, then add the pumpkin, egg yolk, and vanilla before stirring in the dry ingredients. The dough is soft but easy to portion, and baking one sheet at a time gives the cookies room to bake evenly. Pull them when the edges are lightly browned and set, even though the centers still look soft. They finish setting on the pan, with chocolate chips tucked through every chewy bite.
Kitchen Note
Let the melted butter cool until it feels warm, not hot, before you whisk it with the sugars. Butter that’s still hot can make the wet mixture harder to handle and risks cooking the egg yolk when it goes in.
Save these chewy pumpkin chocolate chip cookies for a no-chill bake with soft centers and lightly browned edges.
The Pumpkin Has to Lose Water Before It Goes Into Cookie Dough
Pumpkin puree brings flavor and tenderness, but it also brings more moisture than this dough needs. Starting with a third of a cup and blotting it down to about a quarter cup keeps the dough from getting weighed down by excess liquid. That small change helps these cookies bake up chewy rather than taking on a cake-like texture.
Use plain canned pumpkin puree, not pumpkin pie filling. Pie filling is already sweetened and spiced, so it changes the balance of the dough. Blot the puree between paper towels and check the amount after blotting; don’t rely on the original volume alone. You want a concentrated portion of pumpkin that blends smoothly with the butter and sugars.
This dough also gets its structure from an egg yolk rather than a whole egg. The yolk adds richness without the extra moisture from an egg white. Together, well-managed pumpkin and a yolk keep the dough tender while giving the cookies a better chance of staying chewy in the middle.
What the Pumpkin, Yolk, and Melted Butter Each Contribute
- Canned pumpkin puree — Plain puree gives the cookies their pumpkin flavor without the extra sugar and spices in pie filling. A standard grocery-store can works well; blot the puree before measuring your reduced portion. Homemade pumpkin puree varies in moisture, so canned puree is the dependable choice here.
- Unsalted butter — Melted butter keeps the method simple and gives the dough a rich, chewy texture without creaming. Ordinary unsalted butter is all you need; there’s no benefit to buying a specialty brand. If you use plant-based butter sticks for a dairy-free batch, choose a baking-style stick rather than a soft tub spread.
- Light brown sugar and granulated sugar — Brown sugar contributes moisture and a deeper sweetness, while granulated sugar balances it. If you only have dark brown sugar, it can replace the light brown sugar in the same amount; expect a stronger molasses note. Keep the granulated sugar in the mix for the intended balance.
- Egg yolk — The yolk adds richness and helps bind the dough without adding the moisture of a whole egg. Separate a large egg and save the white for another use; there isn’t a direct whole-egg swap that keeps the same dough balance.
- All-purpose flour — Standard all-purpose flour gives the dough its structure. A cup-for-cup gluten-free baking blend is the most practical swap for a gluten-free batch, though the texture may be a little more tender. Measure the flour without packing it into the cup.
- Semisweet chocolate chips — Their sweetness works well with the brown sugar and pumpkin. A familiar grocery-store bag is fine; choose a brand you like eating on its own. Chopped semisweet chocolate can stand in for the chips, with more irregular pockets of melted chocolate.
- Cinnamon and baking soda — Cinnamon gives the pumpkin a warm spice note, while baking soda helps the cookies bake and brown. Fresh cinnamon has a clearer aroma, but standard pantry cinnamon works; check that your baking soda is fresh if it has been open for a long time.
From Blotted Pumpkin to Soft-Centered Cookies
Prepare the Pumpkin, Pans, and Butter
Heat the oven to 350°F with a rack in the center, then line two 18×13-inch rimmed baking sheets with parchment. Blot the pumpkin between paper towels until you have about a quarter cup. Melt the butter and let it cool until warm rather than hot. Getting these pieces ready first keeps the mixing quick and means the dough can go straight to portioning.
Whisk the Wet Mixture Smooth
In a large bowl, whisk the melted butter with both sugars until combined. Whisk in the blotted pumpkin, egg yolk, and vanilla until the mixture looks smooth. If the butter is still hot, pause and let it cool before adding the yolk. A few whisk strokes are enough; you’re combining the ingredients, not trying to whip air into them.
Bring the Dough Together Without Overworking It
Whisk the flour, baking soda, cinnamon, and salt in a medium bowl so the leavening and spice are distributed. Add that mixture to the pumpkin mixture and stir just until no dry streaks remain. Stop once the flour disappears; continued mixing can make the cookies tougher. Fold in the chocolate chips so they’re spread through the dough.
Portion, Bake, and Let the Centers Set
Scoop the dough into 18 portions of about 2 tablespoons each, arranging 9 on each prepared sheet with at least 2 inches between them. Bake one sheet at a time for 10–12 minutes. The edges should look set and lightly browned while the centers still look soft; waiting for the centers to look firm in the oven can leave the cookies overbaked. Let them rest on the baking sheet for 5 minutes, then transfer them to a wire rack to cool.
When You Need to Change the Flour, Sugar, or Chocolate
Use a Cup-for-Cup Gluten-Free Flour Blend
Replace the all-purpose flour with the same amount of a cup-for-cup gluten-free baking blend. The cookies may bake a little more tender and less chewy than the all-purpose-flour version, but the dough still follows the same mixing and baking method. Use a blend intended to replace wheat flour in baking, rather than a single-ingredient flour.
Give the Chocolate a Darker Edge
Swap the semisweet chocolate chips for bittersweet chocolate chips. The less-sweet chocolate gives each bite more contrast against the brown sugar and pumpkin without changing how you portion or bake the dough.
Use Dark Brown Sugar for a Deeper Note
Replace the light brown sugar with dark brown sugar in the same amount. The extra molasses flavor makes the cookies taste a little deeper and less simply sweet; keep the granulated sugar unchanged so the dough stays balanced.
Storage and Reheating
- Room temperature: Store cooled cookies in an airtight container for up to 3 days. They’ll soften a little as they sit.
- Freezer: Freeze fully cooled cookies in a freezer-safe container or bag for up to 2 months, separating layers with parchment. Thaw at room temperature.
- Reheating: Warm a cookie in a 300°F oven for a few minutes if you want the chocolate soft again. Avoid leaving it in too long, which can dry out the edges.
Questions That Come Up While Baking Pumpkin Chocolate Chip Cookies
Chewy Pumpkin Chocolate Chip Cookies with Melted Butter (No Chill)
Ingredients
Equipment
Method
- Preheat the oven to 350°F with a rack in the center position.
- Line two 18x13-inch rimmed baking sheets with parchment paper.
- Blot the pumpkin puree between paper towels until it measures about 1/4 cup.
- Melt the butter and let it cool until warm but not hot.
- In a large bowl, whisk the butter with the brown sugar and granulated sugar until combined.
- Whisk in the pumpkin, egg yolk, and vanilla until smooth.
- In a medium bowl, whisk together the flour, baking soda, cinnamon, and salt.
- Add the flour mixture to the pumpkin mixture and stir just until no dry streaks remain.
- Fold in the chocolate chips.
- Scoop the dough into 18 portions of about 2 tablespoons each and arrange 9 portions at least 2 inches apart on each prepared baking sheet.
- Bake one sheet at a time for 10–12 minutes, until the edges are set and lightly browned and the centers still look soft.
- Let the cookies rest on the baking sheet for 5 minutes.
- Transfer the cookies to a wire rack to cool.