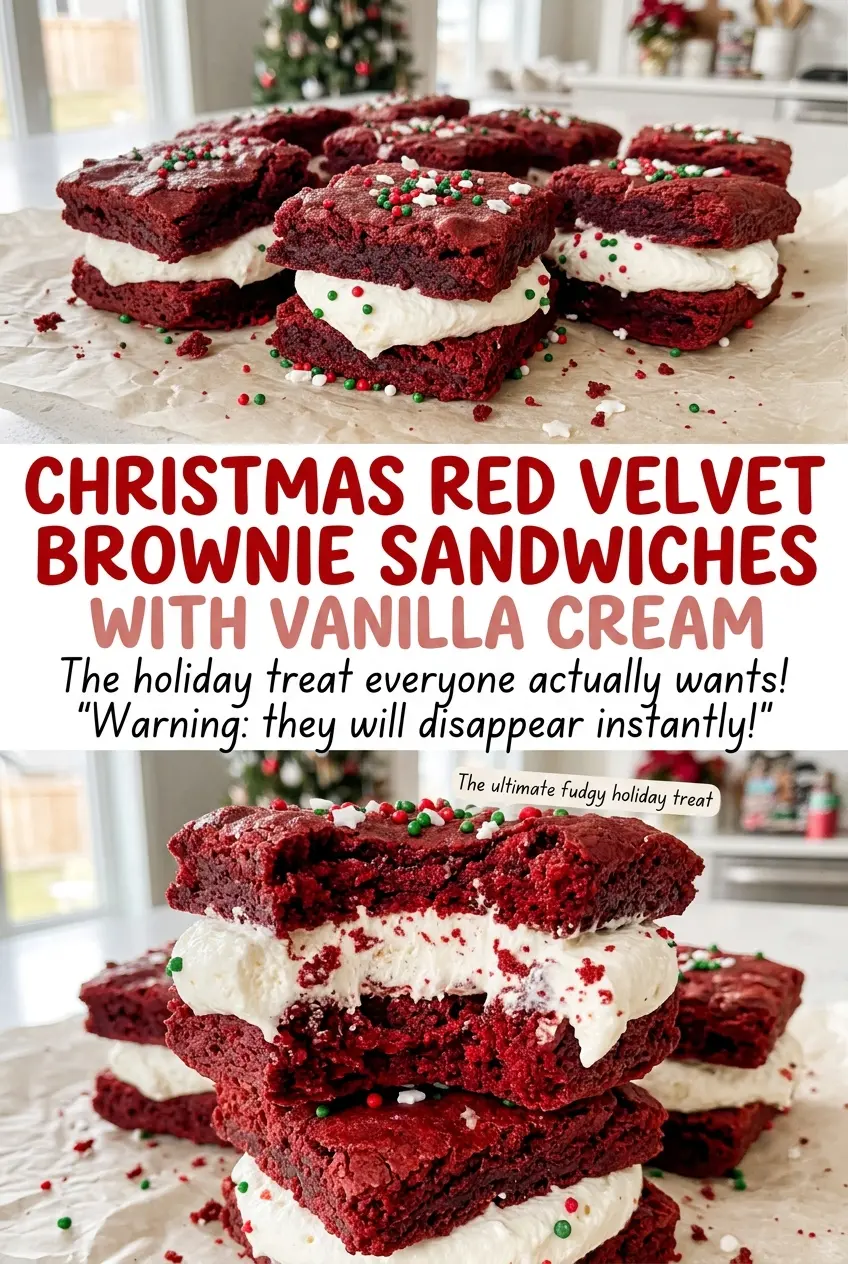
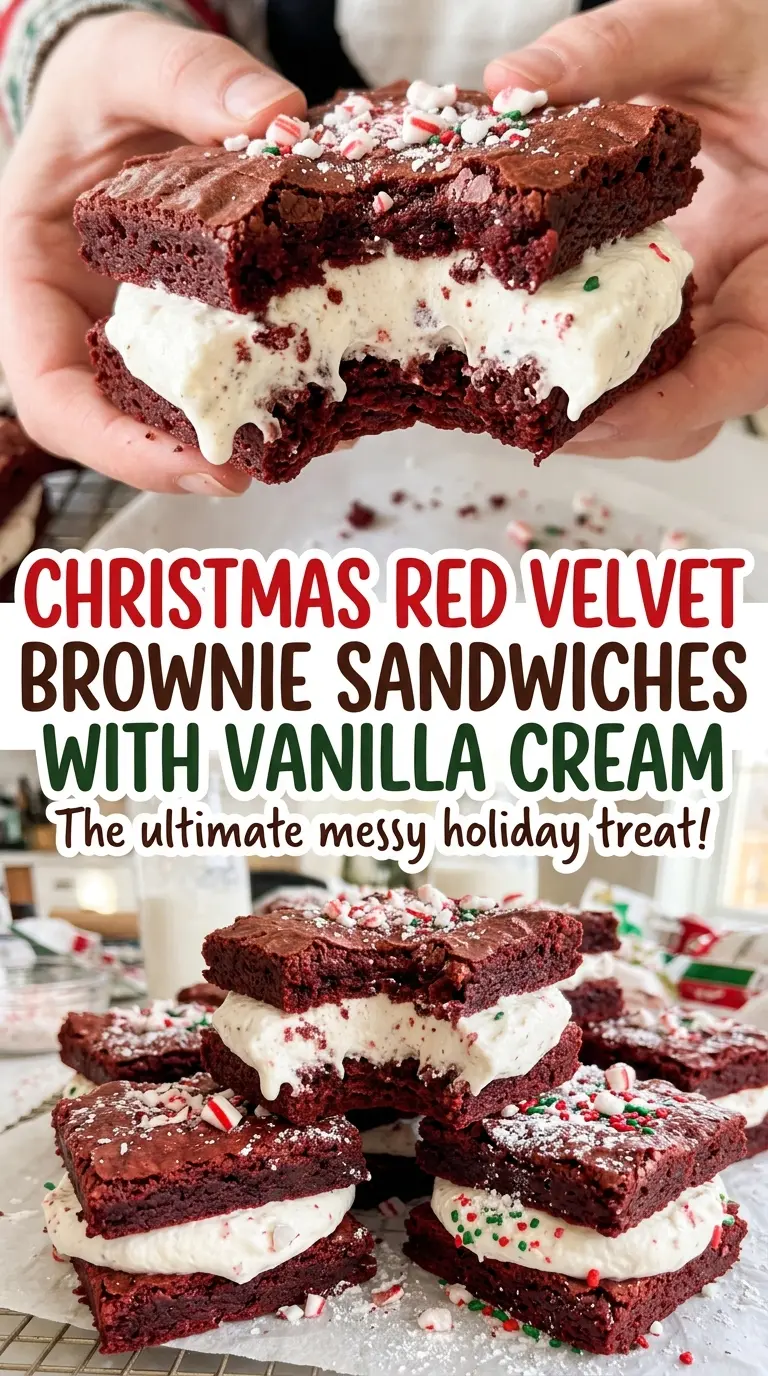
The tops look set before the centers are quite ready, and that’s exactly where these brownies get their soft, chewy texture. I pull the pan when a toothpick comes out with a few moist crumbs, not completely clean ones. That little cue keeps the chocolate squares tender enough to sandwich around the vanilla cream without crumbling apart.
For Christmas Red Velvet Brownie Sandwiches with Vanilla Cream, the red color comes from liquid food coloring, while a modest amount of cocoa keeps the batter tasting like a brownie rather than a deep, dark chocolate bar. Once the squares are fully cool, the tangy cream cheese filling spreads easily, then firms up in the refrigerator. You get a neat, cool bite with a soft brownie edge and a creamy center.
Kitchen Note
Watch the vanilla cream closely as it thickens. Stop as soon as the mixer leaves firm peaks that stand upright; going past that point can make the texture less smooth.
Save these Christmas red velvet brownie sandwiches for a batch of fudgy red squares with a cool vanilla cream center.
Why These Red Velvet Brownies Stay Dense Instead of Turning Cakey
These squares are meant to be compact and chewy, not tall and springy like a piece of red velvet cake. There’s no baking powder or baking soda in the batter, so the eggs and flour set the structure without a big rise. That’s a good match for a sandwich: the brownies stay sturdy enough to hold the cream, with a soft bite instead of a fluffy crumb.
Whisk the eggs into the butter mixture one at a time, then fold the dry ingredients in only until the last streaks of flour disappear. A long, vigorous mix after adding flour encourages a tougher texture, while leaving dry pockets makes uneven bites. The batter should spread smoothly into the pan and bake into an even layer that cuts into 16 squares. The restrained cocoa also lets the red color show through without losing the chocolate note.
What Gives the Brownies Their Red Velvet Character—and the Cream Its Hold
- Unsweetened cocoa and red liquid food coloring — The cocoa supplies the gentle chocolate flavor, and the liquid coloring gives the batter its red appearance. Regular unsweetened cocoa works well here; a highly concentrated gel coloring isn’t a direct swap for the liquid.
- Distilled white vinegar — Its small amount brings the slight tang associated with red velvet. Keep it in; it rounds out the cocoa without making the brownies taste sharply sour.
- Unsalted butter and granulated sugar — Melted butter gives the brownies richness, while granulated sugar keeps the crumb chewy. Unsalted butter lets the fine salt stay in control, and standard granulated sugar is all you need.
- All-purpose flour and eggs — Flour gives the squares enough structure to carry the filling, and the eggs help the melted-butter batter set. Measure flour lightly rather than packing it into the cup, which can make the brownies dry and dense.
- Cream cheese, cold heavy cream, and vanilla — Cream cheese adds tang and body; cold heavy cream whips the filling until it holds its shape. Use real heavy cream rather than half-and-half, which won’t whip into the same firm filling. Vanilla extract adds a warm, rounded finish.
How to Bake an Even Brownie Layer and Whip Cream That Holds
Line the Metal Pan for Easy Lifting
Heat the oven to 350°F and grease an 8×8-inch metal baking pan with neutral oil. Line it with parchment, leaving overhang on two sides so the cooled brownies lift out cleanly. Keep the parchment lying flat against the pan instead of bunching it at the corners. The metal pan gives you the bake conditions used for this batch.
Cool the Butter Before Building the Batter
Melt the butter in a large microwave-safe bowl in 20-second bursts, stirring between each burst. Let it cool for 5 minutes before whisking in the sugar. Add the eggs one at a time, then whisk in the vinegar and red liquid food coloring until the mixture looks evenly colored. If the butter is still piping hot, wait a little longer before adding the eggs.
Fold Gently and Bake to Moist Crumbs
In a separate bowl, whisk together the flour, cocoa powder, and salt. Fold that mixture into the butter mixture just until no dry streaks remain; scraping the bottom of the bowl helps catch any flour hiding there. Spread the batter evenly in the prepared pan and bake at 350°F for 25–30 minutes. The top should look set, and a toothpick near the center should come out with a few moist crumbs rather than wet batter.
Cool Fully Before Cutting the Squares
Let the brownies cool completely in the pan, about 1 hour. Warm brownies are delicate, so lifting or cutting them early can leave you with ragged edges and broken squares. Once cool, use the parchment overhang to lift out the slab and cut it into 16 equal squares. Even squares make it easier to match up tops and bottoms when you assemble the sandwiches.
Whip the Cream and Chill the Sandwiches
Beat the softened cream cheese with the powdered sugar and vanilla until smooth. With the mixer on low, gradually pour in the cold heavy cream, then raise the speed to medium-high and beat until thick, stiff peaks form, about 2–3 minutes. Spread about 2 tablespoons of cream over 8 brownie squares and top with the remaining squares. Refrigerate the sandwiches for at least 30 minutes to set, and keep them covered in the refrigerator until serving.
Three Ways to Change the Look or Format of These Brownie Sandwiches
Make a gluten-free batch
Replace the all-purpose flour with the same amount of a cup-for-cup gluten-free baking blend made to replace wheat flour. Choose a blend that includes xanthan gum or another binder, so the cooled squares hold together around the filling. The texture may be a little more delicate than the original.
Leave the brownies chocolate-colored
Skip the red food coloring and keep the rest of the brownie ingredients and method the same. The result is a classic cocoa-brown sandwich with the same chewy texture and vanilla cream, but without the red velvet look.
Turn them into open-faced brownie bites
Spread the vanilla cream across all 16 brownie squares and serve them without a top brownie. The cream layer will be thinner, and each square is easier to portion as a small, open-faced dessert.
Making Ahead and Keeping Them Chilled
- Refrigerator: Keep assembled sandwiches covered and refrigerated; they’re at their best within 2 days, before the cream softens the brownie edges.
- Freezer: Freezing the assembled sandwiches isn’t ideal. The whipped cream filling can lose its smooth texture as it thaws.
- Serving: Serve them chilled, after the refrigerator has helped the filling set. Don’t leave the cream-filled sandwiches sitting out for an extended stretch.
Questions That Come Up Before You Bake These Red Velvet Brownies
Christmas Red Velvet Brownie Sandwiches with Vanilla Cream
Ingredients
Equipment
Method
- Heat the oven to 350°F.
- Grease an 8x8-inch metal baking pan with the neutral oil and line it with parchment paper, leaving overhang on two sides.
- Melt the butter in a large microwave-safe bowl in 20-second bursts, stirring between bursts.
- Let the melted butter cool for 5 minutes.
- Whisk the sugar into the butter.
- Whisk in the eggs one at a time, followed by the vinegar and red food coloring.
- In a separate bowl, whisk together the flour, cocoa powder, and salt.
- Fold the dry ingredients into the butter mixture just until no dry streaks remain.
- Spread the batter in the prepared pan.
- Bake at 350°F for 25–30 minutes, until the top is set and a toothpick inserted near the center comes out with a few moist crumbs.
- Cool the brownies completely in the pan, about 1 hour.
- Lift the brownies out and cut into 16 equal squares.
- Beat the cream cheese, powdered sugar, and vanilla in a medium bowl until smooth.
- With the mixer on low, gradually pour in the cold heavy cream.
- Beat on medium-high until the cream is thick and holds stiff peaks, 2–3 minutes.
- Spread about 2 tablespoons of vanilla cream over 8 brownie squares.
- Top with the remaining squares.
- Refrigerate for at least 30 minutes to set, and keep covered in the refrigerator until serving.