
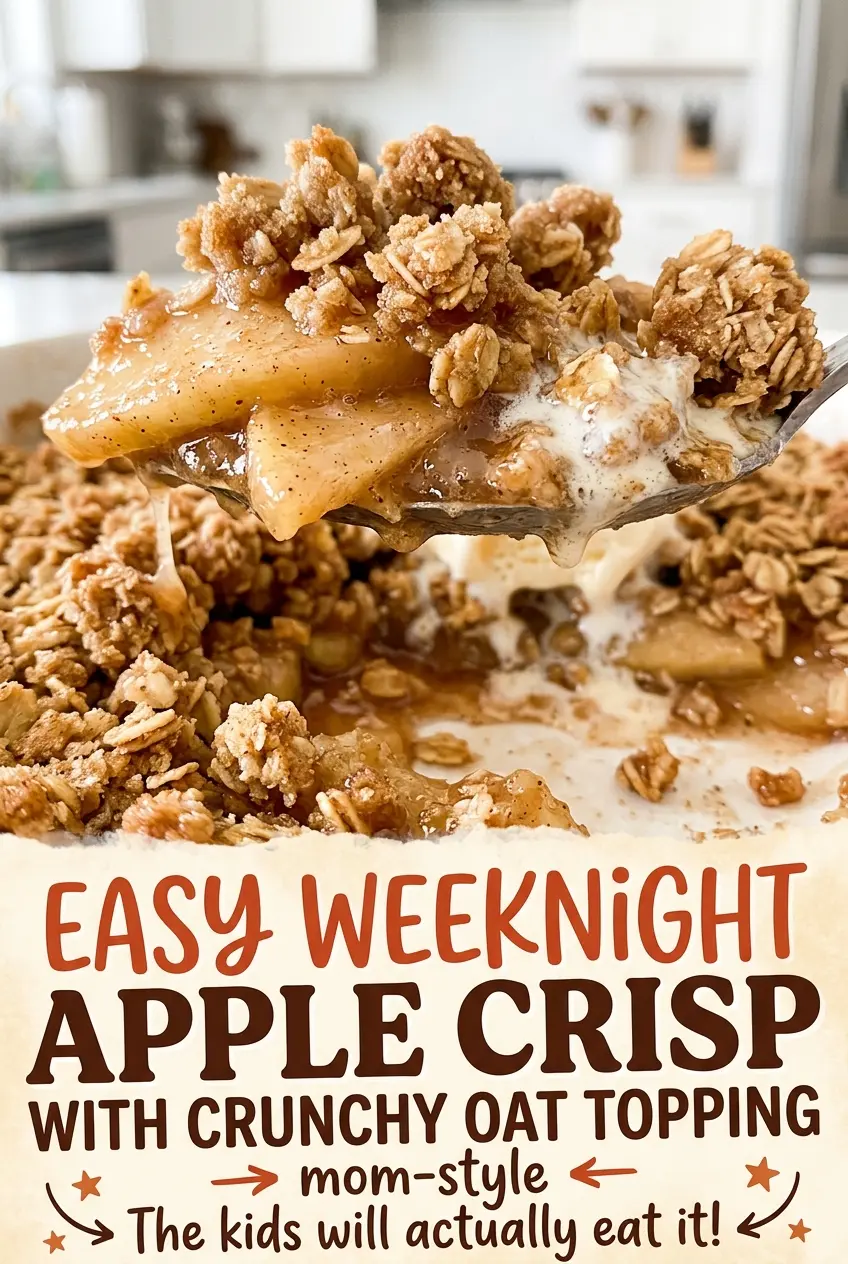
When bubbles begin breaking around the edges, the oat topping is turning golden and the apple slices underneath are softening into a cinnamon-scented filling. I watch for that contrast when I make this crisp: a top with real crunch and fruit that’s tender without disappearing into sauce.
This easy weeknight apple crisp keeps the prep straightforward. The apples go straight into the baking dish after they’re coated, and the topping comes together in one bowl. There’s no pastry to roll or separate filling to cook on the stove.
I like the way the brown-sugar oats bake into uneven little clusters, so every scoop has a bit of crunch alongside the soft apples. It’s the kind of warm, homey dessert that feels worth turning on the oven for, even on a regular weeknight.
Kitchen Note
Scrape the bowl well when the apples go into the baking dish. Those cinnamon-sugar juices that collect at the bottom belong in the filling, not down the drain.
Save this easy weeknight apple crisp for its golden oat topping and tender cinnamon apples—the kind of dessert that turns a simple baking dish into something cozy.
Why I Bake the Apples From Raw Instead of Pre-Cooking Them
Apple crisp doesn’t need a separate stovetop filling. The fruit softens right in the baking dish while the topping browns above it, which keeps this version to a single dish and lets the apple pieces hold their shape instead of starting the oven already soft.
That direct-to-dish approach works because the apples are sliced evenly and coated before baking. Sugar draws out a little juice, lemon brightens the fruit, and cornstarch helps the released liquid thicken as the dish cooks. The topping shields some of the fruit from direct heat, while the edges bubble openly; together, those cues tell you more than color alone.
It’s also a useful distinction if you’ve had crisp that turns into a loose puddle under a beautiful top. Give the filling enough time in the oven for its juices to bubble, then let the baked dish rest before scooping. The result should feel like tender fruit held in a spoonable filling, not raw slices under toasted oats.
The Ingredients That Keep the Apples Tender and the Oat Topping Crisp
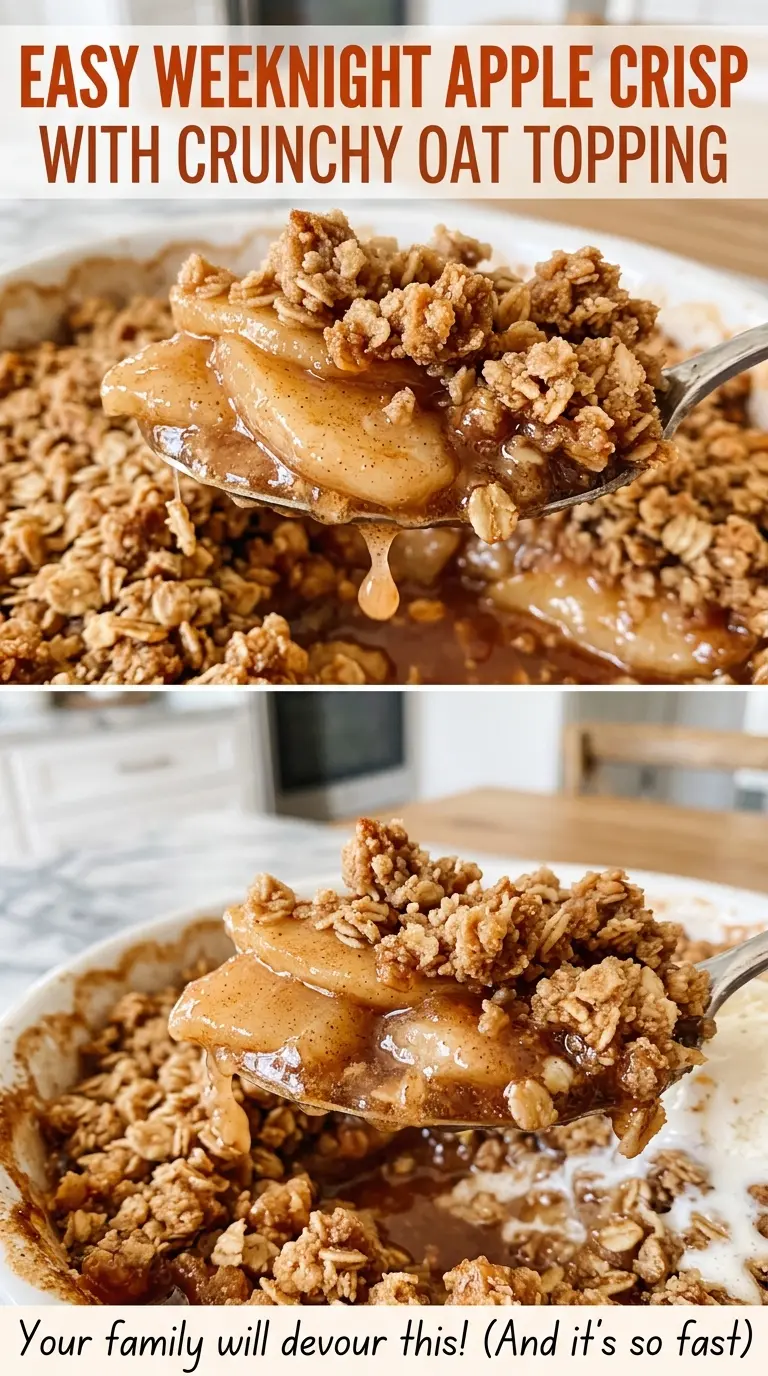
- Apples — Firm apples hold their shape better than soft, mealy ones. Granny Smith gives a sharper, tart filling; a firm, sweeter variety makes the finished crisp milder. Peeling and slicing them evenly keeps the fruit tender throughout.
- Granulated sugar, lemon juice, and cinnamon — Sugar sweetens the fruit and helps draw out its juices; lemon juice keeps the sweetness from feeling flat, and cinnamon brings warmth without taking over. Fresh lemon juice is a nice choice, but bottled lemon juice works here.
- Cornstarch — This is what helps the apple juices turn into a lightly thickened filling instead of staying thin. Whisking or tossing it through the fruit coating prevents pockets of dry starch; there isn’t a direct one-for-one substitute in this particular mixture that I’d recommend.
- Old-fashioned rolled oats — Their broad flakes give the topping its recognizable texture. Quick oats bake up more compact and less distinct, so rolled oats are worth buying for this crisp.
- All-purpose flour and packed light brown sugar — Flour helps bind the topping into crumbs, while brown sugar brings a soft caramel note. All-purpose flour is the dependable choice for the stated texture; pack the brown sugar so its measure stays consistent.
- Cold unsalted butter — Cold pieces cut into the dry mixture create separate, craggy crumbs as they bake. Unsalted butter lets the measured table salt do its job without guessing how much salt is already in the butter. Use butter straight from the refrigerator.
How to Get the Apples Tender Without Losing the Crumbly Top
Coat the Apples Evenly
Heat the oven to 375°F and grease a 9-inch square baking dish. Peel, core, and slice the apples 1/4 inch thick so they cook at a similar pace. Toss them in a large bowl with the granulated sugar, lemon juice, cinnamon, and cornstarch until every slice is coated. A few bare patches mean the coating hasn’t been distributed evenly yet.
Cut Cold Butter Into the Oat Mixture
Stir the oats, flour, brown sugar, and table salt together in a medium bowl. Add the cold butter pieces, then cut them in with a pastry cutter or your fingertips. Stop when the mixture forms coarse, clumpy crumbs rather than a smooth paste. If the butter starts to feel greasy and the mixture turns uniform, it’s been worked too far.
Layer the Fruit and Top It Loosely
Spread the coated apples in the prepared dish, then scatter the oat mixture evenly over the surface. Keep the topping as a loose layer rather than pressing it down; the rough crumbs are what toast into a crisp top. Check that the fruit is covered from edge to edge so no large patch is left bare.
Bake Until the Filling Bubbles
Bake for 40 to 50 minutes. Look for a golden-brown topping, bubbling filling around the edges, and apples a paring knife slides into easily. If the top is golden but a knife still meets firm fruit, the apples need more oven time. Let the crisp rest for 15 minutes before serving.
Three Adjustments That Change the Crisp Without Losing Its Cozy Feel
Use a Tart Apple for a Brighter Filling
Choose firm Granny Smith apples if you like a sharper contrast with the brown-sugar topping. Keep the same total amount of fruit and the same slice thickness; the crisp will taste less sweet and the apple pieces should stay nicely defined.
Make the Topping Gluten-Free
Replace the all-purpose flour with a cup-for-cup gluten-free flour blend, and use certified gluten-free old-fashioned rolled oats. Keep the same quantities. The crumb may be a little more delicate depending on the blend, but the apple filling stays the same.
Leave Out the Cinnamon
Omit the cinnamon if you want the apples to taste cleaner and more fruit-forward. The rest of the filling and topping stay unchanged, so there’s no other adjustment to make.
Storage and Reheating
- Refrigerator: Cover and refrigerate leftovers for up to 4 days. The topping softens as it sits against the fruit.
- Freezer: Freeze the baked crisp once it has cooled, wrapped tightly, for up to 3 months. Thaw it overnight in the refrigerator before reheating.
- Reheating: Warm it uncovered in a 350°F oven until heated through and the topping crisps again. The microwave is quick, but it softens the oat topping.
Apple Crisp Questions That Come Up at the Counter
Easy Weeknight Apple Crisp with Crunchy Oat Topping
Ingredients
Equipment
Method
- Heat the oven to 375°F.
- Grease a 9-inch square baking dish.
- Toss the apples in a large bowl with the granulated sugar, lemon juice, cinnamon, and cornstarch until evenly coated.
- Stir the oats, flour, brown sugar, and salt together in a medium bowl.
- Cut in the butter with a pastry cutter or your fingertips until the mixture forms coarse, clumpy crumbs.
- Spread the apples and any juices in the prepared baking dish.
- Scatter the oat topping evenly over the apples.
- Bake for 40 to 50 minutes, until the topping is golden brown, the filling bubbles around the edges, and a paring knife slides easily into the apples.
- Let the crisp rest for 15 minutes before serving.