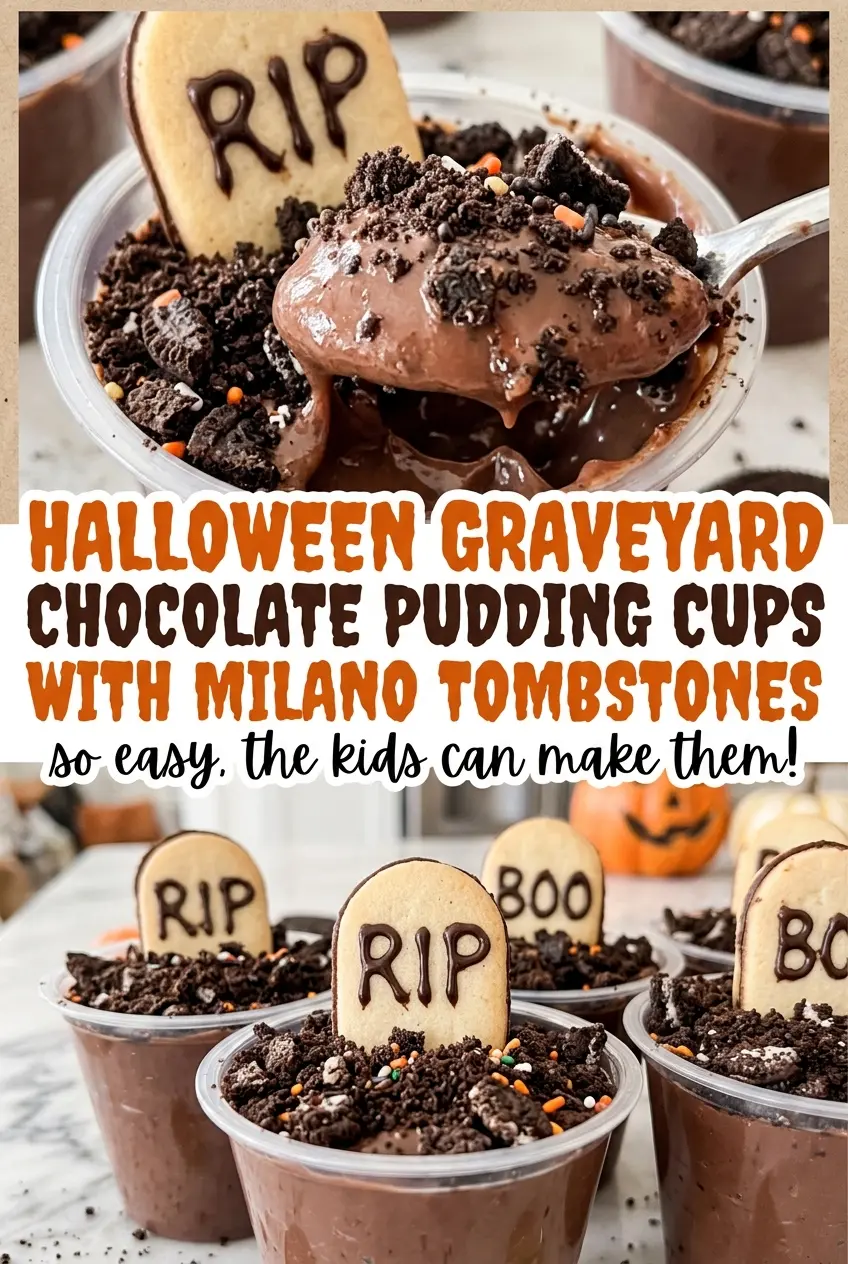
The pudding thickens while you whisk, then turns into a smooth, spoonable base after a short rest. I like that the cups can be chilling while I crush the chocolate sandwich cookies and write on the Milano tombstones, so the decorating stays simple and there’s no oven to watch.
These Halloween graveyard chocolate pudding cups are all about getting the order right: let the pudding become cold and set before adding the cookie soil. That keeps the crumbs on top instead of letting them sink into the chocolate. It also gives each Milano cookie a steadier place to stand.
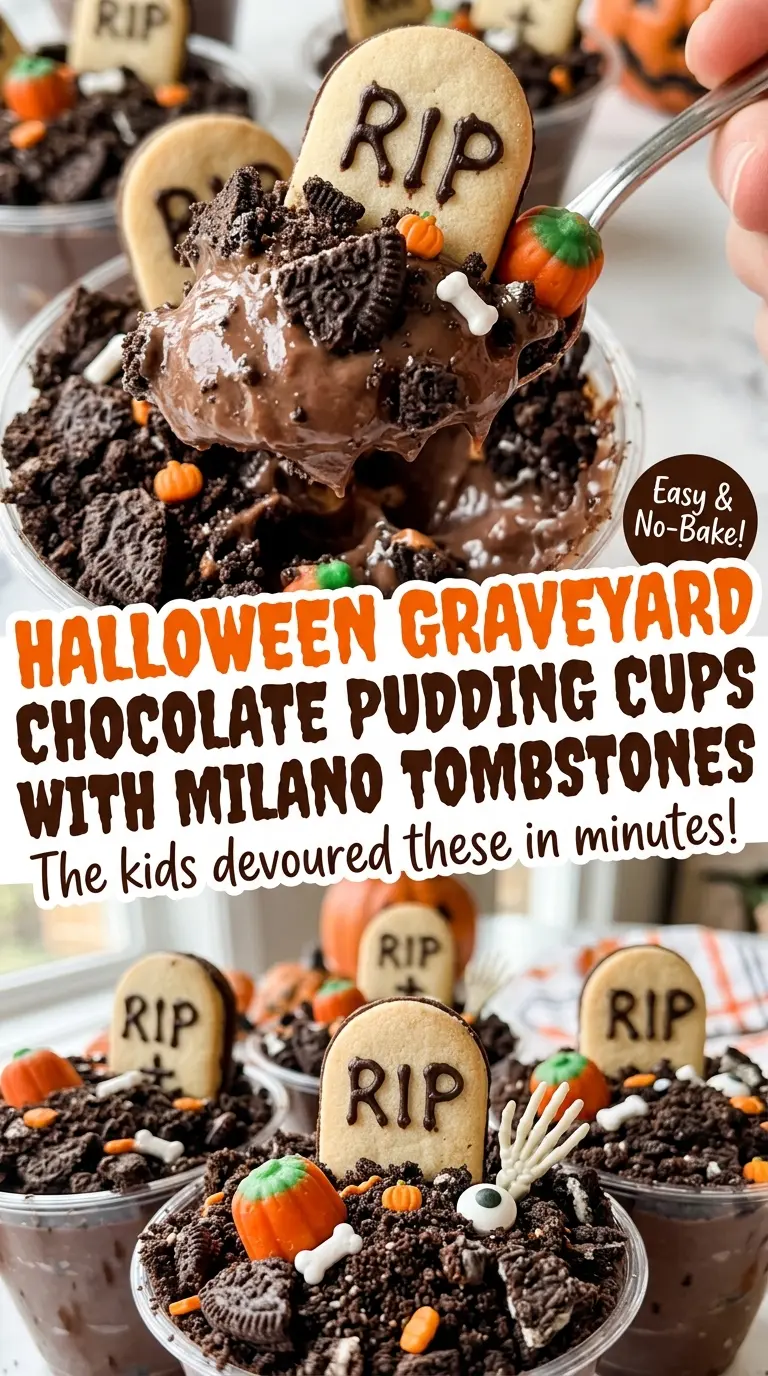
With a little black gel on each cookie and a layer of dark crumbs across the top, the finished cups look like tiny graveyards, but the spoon still meets cool chocolate pudding underneath.
Kitchen Note
Use a light hand with the decorating gel so the RIP lettering stays clear on each narrow Milano cookie. Write on the cookie before standing it in the cup; it’s much easier to control the lines while the cookie is flat.
Save these Halloween graveyard chocolate pudding cups for a spooky treat with chocolate-cookie soil and upright Milano tombstones.
Why the Crumb Layer Belongs on Cold, Set Pudding
The topping has two jobs: it gives the cups their dark, crumbly graveyard ground, and it helps each Milano tombstone look planted rather than perched. That only works when the pudding underneath has had time to firm up. If you add the cookie crumbs while the pudding is still loose, they can disappear into the surface and turn into a damp layer instead of a clear topping.
Give the pudding its full chill before decorating. The surface should feel cold and look set, not glossy and fluid when you tilt a cup gently. Once the crumbs are scattered over that firm top, the Milano cookie has a more stable bed to stand in. It’s a small timing choice, but it makes the finished cups look much more like individual little scenes.
The same order also makes serving easier. The spoon passes through the cookie layer and into the pudding, rather than dragging a thick, wet crumb patch through the cup. Keep the topping even rather than piling it in one spot; that leaves room for the tombstone to read clearly and gives every cup the same finished look.
What Gives These Cups Their Chocolate Soil and Tombstone Shape
- Instant chocolate pudding mix — Instant mix gives this dessert its no-cook chocolate base and thickens when whisked with cold milk. Use instant pudding rather than a cook-and-serve mix; the latter is made for a different preparation method. A standard grocery-store chocolate variety works well here.
- Cold whole milk — Cold milk hydrates the pudding mix and helps it thicken, while whole milk gives the cups a creamy texture. Keep it cold when you start whisking. I wouldn’t switch to a thinner milk for this version because the texture is built around whole milk.
- Chocolate sandwich cookies — Finely crushed cookies make the dark top look like soil and add a crisp contrast to the smooth pudding. A familiar store brand is fine; the useful detail is crushing them finely so the topping spreads evenly instead of leaving large chunks that are hard to balance around the tombstones.
- Milano cookies and black decorating gel — Milano cookies provide a flat face for the RIP lettering and enough height to stand above the crumbs. Choose intact cookies so the markers don’t crack while you handle them. Black decorating gel gives the lettering contrast without adding another topping or changing the chocolate flavor.
The Three Stages That Keep the Cups Smooth and Upright
Whisk the Instant Pudding Until It Starts to Thicken
Add the pudding mix and cold whole milk to a large bowl, then whisk for 2 minutes. Keep the whisk moving around the sides and through the center so dry mix doesn’t cling to the bowl. The mixture will begin to thicken as you work; stop at the 2-minute mark rather than whisking indefinitely. If dry streaks remain, scrape them in and whisk until the mixture looks even.
Rest, Portion, and Chill the Pudding
Let the pudding stand for 5 minutes to thicken further, then divide it evenly among eight 8-ounce dessert cups. Try to keep the portions level so each cup has space for the cookie topping. Refrigerate the cups for at least 1 hour, until the pudding is cold and set. Topping them before that chill is complete makes the crumb layer less distinct.
Finish Each Cup with Cookie Soil and a Marker
Sprinkle the finely crushed chocolate sandwich cookies evenly over the chilled pudding. Write RIP on each Milano cookie with the black decorating gel, then stand one cookie upright in each cup. Keep the lettering facing forward so it shows above the crumbs. If a cookie leans, reposition it while the topping is still loose rather than leaving it tilted.
Small Changes for Different Halloween Dessert Cups
Plain Milano gravestones
Leave off the black decorating gel and stand a plain Milano cookie in each cup. You’ll keep the recognizable tombstone shape and the chocolate-cookie topping, but lose the RIP lettering. This is a simple option when you want the graveyard look without piping on each marker.
Chocolate dirt cups without tombstones
Skip the Milano cookies and decorating gel, then finish each chilled cup with the finely crushed chocolate sandwich cookies. The result is a simpler pudding-and-crumb dessert with the same smooth and crunchy contrast, but without the upright decoration. It also makes the cups easier to cover and stack in the refrigerator.
Storage and Reheating
- Refrigerator: Keep the cups covered and refrigerated for up to 3 days. The cookie crumbs and Milano markers soften as they sit against the pudding.
- Freezer: Freezing isn’t recommended; thawed pudding can lose its smooth texture and the cookies won’t keep their crisp finish.
- Reheating: These cups are served cold, so reheating isn’t needed. Keep them chilled until serving rather than leaving them out to warm up.
Questions That Come Up When Making Graveyard Pudding Cups
Halloween Graveyard Chocolate Pudding Cups with Milano Tombstones
Ingredients
Equipment
Method
- Whisk the pudding mix and cold milk in a large bowl for 2 minutes.
- Let the pudding stand for 5 minutes to thicken.
- Divide the pudding evenly among eight 8-ounce dessert cups.
- Refrigerate the cups for at least 1 hour, until the pudding is cold and set.
- Sprinkle the crushed cookies evenly over the pudding cups.
- Write “RIP” on each Milano cookie with the decorating gel.
- Stand one Milano cookie upright in each cup.