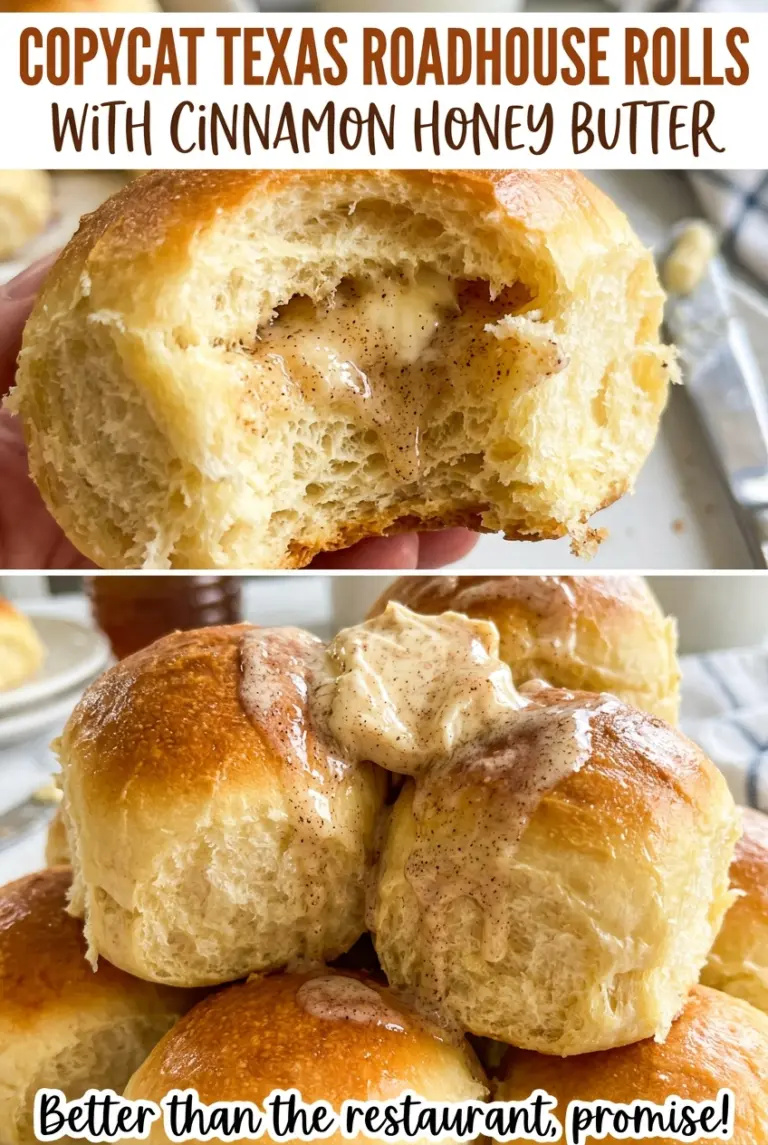
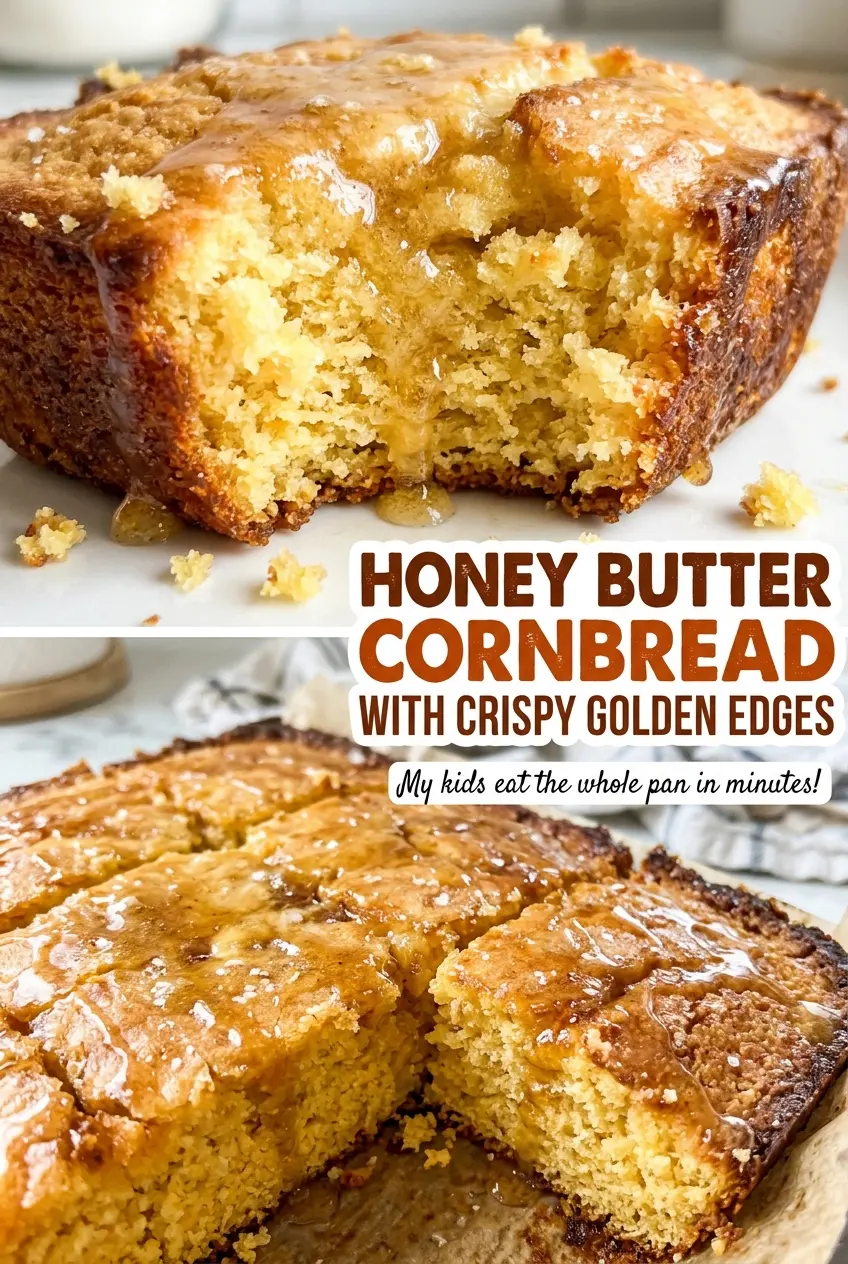
The rim starts to sizzle as soon as the batter hits the hot skillet, and that’s where the best part of this cornbread begins: the thin, golden edge that gives way to a soft center. I make Honey Butter Cornbread with Crispy Golden Edges in a preheated 10-inch cast-iron skillet, so the pan is already doing its work before the batter has a chance to settle.
The honey gives the crumb a gentle sweetness, while buttermilk keeps it tender. I like that the batter comes together in two bowls and needs only a quick stir; a few small lumps are better than a tough, overworked cornbread. The melted butter belongs in the wet ingredients, but let it cool slightly first so it blends smoothly with the eggs.
Serve it after its short rest in the skillet, when the center has set but the edges are still crisp. Each batch makes 8 servings, and a wedge has just enough honey warmth to taste at home beside a savory meal or on its own.
Kitchen Note
Let the melted butter cool slightly before whisking it with the eggs. Butter that’s still piping hot can cook the eggs in little flecks, and a brief cool-down makes the wet mixture smooth and easy to combine.
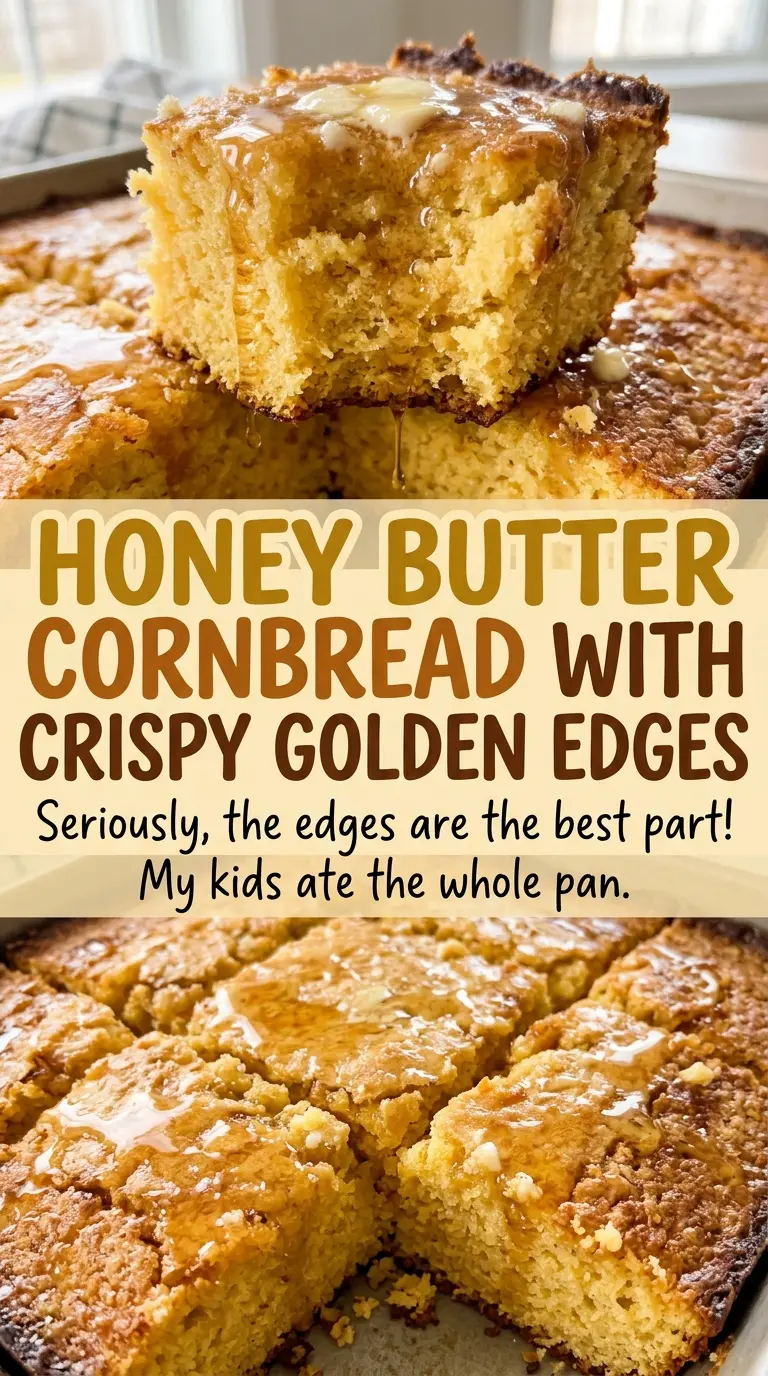
Save this honey butter cornbread for its tender center and crisp skillet-browned edges.
Why the Skillet Has to Be Hot Before the Batter Goes In
A cold pan gives the batter time to spread and warm gradually. That can leave the bottom pale and soft, even while the top looks baked. Preheating the cast-iron skillet changes the first moments of baking: the oil coats a hot surface, and the batter begins setting as soon as it lands. That quick contact is what helps create a crisp, browned edge around the tender middle.
There’s a practical reason to heat the skillet in the oven rather than on the stovetop: the pan warms evenly while the oven reaches 425°F. When you take it out, handle it carefully; the skillet is hot all over, including the handle. Swirl the neutral oil across the bottom, then pour in the batter promptly. If the pan cools while you’re getting organized, the edge won’t get the same head start. Have the mixed batter ready before removing the skillet so the transfer is quick and controlled.
This is a contrast recipe: crisp at the perimeter, soft through the middle. The hot skillet supports that contrast without requiring a separate crust-making step or extra toppings.
What Cornmeal, Buttermilk, and Honey Each Bring to the Batter
- Yellow cornmeal — It gives the bread its recognizable corn flavor and fine, nubby crumb. A standard fine or medium grind keeps the texture pleasant; very coarse meal can make each bite feel gritty. Choose a fresh-smelling bag, but there’s no need for a specialty brand.
- All-purpose flour — Flour balances the cornmeal and helps the slices hold together instead of crumbling apart. Regular all-purpose flour is the dependable choice here; a different flour changes the structure, so I keep this part of the blend as written.
- Baking powder and baking soda — Both help the batter rise, with the soda working alongside the acidity in the buttermilk. Fresh leaveners matter more than brand, because old baking powder or soda can leave the cornbread squat and dense.
- Buttermilk — Its tang balances the honey, and its acidity supports the baking soda. Plain milk isn’t a like-for-like swap in this formula; without the same acidity, the leavening balance and flavor change. Use fresh buttermilk and whisk it well before measuring.
- Eggs — The eggs bind the crumb and help the cornbread set as it bakes. Large eggs are the size this batter is built around, so use them at that size for a consistent result.
- Honey — Honey sweetens the crumb and gives it a rounded, floral note that plain sugar wouldn’t bring. A mild honey keeps the corn flavor prominent; a darker, stronger honey makes its own character more noticeable. A basic grocery-store honey works just fine.
- Unsalted butter — Melted butter brings richness through the crumb. Unsalted butter lets the measured fine salt stay in control, and any standard-quality butter works well here.
- Neutral oil — This is for coating the skillet, not for replacing the butter in the batter. Choose an oil without a strong flavor so the corn and honey stay in front.
Mix the Batter Quickly, Then Let the Hot Skillet Finish the Job
Warm the skillet while the oven heats
Set the oven to 425°F with the 10-inch cast-iron skillet inside. Let the pan heat as the oven comes to temperature, rather than putting batter into a room-temperature skillet. While it warms, gather a large bowl for the dry ingredients and a medium bowl for the wet ones. Having those bowls ready means you won’t be holding a hot skillet while searching for a whisk.
Whisk the dry and wet ingredients separately
Whisk the cornmeal, flour, baking powder, baking soda, and fine salt together in the large bowl so the leaveners are distributed throughout. In the medium bowl, whisk the buttermilk, eggs, honey, and slightly cooled melted butter until combined. Scrape any honey clinging to the bottom of the bowl into the mixture. The wet ingredients should look cohesive before they meet the dry ones.
Stir only until the flour disappears
Pour the wet mixture into the dry bowl and stir just until no dry streaks remain. Stop as soon as the flour is incorporated; the batter doesn’t need to look perfectly smooth. Continued stirring develops the flour and can make the finished crumb tough rather than tender. A few small lumps are fine.
Oil, bake, and rest before slicing
Carefully remove the hot skillet from the oven, add the neutral oil, and swirl to coat the bottom. Pour in the batter and return the skillet to the oven. Bake for 18 to 22 minutes, until the top is golden and a toothpick inserted in the center comes out clean or with a few moist crumbs; wet batter on the pick means it needs more time. Let the cornbread rest in the skillet for 10 minutes before slicing and serving.
Small Ingredient Choices That Change the Cornbread’s Character
Choose a mild or bold honey
Keep the honey amount the same and choose the variety for its aroma. A light, mild honey leaves the cornmeal and buttermilk in the foreground; a darker, more robust honey makes the sweetness taste deeper and more distinct. Neither changes the method, so this is an easy way to shift the character without changing the batter.
Pick a finer or more noticeable cornmeal texture
A fine grind gives a more even, soft crumb, while a medium grind leaves a little more cornmeal texture in each slice. Stay away from very coarse meal here, since it can remain gritty in this quick-mixing batter. The grind changes the mouthfeel, not the measured amount or the skillet method.
Storage and Reheating
- Refrigerator: Store cooled slices in an airtight container for up to 4 days. The crumb firms as it chills.
- Freezer: Wrap individual cooled slices well and freeze for up to 2 months for best texture. Thaw in the refrigerator or warm from frozen.
- Reheating: Wrap slices loosely in foil and warm in a 300°F oven until heated through. Avoid a long microwave blast, which can make the edges chewy.
Questions That Come Up Before the First Slice
Honey Butter Cornbread with Crispy Golden Edges
Ingredients
Equipment
Method
- Heat the oven to 425°F with a 10-inch cast-iron skillet inside.
- Whisk the cornmeal, flour, baking powder, baking soda, and salt in a large bowl.
- Whisk the buttermilk, eggs, honey, and melted butter in a medium bowl until combined.
- Pour the wet mixture into the dry mixture and stir just until no dry streaks remain; do not overmix.
- Carefully remove the hot skillet from the oven.
- Add the oil and swirl to coat the bottom.
- Pour in the batter and return the skillet to the oven.
- Bake for 18 to 22 minutes, until the top is golden and a toothpick inserted in the center comes out clean or with a few moist crumbs.
- Let the cornbread rest in the skillet for 10 minutes.
- Slice and serve.