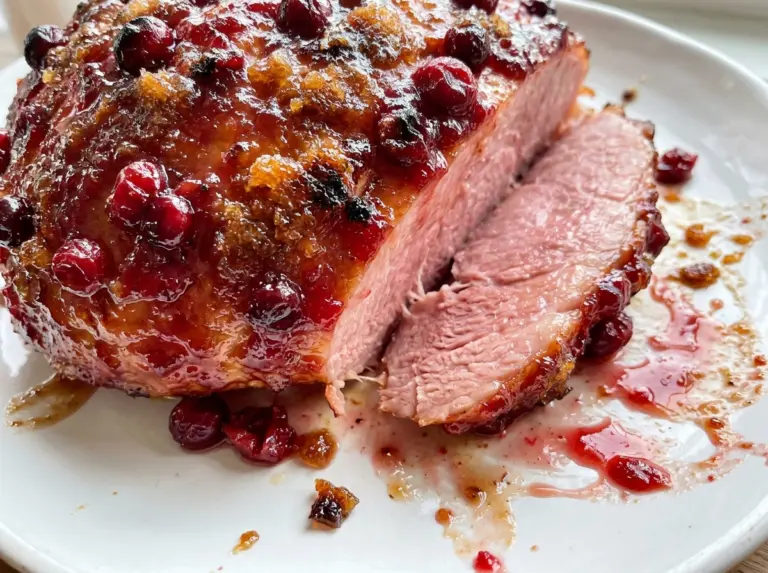
The chicken should be browned around the edges before it goes back into the sauce, but it still needs time under the lid to cook through. That’s what makes this One Pot Chicken and Stuffing Skillet with Sage work as a weeknight-style skillet dinner: the chicken finishes in a creamy sauce with vegetables, while the stuffing gets a quick soak in its own bowl instead of going straight into the pan.
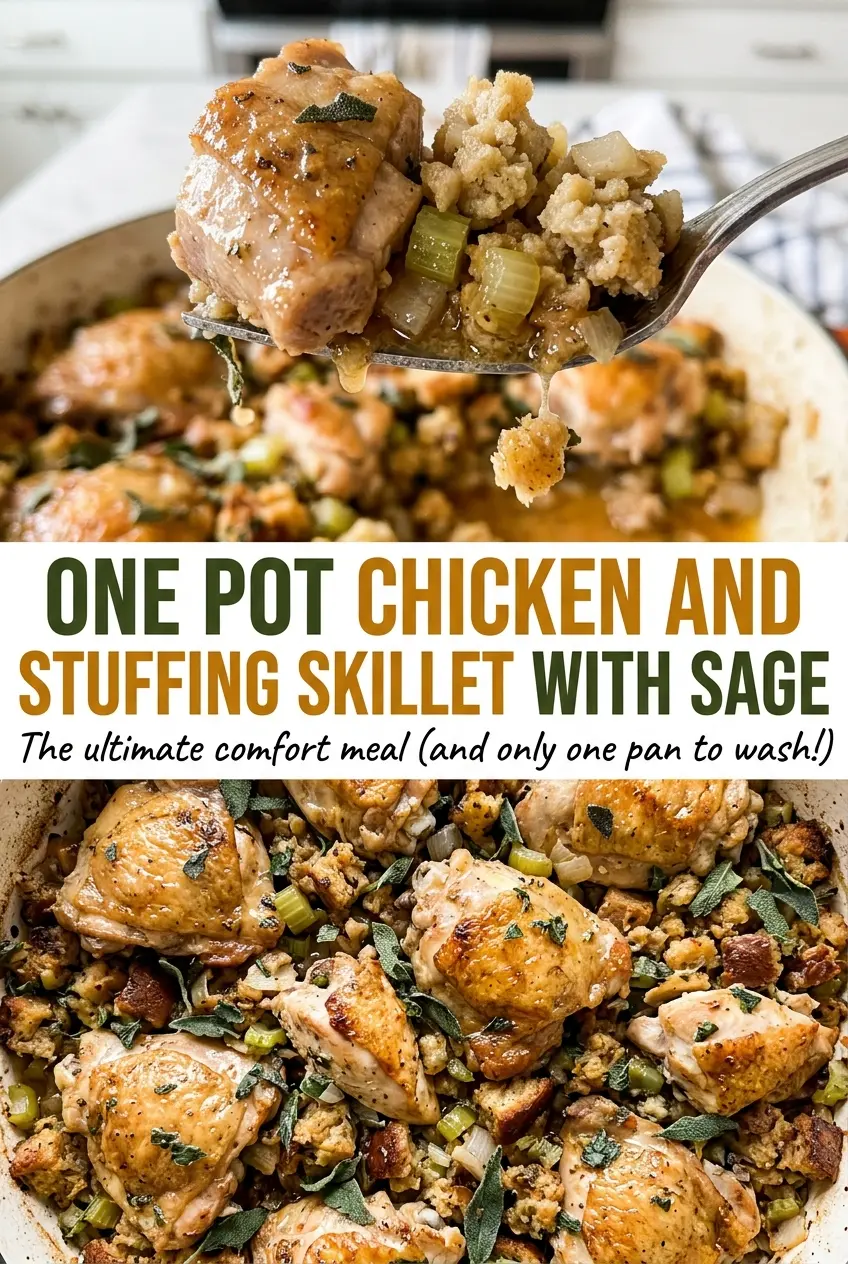
I like the contrast between the soft chicken and vegetables and the stuffing spooned over the top. The sage ties those familiar flavors together without taking over. Keep the chicken pieces about the same size, and you’ll have an easier time getting them tender at the same moment the sauce is ready for its blanket of stuffing.
Kitchen Note
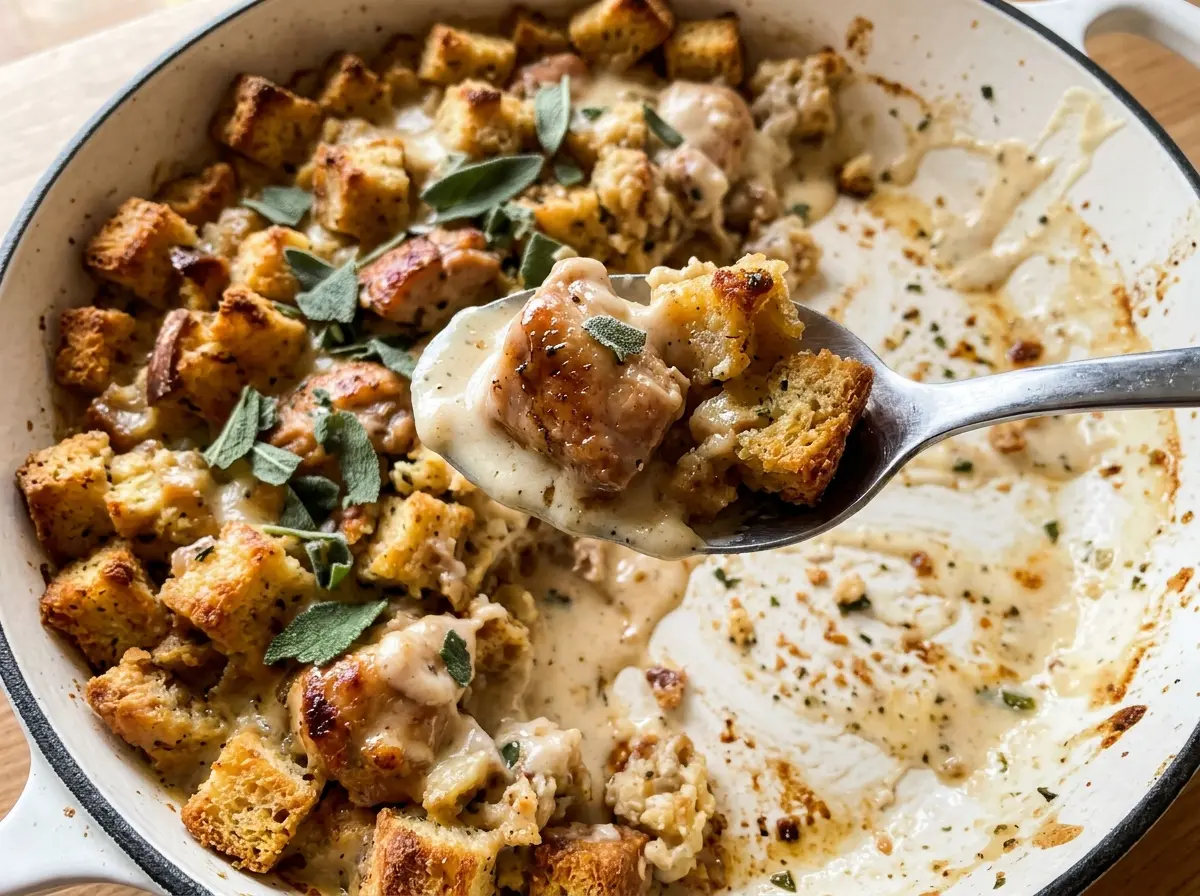
A deep 12-inch skillet with a lid gives this dinner the room it needs. The sauce can simmer without crowding the rim, and the lid is ready for the final stretch when the stuffing goes on top.
Save this One Pot Chicken and Stuffing Skillet with Sage for a cozy dinner with tender chicken, creamy sauce, and a savory stuffing topping.
Why the Stuffing Goes on Top, Not Into the Chicken Sauce
Stuffing mix needs liquid to soften, but the chicken sauce already has its own job: it coats the chicken and vegetables. Pouring the stuffing mix directly into that sauce would make the whole skillet absorb liquid in one layer, and you’d lose the clear difference between the creamy base and the tender topping. Preparing the stuffing separately keeps those textures distinct.
The timing matters, too. The stuffing hydrates while the chicken simmers, so it’s ready to spoon over the skillet just as the chicken finishes. Once it’s on top, the covered pan warms the stuffing without stirring it into the sauce. That gentle finish gives you a topping that’s moist throughout, with the chicken and vegetables still easy to scoop from underneath.
This layered approach also makes serving straightforward: each portion gets chicken, vegetables, sauce, and stuffing in one scoop. Keep the stuffing on the surface rather than folding it through. The sauce stays recognizable as a creamy base, and the stuffing keeps its own texture instead of becoming one thick mixture.
The Ingredients That Make the Creamy Base and Savory Topping Work
- Chicken breasts — Boneless, skinless pieces cut evenly cook at a similar pace and are easy to serve with the stuffing. Patting them dry helps the outside brown in the skillet rather than steam. Keep the pieces close to the specified size; a different cut changes the cooking time.
- Condensed cream of chicken soup — This gives the sauce its body and savory chicken flavor. Use condensed soup rather than ready-to-serve soup, which has a thinner consistency and would change the balance of the sauce. A store-brand can works just as well as a premium one.
- Chicken broth — Low-sodium broth lets the soup and stuffing contribute their own seasoning without making the sauce taste overly salty. The broth is divided between the sauce and the stuffing, so keeping those portions separate helps each part reach the right consistency.
- Chicken-flavored stuffing mix — The boxed mix brings seasoned bread pieces that soften with the hot broth and butter. Plain breadcrumbs won’t produce the same topping, so stick with stuffing mix for this format. The brand doesn’t need to be special; the chicken flavor and bread texture are what matter.
- Rubbed sage — Rubbed sage adds the earthy note that makes this skillet taste like chicken and stuffing rather than a plain creamy chicken dish. It’s worth using the specified form for a consistent seasoning level; fresh sage doesn’t swap in neatly by the same measure.
- Onion and celery — These diced vegetables soften in the skillet before the sauce goes in, giving the base its familiar savory backbone. Keep the pieces small and similar in size so they soften together instead of leaving large crunchy bits.
- Frozen peas and carrots — They add color and small bites of sweetness to the sauce, and frozen vegetables are convenient here. Add them straight from the freezer; there’s no need to thaw them first.
- Unsalted butter — Butter enriches the liquid that hydrates the stuffing. Unsalted butter keeps the seasoning easier to manage alongside the canned soup and seasoned mix; salted butter will make the topping taste saltier.
Building the Skillet in Five Stages
Brown the Chicken Without Cooking It Through
Pat the chicken pieces dry, then season with kosher salt and black pepper. Heat the olive oil in the covered 12-inch deep skillet over medium-high heat, and cook the chicken for 4–5 minutes, stirring occasionally. Look for browned patches on the outside; the centers should not be cooked through yet. Transfer the chicken to a plate so it can finish gently in the sauce.
Soften the Vegetables and Start the Sauce
Add the diced onion and celery to the same skillet and cook for 3–4 minutes, stirring, until softened. Stir in the condensed soup, the portion of broth set aside for the sauce, the frozen peas and carrots, and the rubbed sage. As the mixture heats, stir until the soup is incorporated rather than leaving thick streaks. Bring the sauce to a simmer before returning the chicken.
Finish Cooking the Chicken in the Covered Sauce
Return the chicken and any juices from the plate to the skillet, then cover and lower the heat to medium-low. Let it simmer for 6–8 minutes, checking the thickest pieces with an instant-read thermometer. The chicken is ready when those pieces reach 165°F. If the pieces vary in size, check more than one rather than relying on the smallest piece.
Hydrate the Stuffing While the Chicken Simmeres
While the chicken cooks, heat the remaining broth with the butter in a microwave-safe measuring cup until steaming and the butter has melted, about 1–2 minutes. Pour it over the stuffing mix in a heatproof bowl, cover the bowl, and let it stand for 5 minutes. The bread should be softened and moistened throughout before you add it to the skillet. Keep the bowl covered during that rest so the heat stays in.
Top the Skillet and Let It Settle
Spoon the prepared stuffing evenly over the chicken and sauce; don’t stir it in. Cover the skillet and cook over low heat for 3–5 minutes, until the stuffing is hot throughout. Take the skillet off the heat and leave it covered for 5 minutes before serving. That short rest gives the layers a chance to settle, making portions easier to lift from the pan.
Small Changes That Keep the Skillet’s Cozy Character
Leave Out the Peas and Carrots
For a simpler chicken-and-stuffing skillet, omit the frozen peas and carrots and keep the rest of the ingredients and method the same. The sauce will have fewer vegetable bites and a less sweet finish, while the chicken, sage, and stuffing still provide the main character of the dish.
Make the Sage Note Milder
Leave out the rubbed sage for a milder, more straightforward chicken-and-stuffing flavor. The sauce will lose that earthy, classic stuffing note, but the seasoned stuffing mix still gives the topping a savory taste.
Storage and Reheating
- Refrigerator: Refrigerate leftovers within 2 hours in an airtight container and use within 3–4 days. The stuffing softens as it sits against the sauce.
- Freezer: Freeze in an airtight freezer-safe container for up to 2 months. The chicken and sauce hold up well, though the stuffing will be softer after thawing.
- Reheating: Warm individual portions covered in the microwave, or reheat a larger portion covered in a skillet over low heat, until steaming hot throughout. Leaving the stuffing uncovered can dry it out before the center warms.
Questions That Come Up With Chicken and Stuffing Skillet
One Pot Chicken and Stuffing Skillet with Sage
Ingredients
Equipment
Method
- Pat the chicken dry and season it with the salt and pepper.
- Heat the oil in a 12-inch deep skillet with a lid over medium-high heat.
- Cook the chicken for 4–5 minutes, stirring occasionally, until browned on the outside but not cooked through; transfer it to a plate.
- Add the onion and celery to the skillet and cook for 3–4 minutes, stirring, until softened.
- Stir in the soup, 1/2 cup broth, peas and carrots, and sage, then bring the sauce to a simmer.
- Return the chicken and any juices to the skillet, cover, and simmer over medium-low heat for 6–8 minutes, until the chicken reaches 165°F in the thickest pieces.
- While the chicken simmers, heat the remaining 1 1/2 cups broth and the butter in a microwave-safe measuring cup until steaming and the butter is melted, about 1–2 minutes.
- Pour the broth mixture over the stuffing mix in a heatproof bowl.
- Cover and let stand for 5 minutes.
- Spoon the stuffing evenly over the chicken and sauce, cover the skillet, and cook over low heat for 3–5 minutes, until the stuffing is hot throughout.
- Remove the skillet from the heat and let it rest, covered, for 5 minutes before serving.