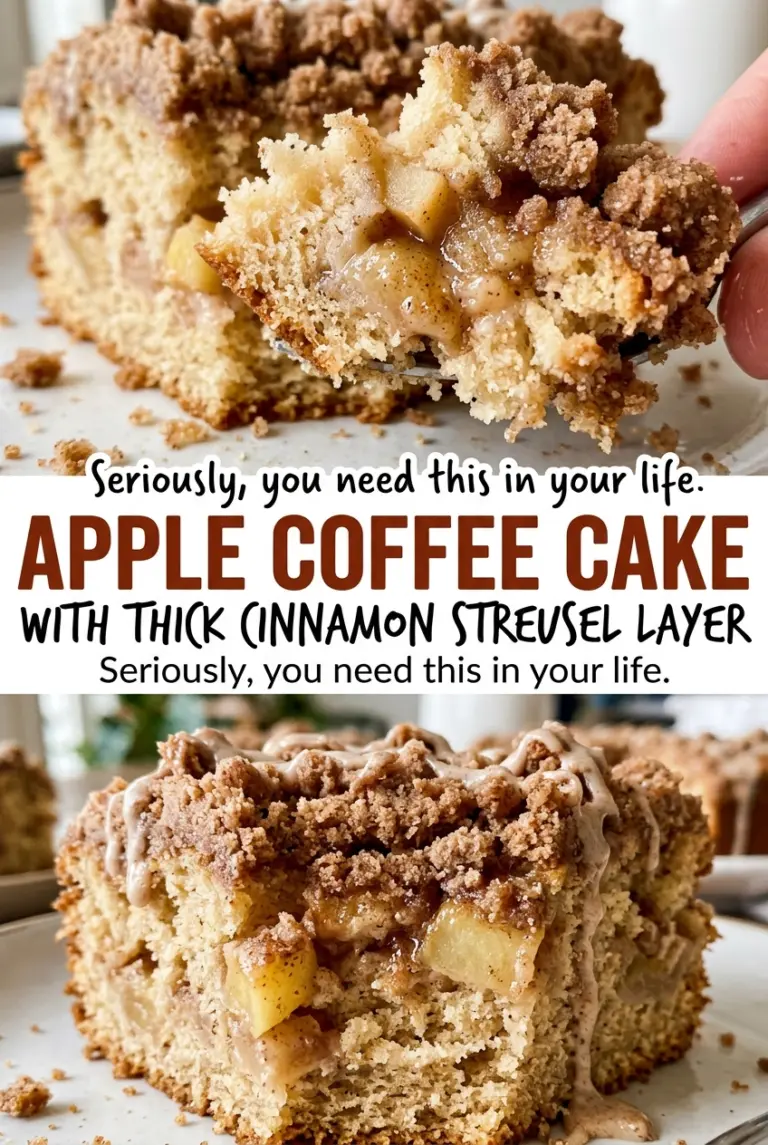
The pepitas start to smell nutty before the muffin batter is even mixed, and they’re easy to leave in the skillet a minute too long. I watch for the first light browning, then move them to a plate so they cool instead of continuing to toast. That crisp, savory topping is a lovely contrast to the soft pumpkin crumb in these pumpkin cream cheese muffins.
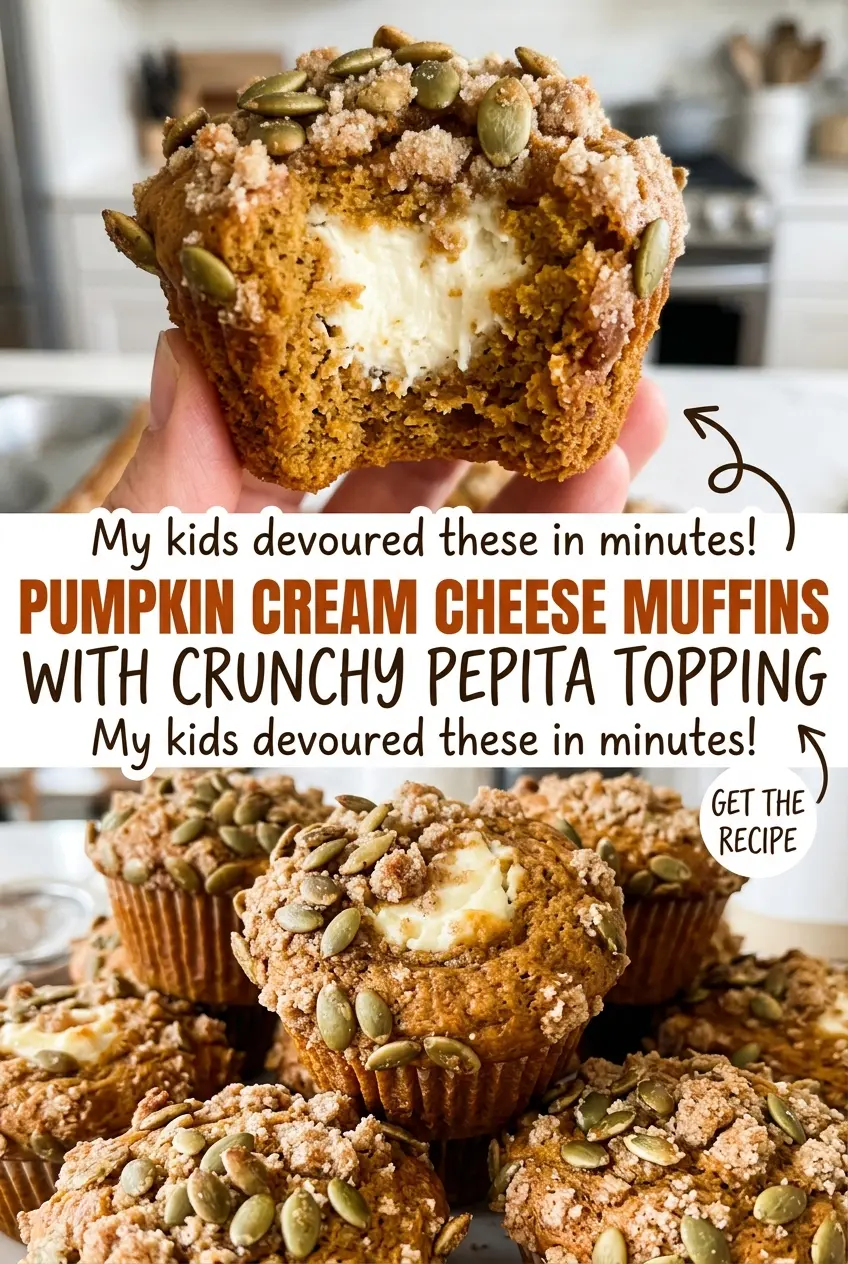
The filling goes in the middle, not on top, so each muffin has a creamy center tucked inside the spiced batter. I like how the tang of the cream cheese cuts through the brown sugar and pumpkin without taking over. A little care when folding the batter keeps the muffins tender, while the pepitas add a crisp finish to each bite.
Kitchen Note
Pepitas can go from lightly browned to bitter quickly, so stay at the skillet and stir often. As soon as they smell fragrant and look lightly browned, move them onto a plate to cool.
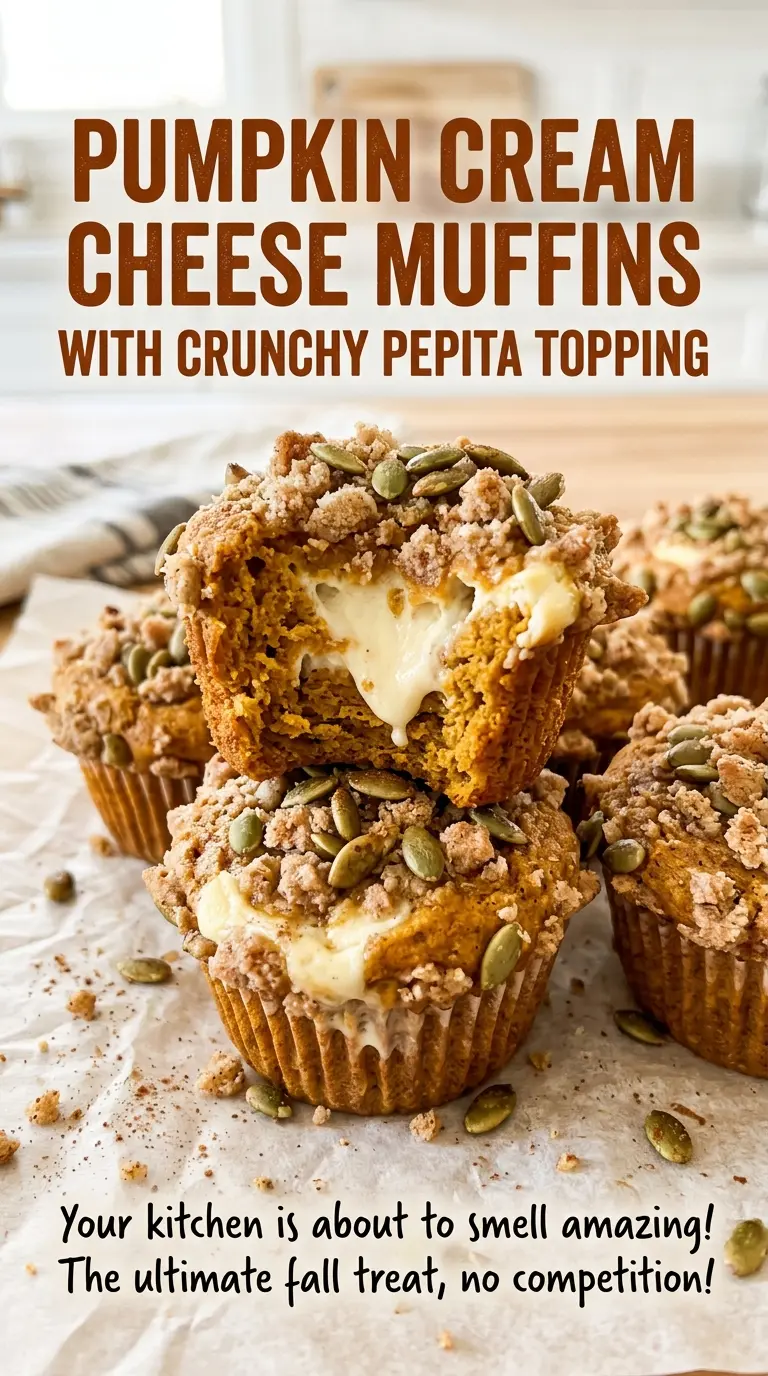
Save these pumpkin cream cheese muffins for a bake with a creamy center, warmly spiced crumb, and crisp toasted pepitas on top.
Why Pumpkin Muffin Batter Needs a Light Hand
Pumpkin batter can seem sturdy as you fold it, but mixing until it looks perfectly smooth is a quick way to get a tougher muffin. Once flour meets the wet ingredients, extra stirring develops gluten. That can make the crumb tight instead of soft, and it’s an easy mistake to make when you’re trying to chase down every small lump.
Whisking the dry ingredients together first spreads the baking soda, baking powder, salt, and spices through the flour. Then the pumpkin mixture can be folded in evenly without aggressive mixing. Stop as soon as you can’t see dry flour streaks. A few small lumps are fine; they’ll disappear as the muffins bake. The batter should look thick and evenly spiced, not glossy from being worked over.
This light touch also helps each muffin hold its layers. The batter doesn’t need to be smooth like cake batter before you portion it; it just needs to be combined. That restraint gives the pumpkin crumb room to rise around the cream cheese filling instead of baking up dense.
The Ingredients Behind the Creamy Center and Tender Crumb
- Canned pumpkin puree — It brings pumpkin flavor and moisture to the crumb. Use plain puree, not a sweetened or spiced pumpkin product; a standard grocery-store can works well. There’s no need to strain it.
- Cream cheese — This gives the center its tang and creamy texture. Block-style cream cheese is easiest to beat smooth once softened; whipped or spreadable tub cream cheese can make the filling looser. Neufchâtel is a workable lower-fat swap, though its filling will be a little less rich.
- Eggs — The whole eggs help bind and set the muffin batter, while the separate yolk enriches the cream cheese filling. Large eggs keep the proportions balanced. Separate the yolk carefully so no white gets into the filling.
- All-purpose flour — It gives the muffins enough structure to hold the cream cheese layer. A regular, inexpensive bag is fine here; the flour doesn’t need special treatment or high-protein strength.
- Neutral oil — It keeps the crumb moist and lets the pumpkin and spices come through. Use a mild-tasting oil rather than one with a strong flavor; the everyday bottle in your pantry is suitable.
- Raw pepitas — They bring a crisp, lightly nutty finish that contrasts with the soft muffin. Raw pepitas are the right choice because they toast in the skillet; pre-roasted seeds can brown too much before they’re fragrant.
Building Each Muffin Around Its Cream Cheese Center
Prepare the pan and toast the pepitas
Heat the oven to 350°F and line a standard 12-cup muffin pan with paper liners. Toast the raw pepitas in a dry 10-inch skillet over medium heat, stirring often, for 3 to 5 minutes. Look for light browning and a fragrant, nutty smell rather than a deep brown color. Transfer them to a plate to cool while you mix the batter.
Beat the filling until smooth
Beat the softened cream cheese with the granulated sugar and egg yolk in a medium bowl. Keep going until the mixture looks smooth, with no visible cream cheese lumps. If the cream cheese is still cold and firm, lumps are harder to work out, so give it time to soften before you start. Set the bowl aside while you prepare the muffin batter.
Whisk the dry and wet mixtures separately
In a large bowl, whisk together the flour, baking soda, baking powder, cinnamon, ginger, nutmeg, and kosher salt. In a separate bowl, whisk the pumpkin puree, whole eggs, brown sugar, oil, and vanilla until smooth. Add the pumpkin mixture to the flour mixture. Fold just until no dry streaks remain, scraping the bottom of the bowl so flour isn’t hiding there.
Layer the filling and finish with pepitas
Divide half of the batter among the lined muffin cups, then add about 1 tablespoon of cream cheese filling to each cup. Divide the remaining batter over the filling so it’s covered rather than sitting exposed on top. Sprinkle the toasted pepitas evenly over the muffins. Keeping the filling between the two layers of batter gives each one a creamy middle.
Bake until the tops spring back
Bake for 22 to 26 minutes, until the muffin tops spring back when lightly pressed and the filling is set. Check the center of a cream cheese portion with an instant-read thermometer; it should reach 160°F. If the tops spring back but the filling hasn’t reached that temperature, give the muffins more time in the oven. Cool them in the pan for 10 minutes, then transfer them to a wire rack.
Two Swaps That Keep These Muffins on Track
Use sunflower kernels instead of pepitas
Swap in the same volume of raw sunflower kernels for the pepitas. Toast them in the dry skillet over medium heat, stirring often, until they smell nutty and look lightly browned. The topping keeps its crunch, with a milder, less pumpkin-seed-like flavor.
Make a gluten-free batch
Replace the all-purpose flour with a cup-for-cup gluten-free baking blend that’s designed for muffins and contains xanthan gum. Fold gently and stop as soon as the batter is combined. The crumb may be a little more delicate, so let the muffins cool in the pan before moving them to the rack.
Storage and Reheating
- Refrigerator: Refrigerate in an airtight container within 2 hours of baking and keep for up to 4 days. The crumb firms up when chilled, and the pepita topping may lose some of its crunch.
- Freezer: These freeze well. Wrap each cooled muffin individually, place them in a sealed freezer-safe bag or container, and freeze for up to 2 months; the cream cheese center may be slightly softer after thawing.
- Reheating: Thaw in the refrigerator, then warm briefly in the microwave in short bursts. Long microwave heating can make the muffin rubbery and the filling much hotter than the crumb.
Questions That Come Up Before These Go in the Oven
Pumpkin Cream Cheese Muffins with Crunchy Pepita Topping
Ingredients
Equipment
Method
- Preheat the oven to 350°F.
- Line a 12-cup standard muffin pan with paper liners.
- Toast the pepitas in a dry 10-inch skillet over medium heat for 3 to 5 minutes, stirring often, until fragrant and lightly browned.
- Transfer the pepitas to a plate to cool.
- Beat the cream cheese, granulated sugar, and egg yolk in a medium bowl until smooth.
- Whisk the flour, baking soda, baking powder, cinnamon, ginger, nutmeg, and salt in a large bowl.
- Whisk the pumpkin puree, eggs, brown sugar, oil, and vanilla in a separate bowl until smooth.
- Add the pumpkin mixture to the flour mixture and fold just until no dry streaks remain.
- Divide half of the batter among the muffin cups.
- Add about 1 tablespoon of filling to each muffin cup.
- Divide the remaining batter over the filling.
- Sprinkle the toasted pepitas evenly over the muffins.
- Bake for 22 to 26 minutes, until the muffin tops spring back and the filling is set; the center of a cream cheese portion should reach 160°F on an instant-read thermometer.
- Cool the muffins in the pan for 10 minutes.
- Transfer the muffins to a wire rack.