

Red White & Blue Marble Ice Cream
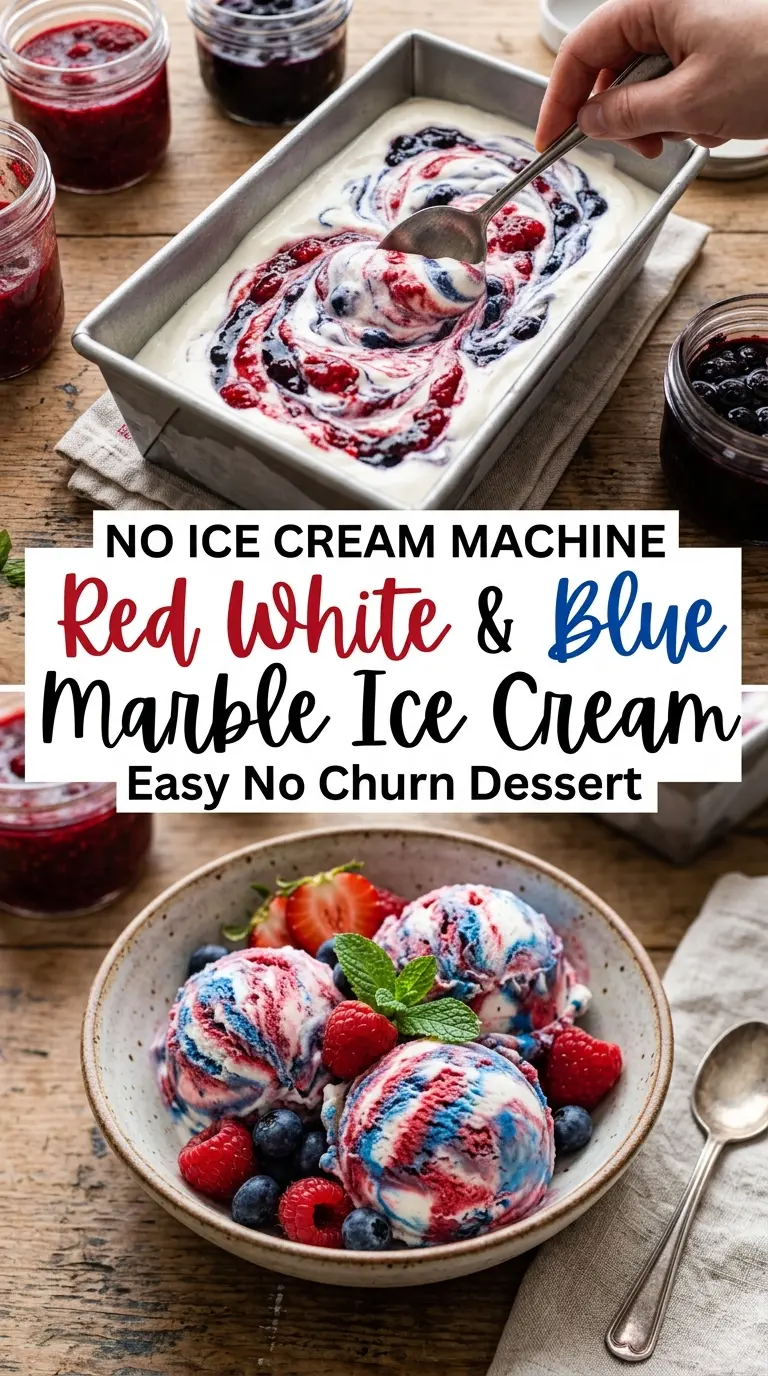
Red, white, and blue marble ice cream earns its place in the freezer because it looks festive without asking for any fussy work, and the texture stays soft enough to…
Tip: save now, cook later.Red, white, and blue marble ice cream earns its place in the freezer because it looks festive without asking for any fussy work, and the texture stays soft enough to scoop if you build it right. You get the clean vanilla base, then those bright berry ribbons running through each spoonful, with just enough contrast to keep it from tasting flat or one-note.
The trick is keeping the base light and folding it together gently after the cream reaches stiff peaks. That whipped cream gives the ice cream its body, while the sweetened condensed milk keeps it creamy instead of icy. The preserves matter too: they bring concentrated fruit flavor and a thick ribbon that swirls instead of disappearing into the mixture.
Below, I’m walking through the easiest way to get a true marble effect instead of a muddied pink-and-blue blend, plus a few swaps that help if you want to use what’s already in your pantry.
The swirls stayed distinct and the ice cream scooped beautifully after overnight freezing. I used good berry preserves and the flavor came through in every bite without getting icy.
Save this Red White & Blue Marble Ice Cream for a no-churn dessert with creamy vanilla and bold berry ribbons.
The Part That Keeps No-Churn Ice Cream Creamy Instead of Icy
No-churn ice cream lives or dies by the balance between air and sweetness. The whipped cream gives this dessert its lightness, but the condensed milk keeps the texture supple after freezing. If you stir too aggressively at the folding stage, you knock out the air and end up with a denser, harder block that doesn’t scoop cleanly.
The other place people go wrong is with the preserves. Thin fruit sauce bleeds into the base and turns everything a pale purple mess. Thick strawberry and blueberry preserves hold their shape long enough to create those clear ribbons, and that little burst of concentrated fruit is what makes each scoop taste layered instead of just sweet.
What Each Ingredient Is Actually Doing in This Dessert
- Heavy whipping cream — This is what gives the ice cream body and that soft, scoopable texture. Whip it to stiff peaks; if it’s still loose, the mixture won’t hold enough structure in the freezer.
- Sweetened condensed milk — This replaces the churning and keeps the base creamy. Don’t swap in regular milk or the texture will freeze hard and icy.
- Vanilla extract — Vanilla rounds out the berry preserves and keeps the base from tasting like sweet cream alone. Use real vanilla if you can; it doesn’t need to be fancy, just not flat.
- Strawberry and blueberry preserves — The thickness matters here more than the brand name. Jam works in a pinch, but preserves usually give better ribbons because the fruit pieces and thicker consistency stay visible when you swirl.
- Fresh strawberries and blueberries — These are for garnish, not structure, so use what looks good. They add a fresh finish and make the finished dessert read as red, white, and blue right at the table.
How to Swirl the Layers Without Turning Them Purple
Whipping the Cream to the Right Point
Start with cold cream and a clean bowl so the foam builds quickly and holds its shape. Stop at stiff peaks, where the cream stands up firmly when you lift the beaters, but don’t keep going until it looks grainy. Overwhipped cream turns dry and can give the finished ice cream a slightly buttery texture.
Folding the Base Gently
Stir the vanilla and condensed milk together first, then fold the whipped cream in with a wide spatula. Use long, slow strokes and stop as soon as no white streaks remain. If you beat it like cake batter, you lose the air that keeps the ice cream soft after freezing.
Building the Marble Effect
Spoon in half the base, dot on the preserves, then add the rest of the mixture and finish with more fruit on top. Drag a knife through the pan just a few times in wide curves. Too much swirling blends everything together, and you lose the bold red and blue streaks that make the dessert look special.
Freezing Until It Scoops Cleanly
Cover the pan tightly and freeze it for at least six hours, though overnight gives the cleanest scoop. The center should feel firm all the way through, not just set around the edges. If you try to serve it too early, the swirls collapse and the texture turns slumpy instead of creamy.
Three Ways to Make This Your Own
Dairy-Free Version
Use a dairy-free whipping topping and a coconut-based condensed milk alternative. The texture stays close to the original, though the coconut flavor will show through a little, which works nicely with berry preserves.
Swapping the Preserves
Raspberry and blackberry preserves work well if you want a sharper berry note. Use the same amount, but expect a deeper color and a slightly tarter finish. Thin sauces don’t hold the marble as well, so stick with something thick enough to sit in dollops.
Turning It into a Gluten-Free Crowd Dessert
The base here is naturally gluten-free, so the only thing to check is the preserves and any toppings you add. Serve it in a bowl, cone, or between gluten-free cookies for a frozen sandwich-style dessert.
Making It Ahead for a Party
This dessert holds well if you freeze it the day before and garnish right before serving. Add the fresh berries at the end so they stay bright and don’t leak juice across the top.
Storage and Reheating
- Refrigerator: Don’t store this in the fridge; it will melt and lose the marble effect within a short time.
- Freezer: Keeps well for up to 2 weeks when wrapped tightly or sealed in an airtight container. After that, the texture can start to pick up ice crystals.
- Reheating: Not applicable. Let it sit at room temperature for 5 to 10 minutes before scooping so the spoon cuts through cleanly instead of cracking the top.
Answers to the Questions Worth Asking

Red White & Blue Marble Ice Cream
Ingredients
Equipment
Method
- In a large bowl, whip the heavy whipping cream until stiff peaks form, 0-10 minutes, using a clear visual cue of peaks that stand straight when the beaters are lifted.
- In a separate bowl, combine sweetened condensed milk and vanilla extract until smooth, about 1-2 minutes, with no visible streaks.
- Fold the whipped cream into the condensed milk mixture until evenly combined, 2-3 minutes, keeping a light, fluffy texture with no large white lumps.
- Transfer half of the mixture into a loaf pan and spread into an even layer, creating a smooth base for the ribbons.
- Drop spoonfuls of strawberry preserves and blueberry preserves over the mixture, then distribute them so you see red and blue spots across the surface.
- Add the remaining ice cream mixture over the preserves and smooth the top lightly so the ribbons are partially covered.
- Add additional dollops of preserves on top so the color is visible after freezing.
- Use a knife to gently swirl and create a marble effect, dragging through the surface in 6-10 slow strokes for a ribboned look without fully mixing.
- Cover tightly and freeze for at least 6 hours, until firm enough to scoop and hold shape.
- Scoop and serve with fresh strawberries and fresh blueberries as garnish, adding the berries right before eating for the freshest color and flavor.