
Italian Herb Chicken
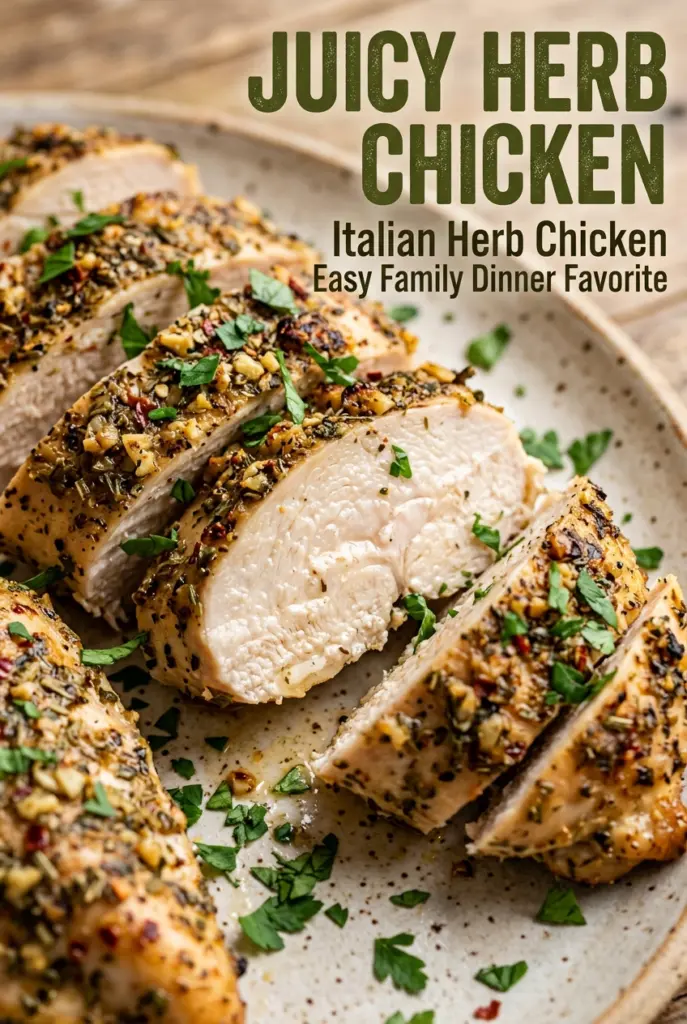
Juicy chicken breasts with a deeply savory herb crust are the kind of weeknight dinner that earns repeat status fast. The outside turns fragrant and lightly golden in the oven…
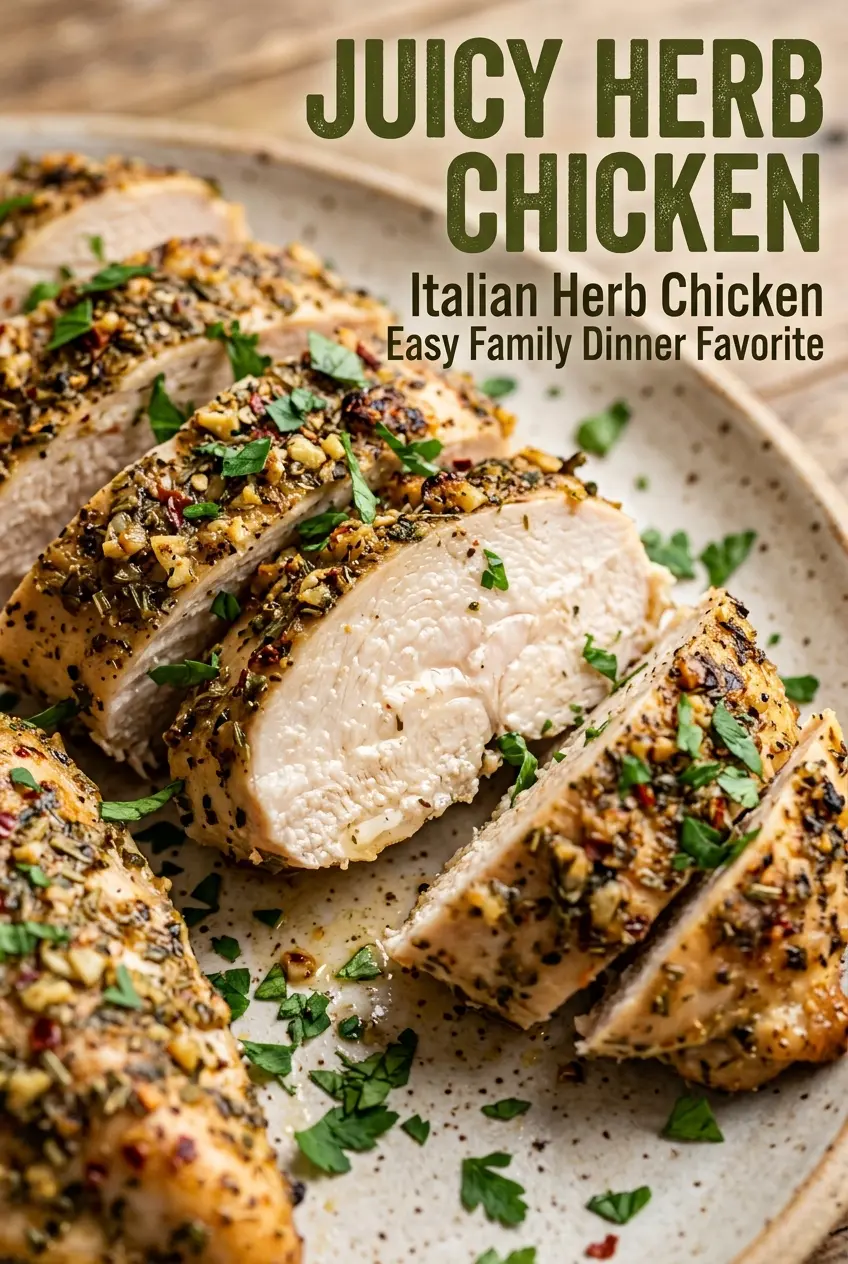
Tip: save now, cook later.Juicy chicken breasts with a deeply savory herb crust are the kind of weeknight dinner that earns repeat status fast. The outside turns fragrant and lightly golden in the oven while the inside stays tender enough to slice cleanly instead of drying out into stringy pieces. It tastes like you worked harder than you did, which is always a win on a busy night.
The trick here is a simple one: dry the chicken well, coat it evenly with oil, and let the herb mix cling before it goes into the oven. That combination gives the spices enough contact with the meat to form a flavorful crust instead of sliding off into the pan. A little lemon juice brightens the herbs, and the optional Parmesan adds a salty finish without making the dish heavy.
Below, you’ll find the exact timing that keeps the chicken juicy, plus a few useful swaps if you want to change up the seasoning or serve it a different way.
The herbs browned nicely on top and the chicken stayed juicy all the way through. I checked at 24 minutes and it was perfect with pasta, which never happens for me with chicken breasts.
Save this Italian Herb Chicken for a juicy, golden baked chicken dinner that works with pasta, vegetables, or a simple salad.
The Reason Chicken Breasts Stay Juicy Instead of Turning Rubbery
Chicken breasts dry out fast when they’re left naked in a hot oven. This recipe avoids that by giving the surface a thin oil coating and a dry spice blend that behaves like a light crust. That crust helps the chicken brown before the meat overcooks, which is why the texture lands in the juicy zone instead of the chalky one.
Thickness matters more than most people think. If one end of a breast is much thicker than the other, the thin end will overcook before the center is done. Pounding the chicken lightly to an even thickness gives you a much cleaner finish and keeps the bake time predictable.
- Oil — Olive oil helps the herbs stick and keeps the surface from drying out in the oven. Use a regular extra-virgin olive oil here; there’s no reason to use anything fancy.
- Dried herbs — Basil, oregano, parsley, and thyme give the chicken its classic Italian-style backbone. Fresh herbs won’t coat as evenly in this kind of dry rub, so the dried version works better.
- Lemon juice — A small amount brightens the seasoning and keeps the chicken from tasting flat. Don’t add much more or the surface starts to steam instead of roast.
- Parmesan — Optional, but a light sprinkle adds a salty, savory top layer. If you use it, grate it finely so it melts and browns instead of sitting on top in clumps.
How to Coat the Chicken So the Herbs Actually Stick
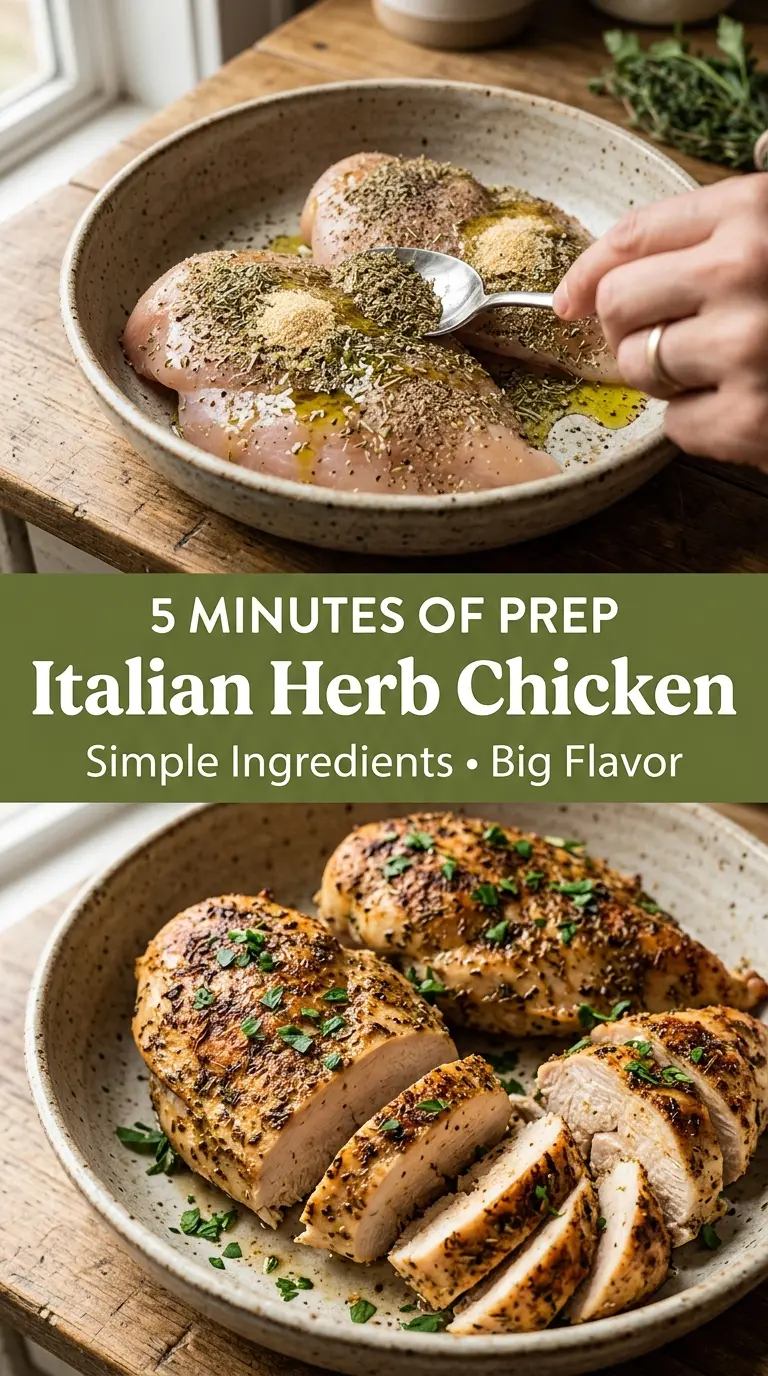
Patting the chicken dry is the first step that matters. If the surface is wet, the seasoning slides around and you end up with pale spots instead of an even crust. Once the chicken is dry, rub it with oil first, then add the spice mix so the herbs have something to cling to.
The seasoning blend should look like a thin, sandy coating, not a thick paste. If it seems patchy, press it on with your fingertips instead of rubbing harder; that keeps the spice layer in place. A little Parmesan goes on top near the end of the coating stage so it browns without burning.
Preheat and Prep the Pan
Set the oven to 400°F and lightly grease the baking dish before you do anything else. A hot oven gives the chicken a better start, and a greased dish keeps the underside from sticking when the juices hit the pan. If the breasts are very thick, flatten them gently to an even thickness so they finish at the same time.
Build the Herb Coating
Mix the garlic powder, onion powder, basil, oregano, parsley, thyme, salt, pepper, and paprika in a small bowl. Sprinkle it over the oiled chicken and press it into the surface until the meat looks evenly covered. The main mistake here is dumping the spices on in one pile and trying to spread them afterward; that creates bald patches and uneven seasoning.
Bake Until the Center Reaches 165°F
Lay the chicken in the dish with a little space between pieces so the edges roast instead of steaming. Bake until the thickest part reaches 165°F, usually 22 to 28 minutes depending on size. If you pull it early, the juices will run clear and the center will still be faintly opaque; if you wait too long, the meat turns dry fast.
Rest Before Slicing
Let the chicken sit for 5 minutes after it comes out of the oven. That short rest gives the juices time to settle back into the meat, which keeps the slices from flooding the cutting board. Slice against the grain if you want the cleanest bite and the most tender texture.
How to Adapt This for Different Dinners and Dietary Needs
Dairy-Free Version
Skip the Parmesan and keep the rest exactly the same. The chicken still gets a savory herb crust from the spice blend and olive oil, so you won’t lose the main character of the dish.
Bone-In Chicken Instead of Breasts
Bone-in, skin-on pieces work, but they need more time in the oven. The skin will brown more deeply and the meat stays juicier, though you’ll need to watch the temperature closely so the herbs don’t scorch.
Making It a Bigger Batch
Double the seasoning mixture if you’re cooking for a crowd, but still keep the chicken in a single layer. Crowding the pan traps steam, and that’s what keeps the top from browning the way it should.
Storage and Reheating
- Refrigerator: Store leftovers in an airtight container for up to 4 days. The chicken stays good, though the herb crust softens a little.
- Freezer: It freezes well. Wrap pieces tightly and freeze for up to 2 months, then thaw in the refrigerator overnight.
- Reheating: Warm in a 300°F oven, covered loosely with foil, until heated through. The common mistake is blasting it in the microwave, which dries out the lean breast meat fast.
Questions I Get Asked About This Recipe
Italian Herb Chicken
Ingredients
Equipment
Method
- Preheat the oven to 400°F (200°C). Set out a baking dish so it’s ready for the chicken.
- Lightly grease a baking dish. Coat the bottom and sides so the herb seasonings don’t stick.
- Pat the chicken breasts dry with paper towels. Dry surface helps the herb rub cling evenly.
- In a small bowl, combine the garlic powder, onion powder, dried basil, dried oregano, dried parsley, dried thyme, salt, black pepper, and paprika. Mix until the powders are evenly blended.
- Drizzle the olive oil and lemon juice over the chicken. Make sure most of the surface gets a light coating.
- Rub the herb mixture evenly over all sides of the chicken. Press gently so the spices form a visible crust.
- Place the chicken in the prepared baking dish. Arrange in a single layer for even baking.
- Sprinkle the Parmesan cheese over the top if using. Leave a light, even dusting rather than thick clumps.
- Bake at 400°F (200°C) for 22–28 minutes, until the internal temperature reaches 165°F (74°C). The chicken should look golden on top and the juices should run clear.
- Let the chicken rest for 5 minutes before slicing. This keeps the meat juicy as the juices redistribute.
- Garnish with extra dried parsley and serve. Add a final sprinkle right before plating for a fresh herb look.