
Roasted Butternut Squash Soup
Roasted butternut squash soup earns its place in the rotation when it tastes like more than blended vegetables. Roasting the squash first pulls out a deep, almost buttery sweetness and…
Tip: save now, cook later.Roasted butternut squash soup earns its place in the rotation when it tastes like more than blended vegetables. Roasting the squash first pulls out a deep, almost buttery sweetness and gives the onion enough color to build a real base, not just a soft puree. The result is silky, a little savory, and balanced enough that the cream doesn’t flatten it.
The trick is starting with caramelization instead of boiling everything together. That extra time in the oven concentrates the squash, softens the garlic until it turns sweet, and keeps the finished soup from tasting thin or one-note. A little cinnamon and nutmeg nudge the squash in the right direction, while maple syrup rounds out the edges without turning it into dessert.
Below, you’ll find the roasting cue that matters more than the timer, how to get the soup completely smooth, and the small finishing step that makes each bowl taste polished instead of plain.
The squash caramelized beautifully and the soup blended into the silkiest texture. I loved that the maple didn’t make it sweet-sweet — it just rounded everything out, and the toasted pepitas on top gave it the perfect crunch.
Roasted butternut squash soup with creamy, caramelized depth is the one to pin for smooth, cozy bowls that taste like you spent all afternoon on them.
The Reason Roasted Squash Makes the Soup Taste Rich Instead of Flat
Boiling squash straight in broth gives you softness, but not much else. The oven changes the whole character of the soup by drying off surface moisture and browning the edges, which is where the deeper sweetness lives. That roasted flavor is what keeps the bowl from tasting like watered-down puree.
The garlic matters here too. Whole unpeeled cloves roast gently under the squash, so they melt into the soup without bringing sharp raw bite. If you skip the roasting step and toss everything into the pot at once, the soup will still be edible, but it won’t have that layered, caramelized finish that makes people go back for a second bowl.
- Butternut squash — A 3-pound squash gives you enough body for a full pot without making the soup dense. Smaller squash work too, but if yours looks dry or pale, give it the full roast so the edges have time to caramelize.
- Vegetable broth — Use a broth you actually like drinking. Since this soup doesn’t hide behind a long simmer with meat or bones, a thin or overly salty broth will show up in the final flavor.
- Heavy cream — This is what turns the soup from smooth to velvety. Half-and-half works in a pinch, but it won’t give the same plush finish and can taste a little lighter than the roasted squash deserves.
- Maple syrup — The small amount doesn’t sweeten the soup into dessert territory; it just lifts the squash and cinnamon. Honey can work, but it tastes slightly sharper and less round.
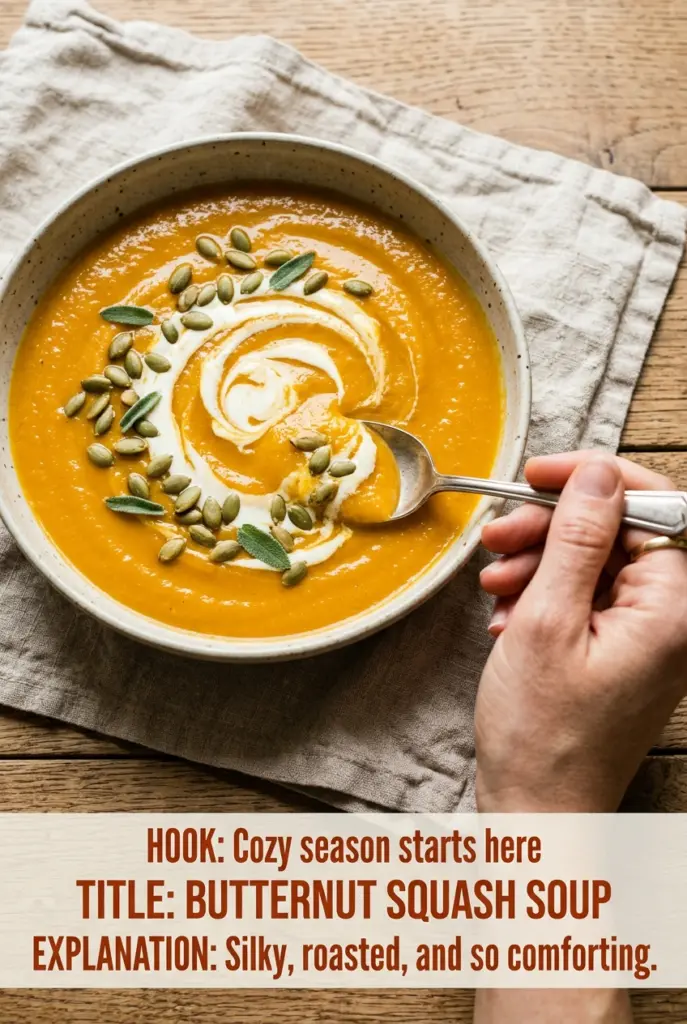
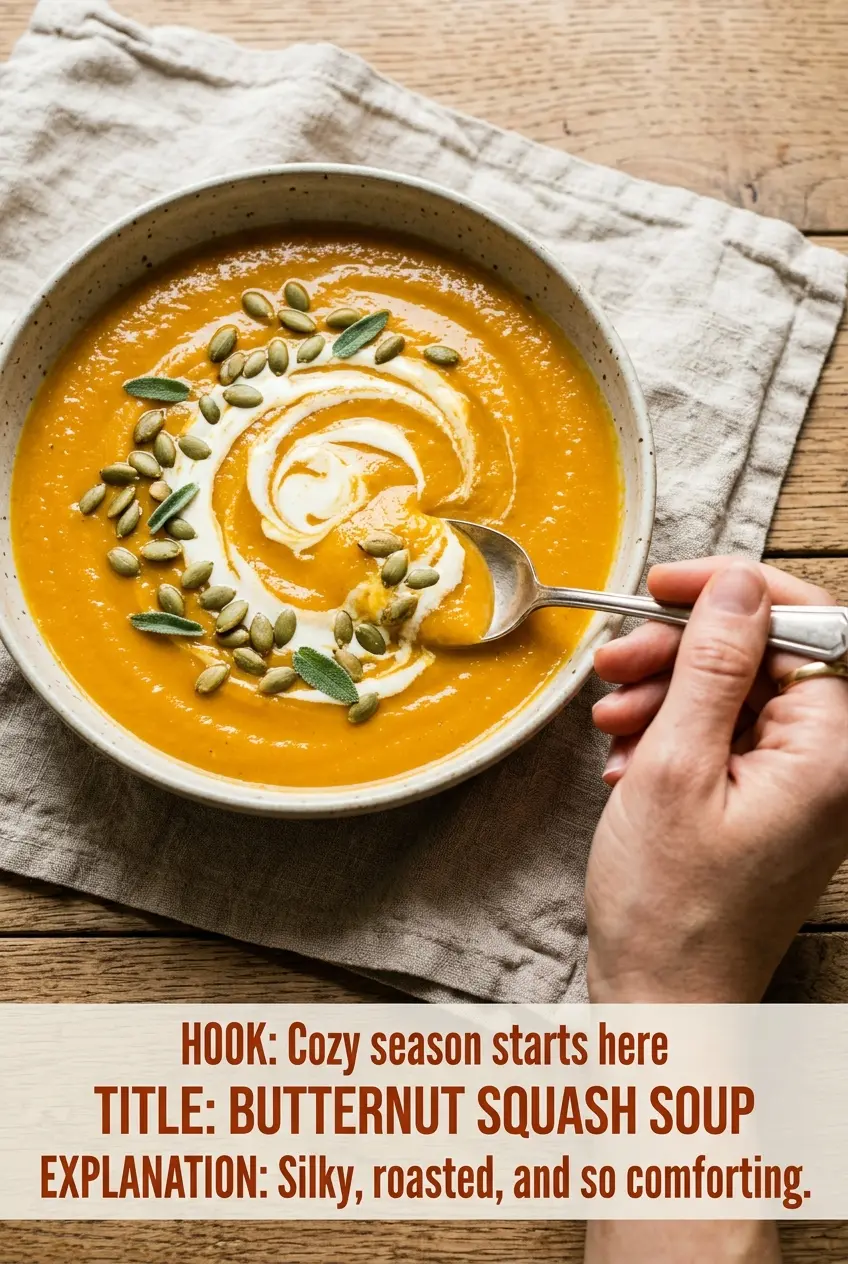
- Roasted pepitas and sage — The topping is not just decoration. The pepitas add crunch against the puree, and the sage gives a warm, savory note that keeps each bite from leaning too sweet.
How to Build the Soup Without Losing the Silkiness
Roasting Until the Edges Color
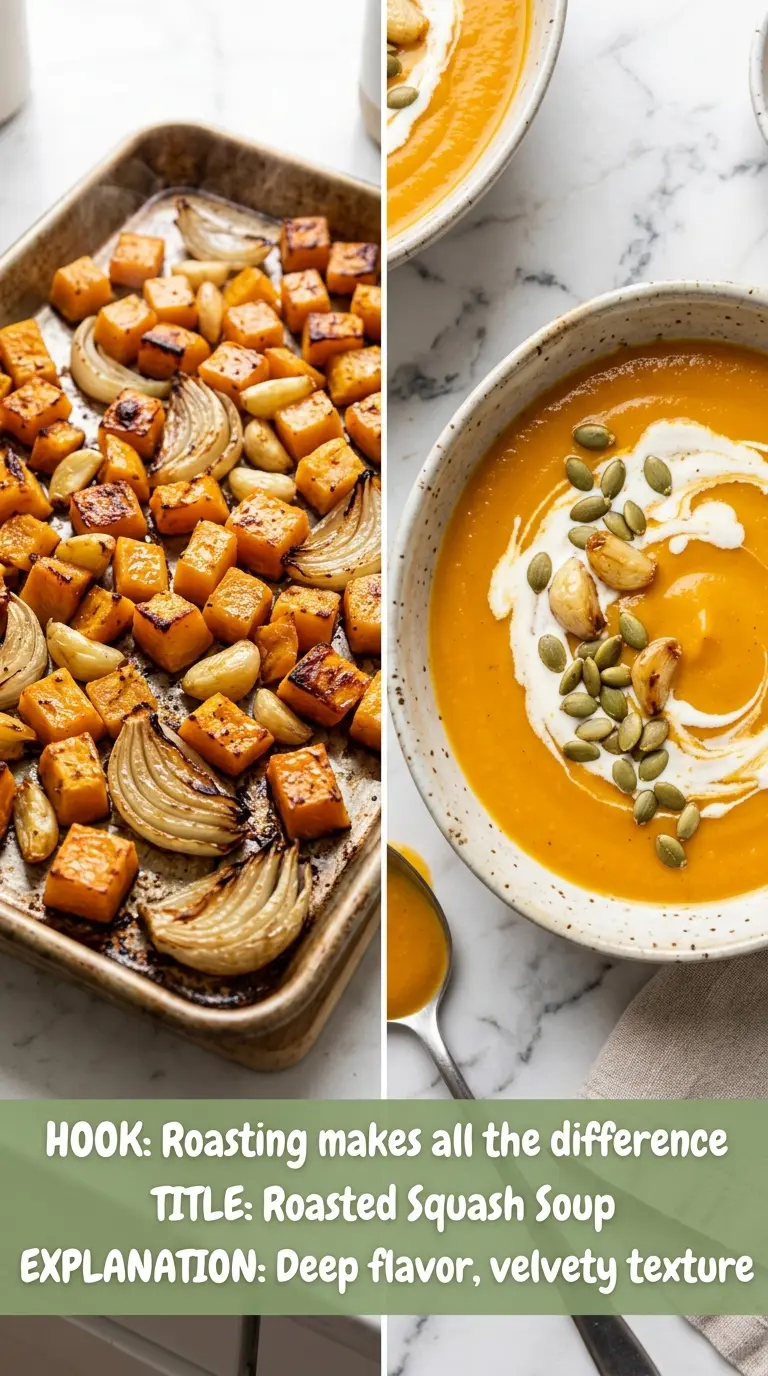
Toss the squash and onion with oil, salt, and pepper, then spread them in a single layer so they roast instead of steam. You’re looking for deep golden edges and browned spots on the squash, not just softness. If the pieces are crowded, they’ll sweat in their own moisture and the finished soup will taste dull.
The garlic goes in whole and unpeeled because the skins protect it from burning before the squash is ready. When the cloves feel soft under light pressure, they’re done. Pull the pan early only if the onion is getting dark before the squash has color.
Blending the Base
Once the roasted vegetables hit the pot with broth and spices, simmer them for about 10 minutes so the flavors settle into one another. That brief simmer also cools the mixture enough to blend safely and smoothly. If you rush straight to the blender, you can end up with a loose, uneven puree that tastes separate instead of integrated.
An immersion blender is easiest, but a countertop blender gives the silkiest texture. Blend in batches if needed and leave the cap vented so steam can escape. If the soup seems grainy, keep blending a little longer; squash often needs more time than you’d expect to turn fully creamy.
Finishing With Cream and Maple
Stir in the cream and maple syrup over low heat, then taste for salt and pepper after they go in. Cream can mute seasoning, so the soup often needs a final adjustment right at the end. Keep the heat gentle here; a hard boil can make the cream taste flatter and less polished.
The finished soup should look glossy and pour in a smooth ribbon. If it feels too thick, loosen it with a splash of broth. If it’s too thin, simmer it uncovered for a few extra minutes before serving.
How to Adapt This for Dairy-Free, Spicier, or Thicker Bowls
Dairy-Free Version
Swap the heavy cream for full-fat coconut milk or an unsweetened oat cream. Coconut milk gives the soup a slightly richer, sweeter finish, while oat cream stays more neutral. Both work best if you stir them in at the end over low heat, just like the original cream.
Thicker, Spoonable Soup
Use a little less broth, then simmer the blended soup uncovered for 5 to 10 extra minutes. That concentrates the squash flavor and gives you a thicker texture without adding starch. If you go too far, splash in broth a little at a time until it loosens to the consistency you want.
More Heat, Less Sweetness
Increase the cayenne slightly and hold back a teaspoon of maple syrup. That keeps the soup warm and savory instead of leaning soft and sweet. A little heat works especially well if you plan to top the bowls with extra cream and pepitas.
Storage and Reheating
- Refrigerator: Store in an airtight container for up to 4 days. The flavor deepens overnight, and the texture may thicken a bit as it chills.
- Freezer: It freezes well without the cream. For the best texture, freeze the blended soup before adding cream, then stir the cream in after reheating.
- Reheating: Warm gently on the stove over low to medium-low heat, stirring often. A hard boil can make the cream separate and can dull the smooth texture you worked for.
Answers to the Questions Worth Asking
Roasted Butternut Squash Soup
Ingredients
Equipment
Method
- Preheat the oven to 425°F. Toss the butternut squash and onion with 1 1/2 tbsp olive oil, 1/2 tsp salt, and 1/4 tsp black pepper on a sheet pan, and nestle the garlic cloves among the squash.
- Roast for 30–35 minutes at 425°F, until the squash is deeply caramelized and fork-tender. The onions should look softened and browned at the edges.
- Let the roasted garlic cool slightly. Peel the softened garlic cloves and squeeze them out of their skins into a small bowl.
- Transfer the roasted squash, onion, and garlic to a large pot. Add vegetable broth, cinnamon, nutmeg, and cayenne pepper if using, then bring the mixture to a simmer over medium heat.
- Cook at a gentle simmer for 10 minutes to let the flavors meld. The broth should lightly bubble around the squash pieces.
- Puree the soup until completely smooth using an immersion blender (or in batches in a countertop blender). Blend until the texture looks silky with no visible chunks.
- Stir in the heavy cream and maple syrup, then season with the remaining 1/2 tsp salt and 1/4 tsp black pepper to taste. Simmer gently for 3–5 minutes, until warmed through and glossy.
- Ladle the soup into bowls and swirl in a little extra cream. Top with roasted pepitas and chopped fresh sage for a crunchy, herby finish.