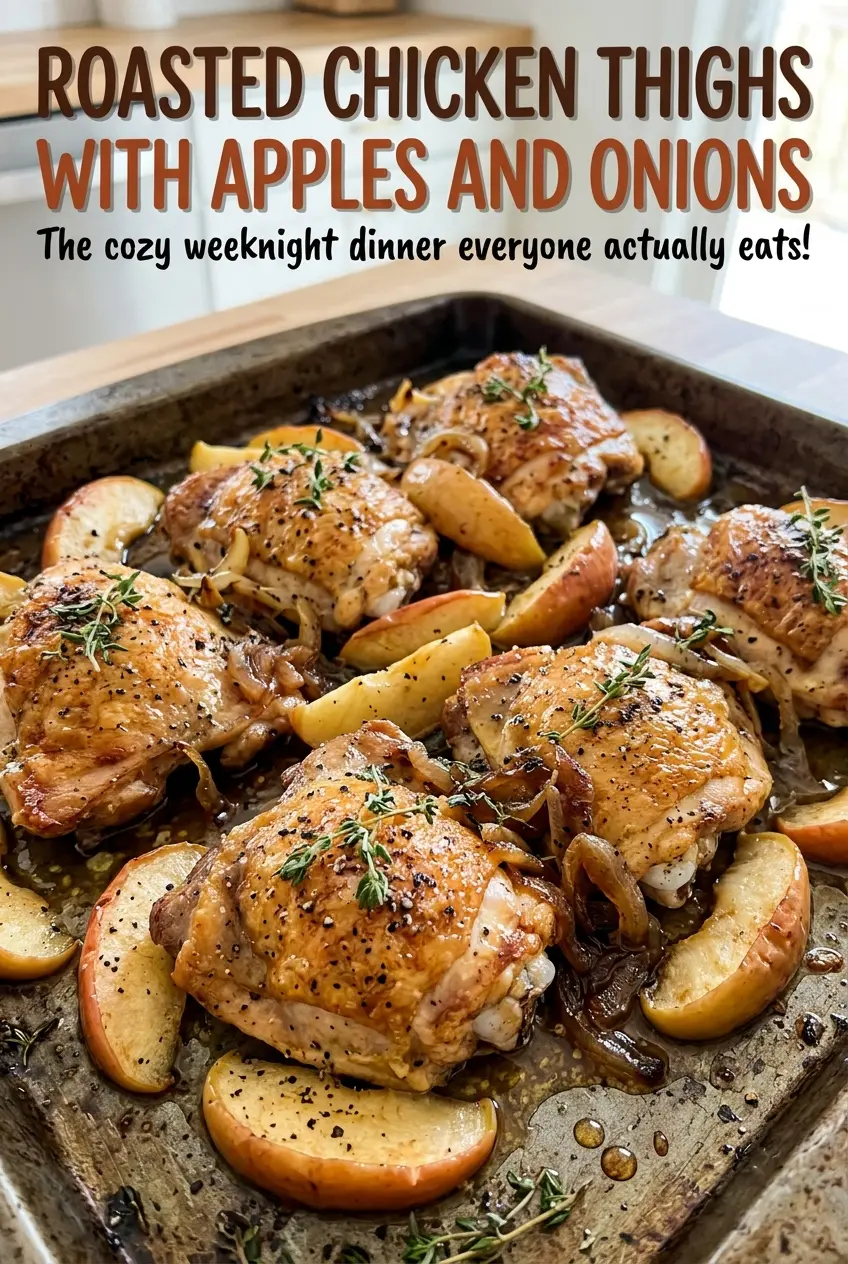
When the sheet comes out of the oven, the chicken skin should be deeply golden while the apple wedges have softened without disappearing into the pan. The onion turns tender at the edges, and the juices from the thighs mingle with the fruit as everything roasts. That balance is what I want from roasted chicken thighs with apples and onions: crisp skin, savory meat, and just enough sweetness from the apples.
I use firm apples and give the chicken room on the baking sheet. A crowded pan traps steam, which keeps the skin from crisping and leaves the vegetables soft instead of browned. Bone-in, skin-on thighs hold up well through the longer roast, and the 425°F oven takes care of the rest. Each bite brings together the juicy chicken, mellow onion, and warm, tender apple.
Kitchen Note
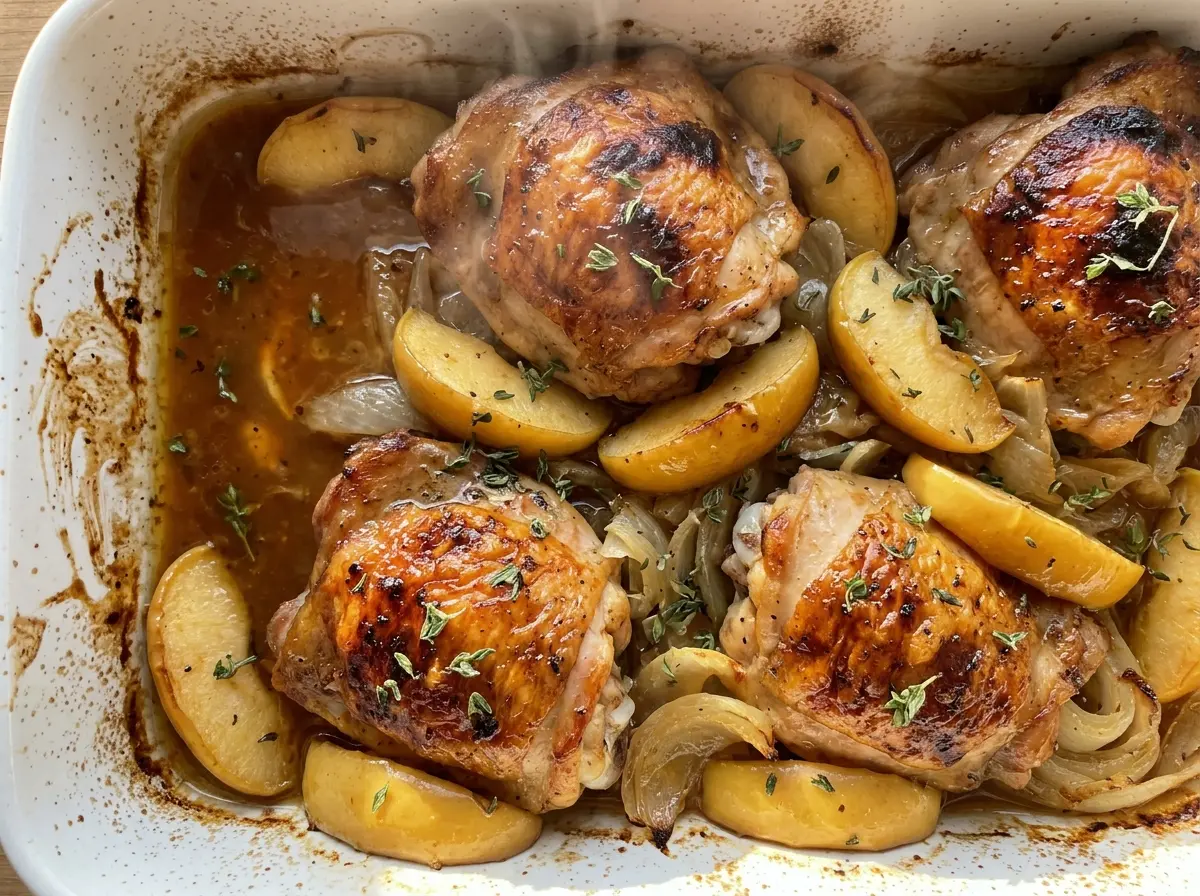
An instant-read thermometer can give you a misleading reading if its tip touches the bone. Check the thickest part of each thigh, keeping the tip just clear of the bone for a reliable temperature.
Save these roasted chicken thighs with apples and onions for a cozy one-pan dinner with crisp skin and tender, thyme-scented fruit.
Why the Apples Need Space Instead of a Blanket of Chicken
When the apples and onion sit in a single layer, hot air can reach their exposed edges. They soften and pick up color rather than simmering in the moisture released by the chicken and other vegetables. That little bit of browning gives the fruit a more savory, roasted taste to balance its sweetness.
The thighs need breathing room for a different reason: skin crisps best when hot air circulates around it. If pieces are pressed together, the covered edges stay damp. A rimmed baking sheet gives the vegetables room to spread and keeps the chicken skin facing up, where it can roast instead of sitting against the pan. The goal isn’t to separate every apple from every onion; it’s to avoid piling them up. With room across the pan, the juices can collect underneath without turning the whole sheet into a crowded, steamy heap.
Firm Apples and Skin-On Thighs Set the Dish Up for Success
- Firm apples — Honeycrisp and Braeburn both work well because they keep their shape through the roast. Softer apples tend to slump into the pan; a firm, tart apple such as Granny Smith is a good swap if you prefer less sweetness. Choose fruit that feels solid with unbroken skin.
- Yellow onion — Its mild sweetness develops as the wedges roast and makes a savory counterpoint to the apples. A large onion cut into substantial wedges holds together better than finely chopped onion, which could soften too quickly during the long roast.
- Bone-in, skin-on chicken thighs — The bone helps the meat stay juicy during roasting, and the skin is what turns crisp and golden. Pick thighs that are similar in size so they finish at roughly the same time; very different pieces are harder to judge together.
- Olive oil and dried thyme — The oil helps the seasoning cling to the apples and onion, while dried thyme brings an earthy note that suits both the fruit and chicken. The recipe uses dried thyme, which is convenient to keep on hand; fresh thyme is an easy alternative, with the conversion explained below.
Build the Pan in Layers, Then Let the Oven Do the Work
Season the Apples and Onion First
Heat the oven to 425°F and line an 18×13-inch rimmed baking sheet with foil. Add the onion and apples to the pan with the olive oil and half of the salt, thyme, and pepper. Toss until the pieces are lightly coated, then spread them into a single layer; a mound in the middle will soften unevenly.
Arrange the Thighs Skin-Side Up
Pat the chicken thighs dry, then season them with the remaining salt, thyme, and pepper. Set them skin-side up among the apples and onion, leaving space around each thigh. Keep the skin exposed rather than tucked under a piece of fruit, so it has a chance to turn golden in the oven.
Roast Until the Skin Is Crisp
Roast for 40–50 minutes, until the chicken skin is golden and crisp and the thickest part of every thigh reaches at least 165°F. The exact finish can vary with thigh size, so check each piece rather than assuming they’re all done at the same moment. Let the chicken rest on the pan for 5 minutes before serving; the apples and onions will be soft and coated with the pan juices.
Two Simple Ways to Change the Pan
Swap in Red Onion for a Sharper Savory Note
Replace the yellow onion with one large red onion, cut into the same 1/2-inch wedges. It roasts in the same way and brings a slightly sharper taste that stands up nicely to the sweet apples.
Make the Pan Lower in Carbohydrates
Replace one of the two apples with 8 ounces of radishes, trimmed and halved. They roast alongside the onion and chicken, bringing a mild, savory bite instead of the apple’s sweetness. Keep the remaining apple for a little fruit flavor in the pan.
Storage and Reheating
- Refrigerator: Refrigerate leftovers in an airtight container within 2 hours and eat them within 3–4 days. The chicken skin softens in storage, and the apples become more tender.
- Freezer: Freeze the chicken and fruit in an airtight freezer-safe container for up to 3 months for best quality. Thaw overnight in the refrigerator before reheating.
- Reheating: Warm in a 350°F oven until hot throughout. Cover loosely to keep the meat from drying out, but expect the skin to be softer than it was straight from the oven.
Questions That Come Up While Making These Chicken Thighs
Roasted Chicken Thighs with Apples and Onions
Ingredients
Equipment
Method
- Heat the oven to 425°F and line an 18x13-inch rimmed baking sheet with foil.
- Toss the onion and apples on the prepared baking sheet with the olive oil and half of the salt, thyme, and pepper, then spread them in a single layer.
- Pat the chicken thighs dry and season them with the remaining salt, thyme, and pepper, then arrange them skin-side up among the vegetables with space around each thigh.
- Roast for 40–50 minutes, until the chicken skin is golden and crisp and the thickest part of each thigh reaches at least 165°F on an instant-read thermometer without touching the bone.
- Let the chicken rest on the pan for 5 minutes before serving.