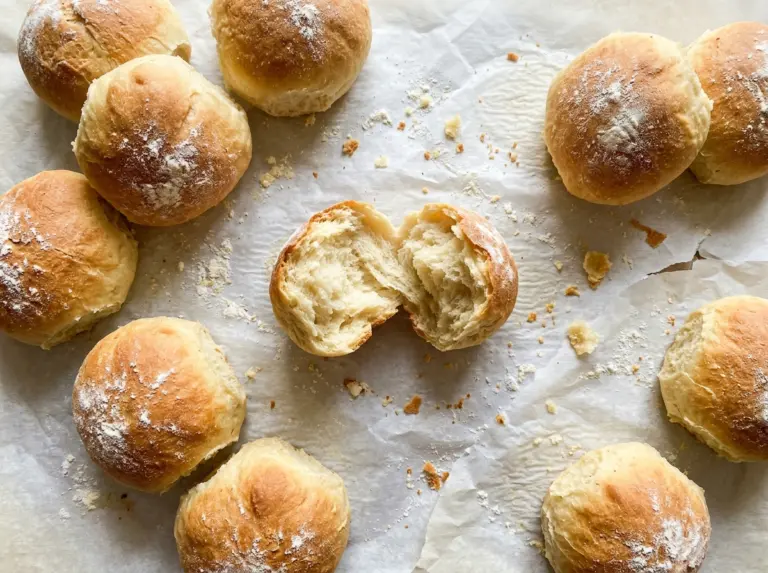
The milk should feel warm, not hot, when it meets the yeast; too much heat can keep the yeast from waking up properly. I watch for a foamy surface before I start mixing, because that little sign tells me the dough is off to a good start. These soft fluffy homemade dinner rolls bake up golden on top with tender sides that pull apart easily.
The dough should feel smooth and just a little tacky after kneading, not dry or stiff. I keep the flour on the work surface light so the dough can stay soft, then give it enough time to rise until it has doubled. That balance makes the rolls fluffy without making the dough difficult to shape, and the finished batch is ready for the table while still warm.
Kitchen Note
Let the baked rolls rest in the pan for the full 10 minutes before serving. That short pause helps them hold their shape when you lift them out, instead of squashing the soft sides while they’re piping hot.
Save these soft fluffy homemade dinner rolls for a meal that deserves warm, tender rolls with golden tops and easy pull-apart sides.
Why These Rolls Rise Until They Touch Before Baking
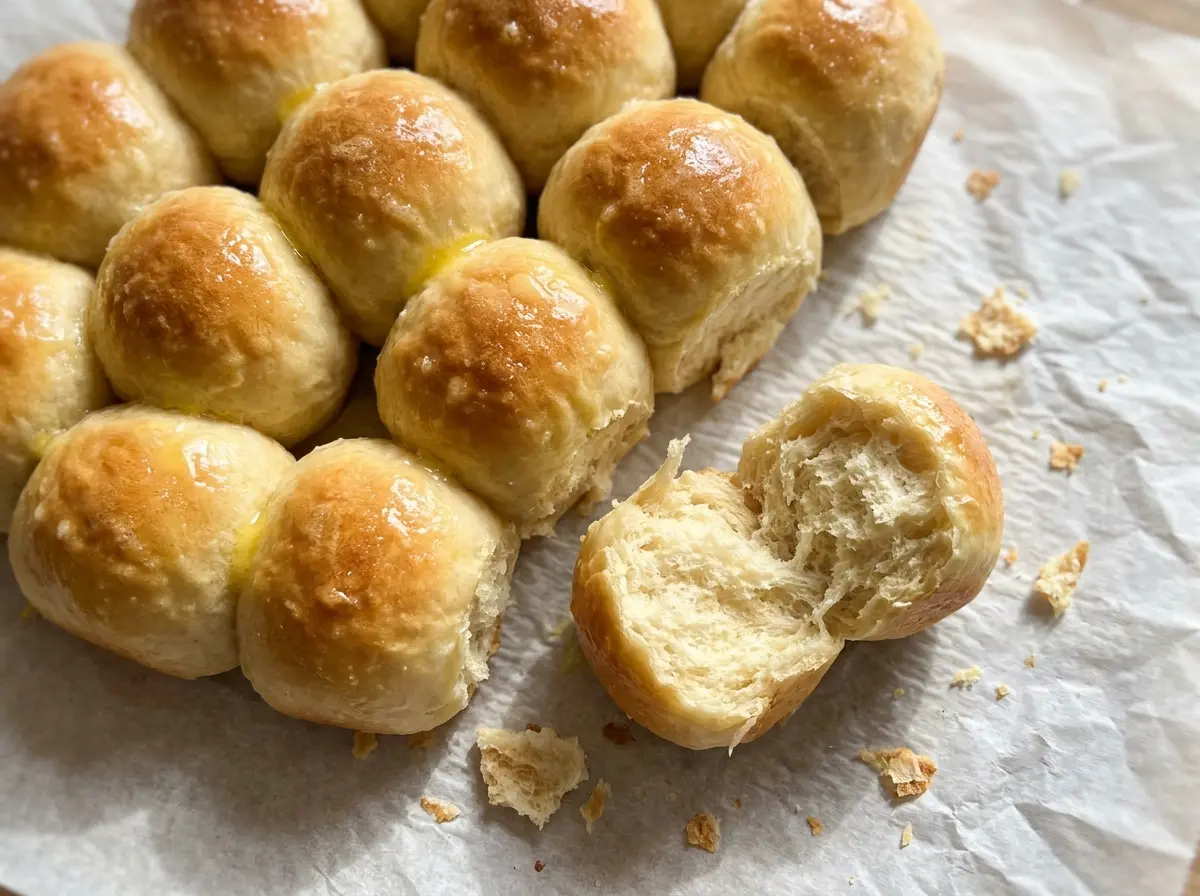
There’s a reason the shaped rolls go into the pan close together and rise until they’re touching. As they expand, the sides meet, so the tops can brown while the sides stay soft rather than forming a crust all the way around. That’s what gives these rolls their tender, pull-apart feel.
Use a 9×13-inch pan and arrange the 12 dough balls evenly. Leave them room to grow at first; the second rise brings them together. If they’re still separated when you’re ready to bake, give them more time in a warm place instead of trying to press them together. Pressing can knock air out of the dough, while a little more rising time lets the rolls fill the gaps naturally.
This arrangement also makes the pan easy to serve from: the rolls stay together in a soft cluster, but each one is distinct. Their tops get the direct heat needed to turn golden, while the joined sides remain delicate. The result is a dinner roll with a lightly browned top and a pillowy middle, rather than a crusty roll with firm edges.
What the Milk, Yeast, and Flour Each Bring to These Rolls

- Whole milk — Whole milk gives the dough richness and a soft crumb. A standard grocery-store carton works well; there’s no need to seek out a specialty brand. Lactose-free whole milk is the closest swap, used in the same amount, if that’s what you keep on hand.
- Active dry yeast — This is what lifts the dough through both rises, so check that the yeast is fresh enough to foam when it stands in the warm milk and sugar. There isn’t a substitute that follows the same timing and proofing cue as reliably; active dry yeast is the best fit here.
- Egg — The room-temperature egg blends into the milk and butter more easily and helps give the crumb its tender, enriched texture. Use a regular large egg; there’s no quality premium needed. Leaving it out changes the structure, so I wouldn’t omit it if you want the same soft, fluffy result.
- Unsalted butter — Butter adds richness without extra salt. Melt it, then let it cool before mixing so it doesn’t go into the dough hot. For a dairy-free batch, a stick-style plant-based butter is a practical replacement.
- All-purpose flour — All-purpose flour keeps the crumb soft while giving the rolls enough structure to hold their shape. A basic unbleached or bleached bag both work. Bread flour can replace it cup for cup for a slightly chewier roll, though the dough may feel a little firmer as you knead.
From Foamy Yeast to Golden Tops: The Roll-Making Process
Wake the yeast in warm milk
Warm the milk to 105–110°F, then stir in the sugar and active dry yeast. Let the mixture stand for 5–10 minutes, until a foamy layer appears on top. If it stays flat, pause before adding the remaining ingredients; the yeast hasn’t shown the activity you want for a reliable rise.
Knead until the dough is smooth
Whisk the egg, cooled melted butter, and salt into the yeast mixture, then stir in the flour until a shaggy dough forms. Turn it onto a lightly greased surface and knead for 8–10 minutes. The dough should become smooth and slightly tacky; if it feels dry, resist the urge to keep working in extra flour, which can make the rolls firm.
Let the dough double, then shape
Coat a large bowl lightly with cooking spray, add the dough, and turn it so the surface is coated. Cover the bowl and leave it in a warm place for 60–90 minutes, until the dough has doubled in size. Coat a 9×13-inch baking pan, divide the dough into 12 equal pieces, and shape each into a smooth ball. Arrange the balls evenly in the pan, cover, and let them rise for 30–45 minutes, until puffy and touching.
Bake just until the tops are golden
Heat the oven to 350°F and bake the rolls for 20–25 minutes, watching for an even golden-brown top. If they’re still pale at the 20-minute mark, let them continue baking and check again rather than taking them out by the clock alone. The finished tops should look golden, not blond or dark brown. Let the rolls rest in the pan for 10 minutes before serving.
Two Useful Ways to Adapt These Dinner Rolls
Make the rolls dairy-free
Replace the whole milk with unsweetened soy milk and use stick-style plant-based butter in place of the dairy butter. Keep the rest of the dough the same, including the egg. The rolls will still be soft, though they’ll have a slightly different richness than the whole-milk version.
Use bread flour for a chewier bite
Swap the all-purpose flour cup for cup with bread flour. The rolls will have a little more chew and a sturdier bite, rather than the especially tender texture all-purpose flour gives. Keep kneading until the dough is smooth and slightly tacky instead of adding flour just because it feels more elastic.
Storage and Reheating
- Refrigerator: Keep the rolls in an airtight container for up to 3 days. The refrigerator can make bread stale faster, so freeze what you won’t eat soon.
- Freezer: Once completely cool, freeze the rolls in an airtight freezer bag for up to 2 months. Thaw them at room temperature before warming.
- Reheating: Wrap the rolls loosely in foil and warm them in a 300°F oven for about 8–10 minutes. Leaving them uncovered can dry the tops before the centers warm through.
Questions That Come Up When Baking These Dinner Rolls
Soft Fluffy Homemade Dinner Rolls
Ingredients
Equipment
Method
- Warm the milk to 105–110°F.
- Stir the sugar and yeast into the warm milk.
- Let stand for 5–10 minutes, until foamy.
- Whisk in the egg, melted butter, and salt.
- Stir in the flour until a shaggy dough forms.
- Knead on a lightly greased surface for 8–10 minutes, until smooth and slightly tacky.
- Lightly coat a large bowl with cooking spray.
- Add the dough to the bowl and turn it to coat.
- Cover and let rise in a warm place for 60–90 minutes, until doubled in size.
- Coat a 9x13-inch baking pan with cooking spray.
- Divide the dough into 12 equal pieces.
- Shape the pieces into smooth balls.
- Arrange the dough balls in the pan.
- Cover the rolls and let rise for 30–45 minutes, until puffy and touching.
- Heat the oven to 350°F.
- Bake the rolls for 20–25 minutes, until golden brown on top.
- Let the rolls rest in the pan for 10 minutes before serving.