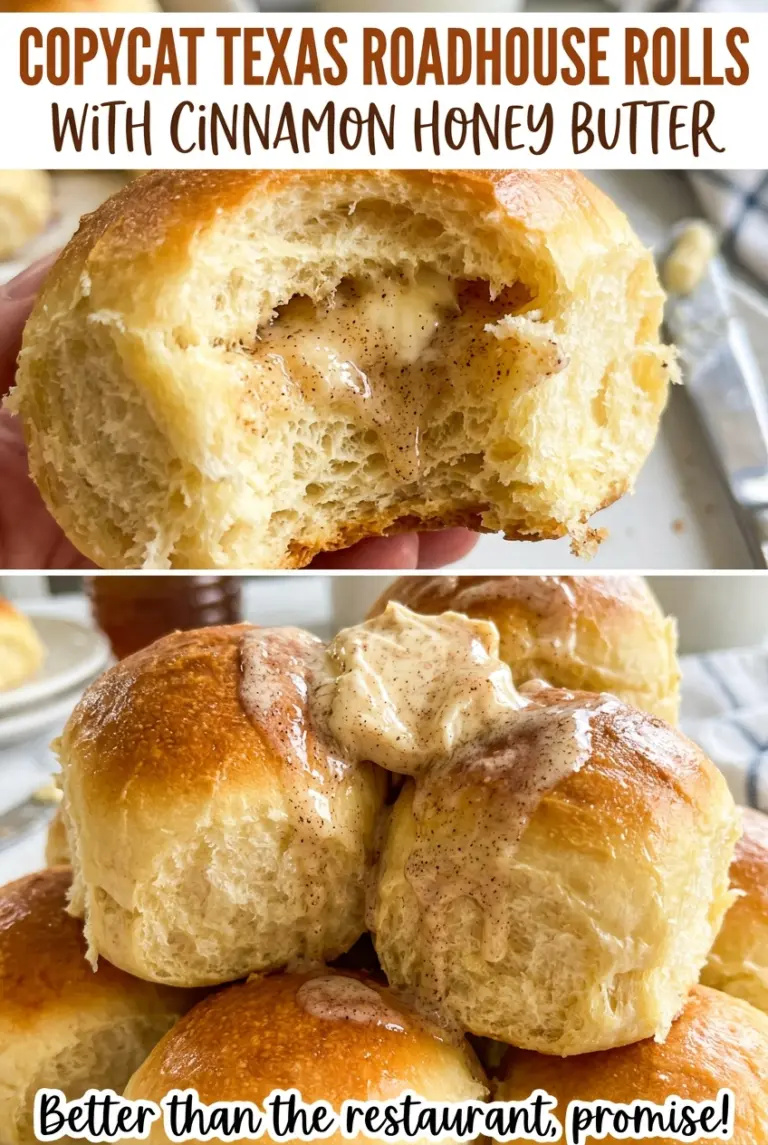
When the dough has risen enough, it feels light under your fingertips and looks noticeably fuller in the bowl. I watch for that change rather than rushing the clock, because yeast moves at its own pace in a cool kitchen. These soft homemade dinner rolls bake up tender, with a gentle sweetness from honey in the dough and a golden top brushed with honey butter.
The dough should feel smooth and slightly tacky after kneading, not dry or stiff. I keep the honey divided: some goes into the dough, while the rest is beaten into softened butter for serving. That gives the rolls a soft, lightly sweet base and a richer honey finish without making the butter part of the dough. Pull the warm rolls apart at the table and pass the extra honey butter alongside.

Kitchen Note
Give the rolls the full 10-minute rest after brushing them with honey butter. The centers are still settling when they first come out of the oven, and cutting in too soon makes the soft crumb harder to pull apart neatly.
Save these soft homemade dinner rolls with honey butter for a bake with tender centers, golden tops, and a sweet butter for the table.
Why the Honey Goes in Two Different Places
Honey does two separate jobs here, and keeping the portions apart is what gives these rolls their balanced sweetness. The three tablespoons mixed into the dough are part of the roll itself; the two tablespoons beaten with softened butter make a finishing spread. The dough gets a mild honey note throughout, while the honey butter tastes more pronounced and stays easy to offer at the table.
Putting all the honey into the dough would leave no honey for the butter. Mixing all of it into the topping would remove the sweetness from the dough and change the way the dough is built. I keep the split as written and beat the butter until the honey is evenly blended, so you don’t get a sticky pocket of honey in one bite and plain butter in the next. The finished rolls are sweet enough to pair with the honey butter but not so sugary that they stop feeling like dinner rolls.
What Gives These Rolls Their Soft, Tender Crumb

- Whole milk — It gives the dough a richer feel than water. Use fresh milk, and warm it gently rather than letting it get hot; the temperature matters more here than buying a particular brand.
- Active dry yeast — The yeast creates the rise that makes these rolls airy. Check that it foams after sitting with the warm milk and honey; a flat mixture is a warning not to continue with that yeast.
- Honey — A mild, pourable honey blends smoothly into both the dough and the butter. A specialty varietal isn’t needed, but honey that has crystallized is harder to distribute evenly in the butter.
- Egg — The egg adds richness and helps the dough hold together. Bringing it to room temperature helps it mix into the milk and melted butter without cooling the mixture sharply.
- Unsalted butter — Melted and cooled butter goes into the dough, while softened butter makes the spread. Let the melted butter cool before mixing it in, and use butter that’s soft enough to beat smoothly for the topping.
- All-purpose flour — It gives the rolls structure without making them heavy when the dough is kneaded to a smooth, slightly tacky finish. Measure it without packing it down; adding too much is an easy way to end up with stiff dough.
How to Build the Dough, Rise It, and Bake Soft Rolls
Wake Up the Yeast Without Scalding It
Warm the milk to 105–110°F, then stir in the active dry yeast and the portion of honey for the dough. Leave the mixture for 5–10 minutes, until a foamy layer appears on top. If it stays flat, don’t carry on and hope the dough rises later; the yeast hasn’t shown the activity this dough needs. Stir in the room-temperature egg and the melted, cooled butter once the mixture is foamy.
Knead Until Smooth and Slightly Tacky
Add the flour and kosher salt, then knead by hand for 8–10 minutes or with a dough hook for 6–8 minutes. The dough should look more even and feel elastic, with a slight tack when you touch it. A little tack is expected, so avoid trying to make the dough feel completely dry. If it feels rough and clings in heavy clumps, keep kneading until it becomes smoother.
Give the Dough Two Unhurried Rises
Lightly coat a large bowl with nonstick cooking spray, put the dough in it, and cover the bowl. Let it rise in a warm place for 60–90 minutes, until it has doubled in size. Coat a 9×13-inch baking dish, divide the dough into 12 equal pieces, shape them into balls, and arrange them in the dish. Cover and let the rolls rise for 30–45 minutes, until puffy; the second rise gives the shaped dough time to relax and expand before baking.
Bake Until Golden, Then Brush
While the rolls are rising, beat the softened butter with the remaining honey and salt until smooth. Heat the oven to 350°F and bake the rolls for 20–25 minutes, until their tops are golden brown. If the tops are still pale, give them the time they need within that baking window rather than pulling them out early. Brush the warm rolls with some of the honey butter, let them rest for 10 minutes, and serve with the rest.
Two Simple Ways to Change the Finished Rolls
Shape the dough into knots
For a more defined shape, roll each of the 12 equal portions into a short rope and tie it into a loose knot before arranging the pieces in the greased 9×13-inch dish. Keep the portions even so they rise and bake at a similar pace. The rolls look more polished, though shaping takes a little longer than rounding the dough into balls.
Serve the rolls without honey butter
Leave out the separate honey butter if you’d rather have a less-sweet roll for the meal. The dough still contains honey, so the rolls keep a subtle sweetness, but they won’t have the richer honey finish brushed over the warm tops or served on the side.
Storage and Reheating
- Refrigerator: Keep the rolls in an airtight container for up to 4 days. The refrigerator can make the crumb feel firmer, so warm them before serving.
- Freezer: Freeze fully cooled rolls in an airtight freezer-safe container for up to 2 months. Thaw at room temperature before warming.
- Reheating: Microwave a roll briefly until just warm, or warm several together in a covered baking dish. Long or uncovered reheating dries the soft crumb; keep any extra honey butter separate until serving.
Questions That Come Up While Making These Dinner Rolls
Soft Homemade Dinner Rolls with Honey Butter
Ingredients
Equipment
Method
- Warm the milk to 105–110°F.
- Stir in the yeast and 3 tablespoons of the honey; let stand for 5–10 minutes, until foamy.
- Stir in the egg and melted butter, then add the flour and 1 teaspoon salt.
- Knead by hand for 8–10 minutes or with a dough hook for 6–8 minutes, until smooth and slightly tacky.
- Lightly coat a large bowl with cooking spray, add the dough, and cover.
- Let rise in a warm place for 60–90 minutes, until doubled in size.
- Lightly coat a 9x13-inch baking dish with cooking spray.
- Divide the dough into 12 equal pieces, shape into balls, and arrange in the dish; cover.
- Let rise for 30–45 minutes, until puffy.
- Beat the softened butter with the remaining 2 tablespoons honey and 1/8 teaspoon salt until smooth.
- Heat the oven to 350°F.
- Bake the rolls for 20–25 minutes, until golden brown.
- Brush the warm rolls with some of the honey butter and let rest for 10 minutes.
- Serve with the remaining honey butter.