
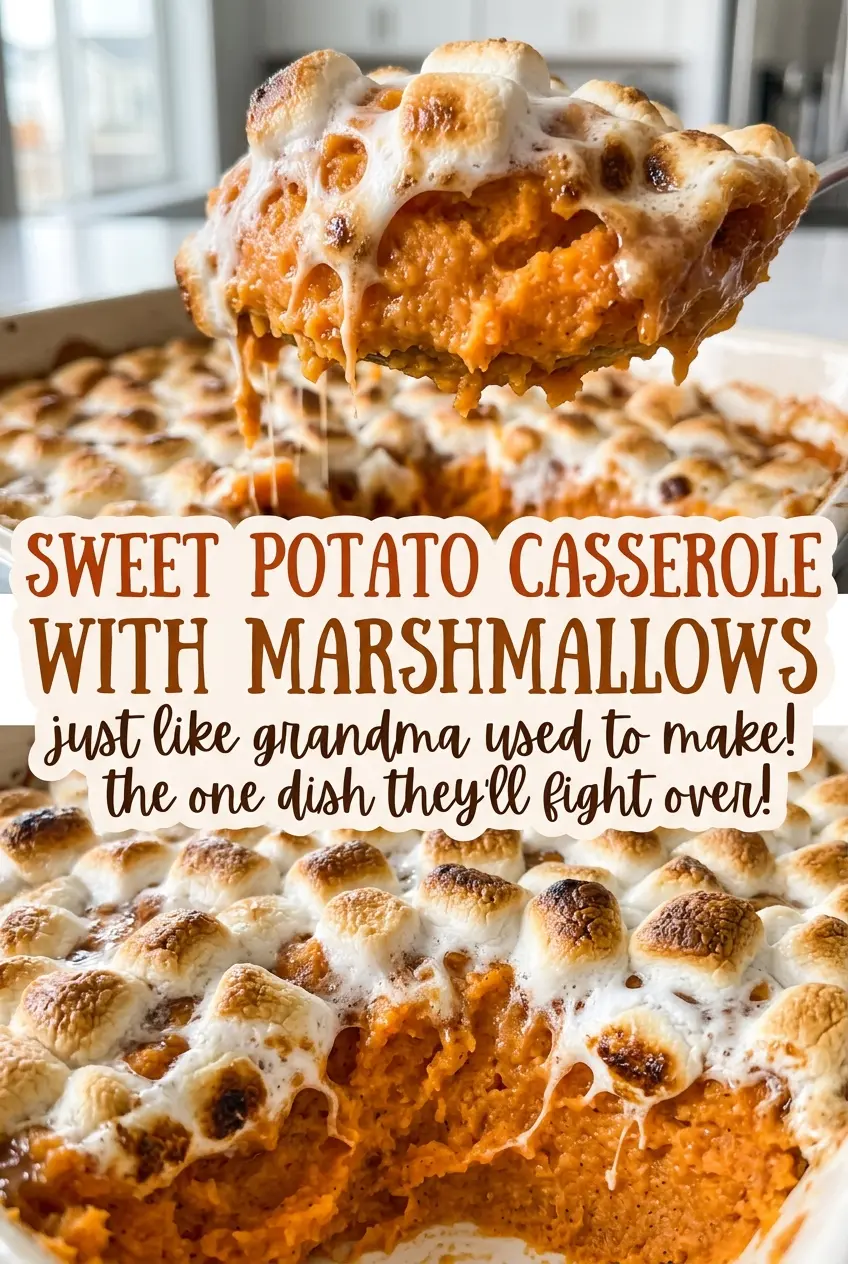
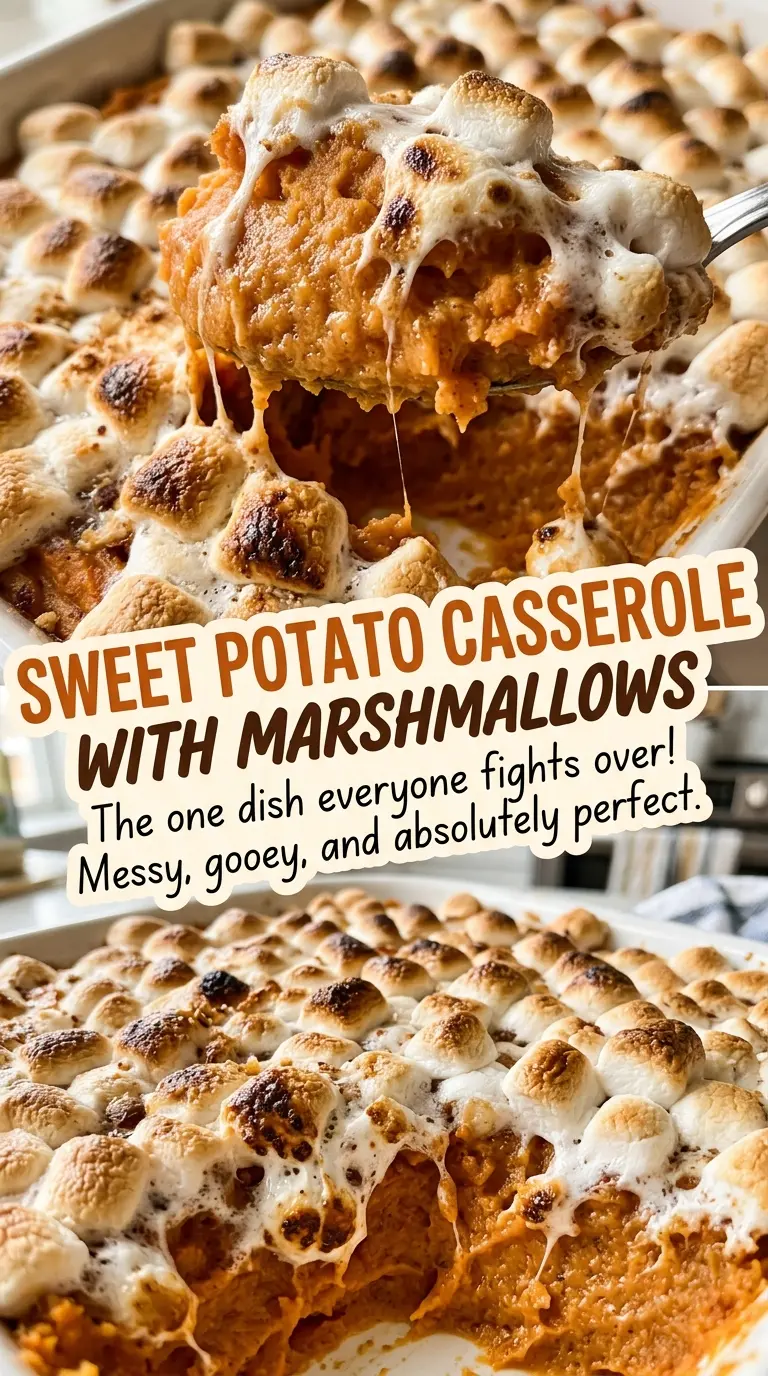
The marshmallows can look like they’re taking over the pan before the casserole goes into the oven. A few minutes later, they puff into a thin, toasted lid, and each spoonful brings a little browned sweetness with the soft orange mash underneath. That contrast is what I look for in this Sweet Potato Casserole with Marshmallows: a topping that stays visibly golden instead of disappearing into the potatoes.
I keep the potato mixture smooth and warmly spiced with cinnamon and vanilla. Brown sugar rounds out the sweet potatoes, while butter and whole milk keep the mash tender rather than dry. The finished casserole is soft enough to scoop, with a toasted top and sweet potato flavor that still comes through.
Kitchen Note
Spread the butter into the corners and up the sides of the baking dish, not just across the bottom. The sweet potato mixture is much easier to serve when it hasn’t baked onto the edges.
Save this Sweet Potato Casserole with Marshmallows for its smooth, warmly spiced filling and puffed golden topping.
Why the Eggs Go In After the Mash Has Had Five Minutes to Cool
Sweet potato casserole sits somewhere between mashed potatoes and a soft baked custard. The eggs are what help the filling hold together after it bakes, so they need to be mixed in evenly rather than left in streaks. But mashed potatoes straight off the stove are hot enough to start setting eggs before they’re distributed through the mixture.
That short cooling pause gives the steam a chance to ease off. After five minutes, the potatoes are still warm, and the butter will melt when it goes in, but the eggs can blend through the mash instead of turning into little cooked flecks. Stir until no ribbons of egg remain, then spread the mixture in an even layer so it bakes at a consistent pace. It’s a small timing detail, but it’s what gives the casserole a soft, cohesive center instead of a filling that feels uneven from one scoop to the next.
What the Sweet Potatoes, Butter, and Mini Marshmallows Bring to the Pan
- Sweet potatoes — Choose firm potatoes without soft or shriveled spots. Fresh potatoes are the right starting point here because you control how tender they become before mashing; evenly cut 1-inch pieces cook at about the same rate. Ordinary grocery-store sweet potatoes work well, so there’s no need to hunt for a specialty variety.
- Unsalted butter — Dividing the butter gives it two jobs: greasing the dish and enriching the mash. Unsalted butter keeps the seasoning in your hands, and standard butter is all you need. For a dairy-free adaptation, see the variation below rather than switching to a butter substitute at random.
- Light brown sugar — The packed sugar gives the filling a gentle caramel note without taking over the sweet potato flavor. Dark brown sugar is a workable one-for-one swap if you like a deeper molasses taste; the result will be more pronounced and slightly less delicate.
- Whole milk — Whole milk loosens the mash while keeping it creamy. It’s the right choice for the texture in this version; using a thinner milk would make the filling less rich, while a heavier dairy product would make it feel denser.
- Large eggs — Match the size rather than reaching for an especially fancy carton. Standard fresh large eggs are the right fit for the amount of sweet potato in the dish.
- Vanilla and cinnamon — Vanilla softens the earthy notes of the potatoes, and cinnamon gives the filling its familiar warmth. Ground cinnamon from a regular spice jar works; use one that still smells fragrant when you open it.
- Mini marshmallows — Their small size makes it easy to spread a fairly even layer across the casserole. Use fresh, soft marshmallows; ones that have dried out in an open bag are more likely to stay firm instead of puffing nicely.
From Fork-Tender Potatoes to a Golden Marshmallow Cap
Boil the Sweet Potatoes Until a Fork Slides In Easily
Heat the oven to 350°F and grease a 9×13-inch baking dish with 1 tablespoon of butter. Put the peeled, 1-inch sweet potato cubes in a 6-quart pot with 10 cups of water, bring the water to a boil, then lower it to a simmer. Cook for 15–20 minutes, until a fork passes through a cube without resistance. If the centers still feel firm, give them a little more time before draining; firm pieces are hard to mash smooth.
Mash Smoothly, Then Let the Steam Ease Off
Drain the potatoes and return them to the pot. Mash until smooth, working through any firm pieces rather than leaving them behind in the mixture. Let the mash cool for 5 minutes before adding the other ingredients. This pause makes it easier to stir in the eggs evenly.
Mix the Filling and Spread It in an Even Layer
Stir in the remaining butter, brown sugar, whole milk, vanilla, cinnamon, and salt. Add the eggs and stir until fully combined; scrape around the bottom and sides of the pot so no streaks are left behind. Spread the mixture evenly in the prepared baking dish. A level surface helps the center and edges finish baking together.
Bake the Filling Before Adding the Marshmallows
Bake for 25–30 minutes, until the center reaches 160°F. Scatter the mini marshmallows evenly over the casserole, then return it to the oven for 5–8 minutes, until they’re puffed and golden. Keep an eye on the top as it colors; the marshmallows can go from pale to toasted quickly near the end. Rest the casserole for 10 minutes before serving so the filling has time to settle.
Small Changes That Give This Casserole a Different Finish
A dairy-free filling
Replace the butter with dairy-free baking sticks and use plain, unsweetened oat milk in place of whole milk, matching each amount one-for-one. The filling will be a little less buttery, but the sweet potatoes, brown sugar, and spices still come through clearly. Choose an unsweetened milk so you don’t add sweetness that wasn’t planned for.
A more rustic sweet potato texture
For a less uniform filling, stop mashing when a few small, tender pieces remain instead of working the potatoes completely smooth. The casserole will have a more homemade, chunky texture and won’t scoop quite as evenly, but the flavor stays the same.
Marshmallow bands instead of a full blanket
Keep the same topping, but arrange it in loose bands with small gaps rather than covering every spot. The exposed areas show more of the sweet potato surface, while each serving still gets toasted marshmallow. The top looks more patterned and the casserole tastes a touch less sweet in bites from the gaps.
Storage and Reheating
- Refrigerator: Cover leftovers and refrigerate within 2 hours; use within 3–4 days. The marshmallow topping softens as it sits.
- Freezer: Freeze cooled portions in airtight containers for up to 2 months. The filling freezes well, but the marshmallows lose their airy texture after thawing.
- Reheating: Warm individual portions in the microwave in 30-second bursts until the center reaches 165°F. Avoid one long blast on high, which can make the edges tough before the middle is hot.
Questions That Come Up Before the Casserole Goes in the Oven
Sweet Potato Casserole with Marshmallows
Ingredients
Equipment
Method
- Heat the oven to 350°F.
- Grease a 9x13-inch baking dish with 1 tablespoon of the butter.
- Put the sweet potatoes in a 6-quart pot and add the water.
- Bring to a boil, then simmer for 15–20 minutes, until the potatoes are fork-tender.
- Drain the potatoes and return them to the pot.
- Mash until smooth and let cool for 5 minutes.
- Stir in the remaining 7 tablespoons butter, brown sugar, milk, vanilla, cinnamon, and salt.
- Add the eggs and stir until fully combined.
- Spread the mixture evenly in the prepared baking dish.
- Bake for 25–30 minutes, until the center reaches 160°F.
- Scatter the marshmallows evenly over the casserole.
- Bake for 5–8 minutes, until puffed and golden.
- Let the casserole rest for 10 minutes before serving.