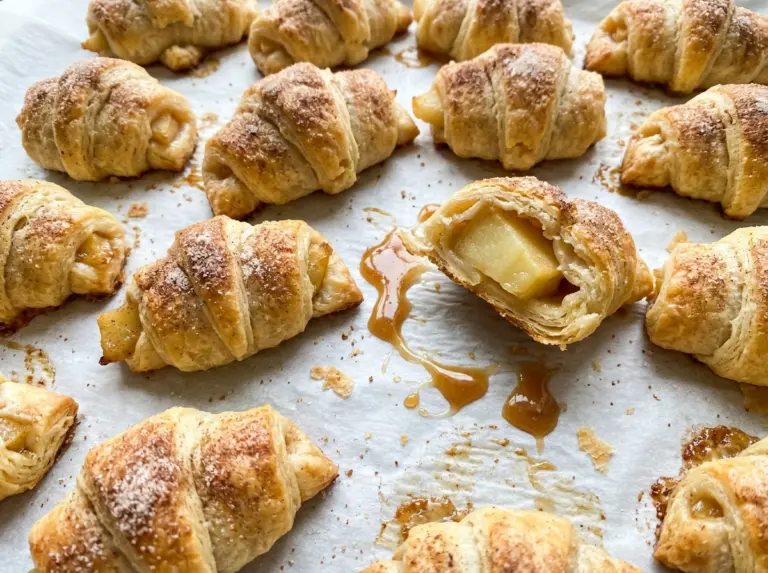
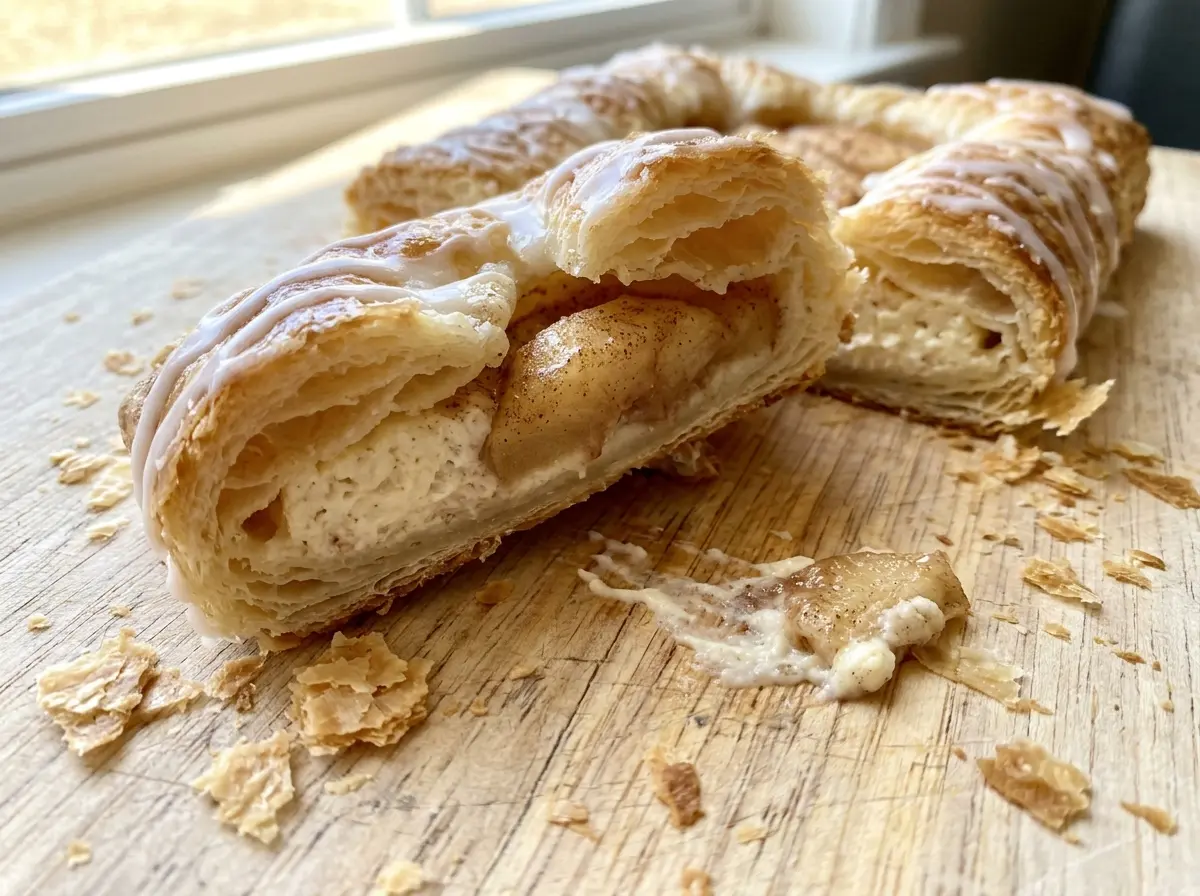
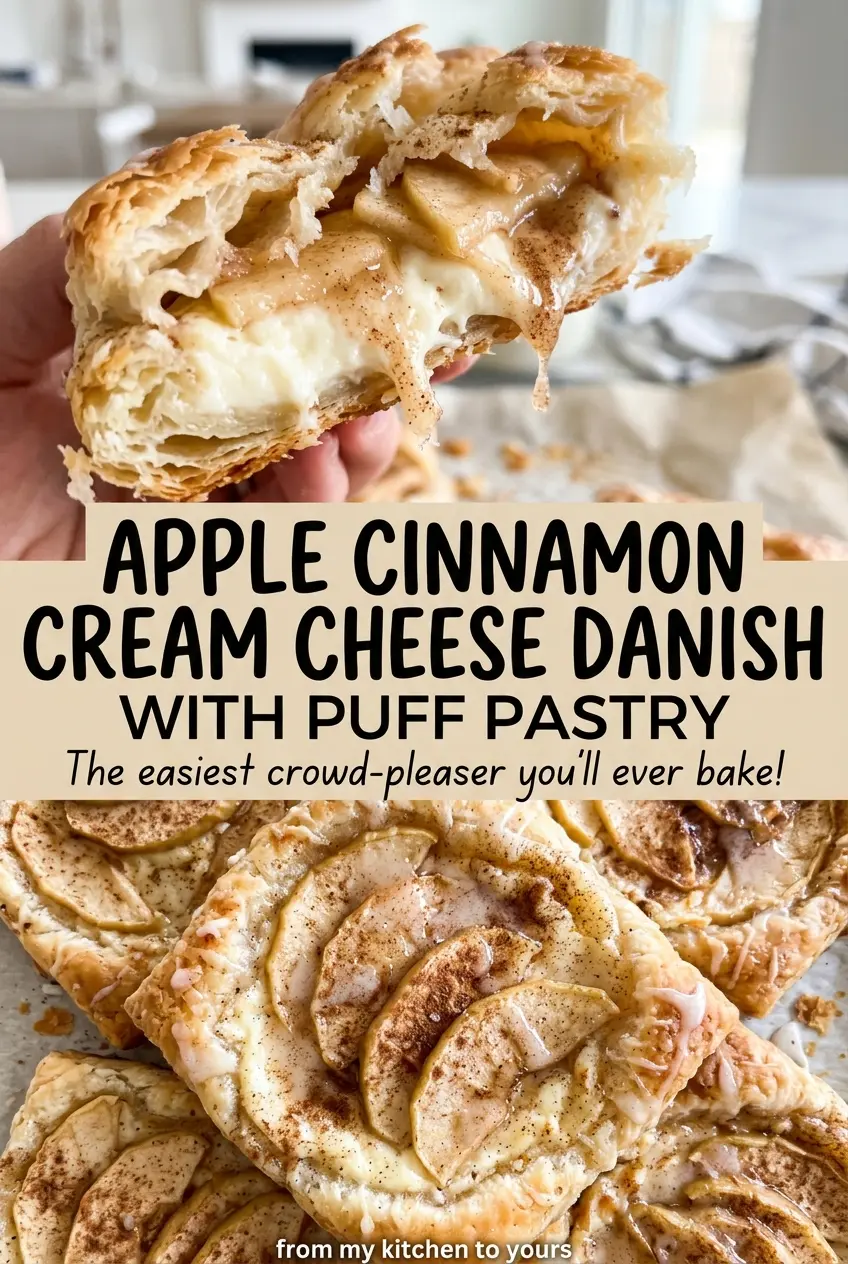
The apple cubes soften in the skillet while the brown sugar turns their juices glossy, and that’s when these apple cinnamon cream cheese danishes start to feel like more than a shortcut pastry. I like that the apples cook before they ever touch the puff pastry: the filling gets tender and cinnamon-scented without leaving a puddle in the center. Each square gets a smooth layer of sweetened cream cheese, then a spoonful of apple.
The pastry stays open-faced, so you get flaky golden edges around a soft middle in every bite. Scoring a border gives the edges room to rise, while pricking the center helps keep the fillings from being pushed aside by an over-puffed middle. I brush the borders with the separated egg white for a glossy finish, then drizzle the glaze over the pastries while they’re still warm. The contrast is just right: crisp pastry, creamy filling, and tender apples with a little cinnamon warmth.
Kitchen Note
Let the cooked apple filling cool completely before assembling. If it’s still warm, it softens the pastry before it has a chance to bake into flaky layers.
Save these apple cinnamon cream cheese danishes for a flaky pastry with tender cinnamon apples and a creamy center.
Why the Apple Filling Needs to Thicken Before It Goes on the Pastry
Apples release juice as they cook, and that liquid has nowhere to go once it’s tucked into a pastry square. A thin filling can soak into the center before the puff pastry has time to crisp. The cornstarch slurry gives those juices a glossy, lightly thickened finish, so the apples sit neatly on the cream cheese instead of spreading into a wet layer.
Look for the juices to cling to the diced apples rather than run freely across the skillet. The filling shouldn’t turn stiff or jammy; the apples still need to be just tender, with their shape intact. Spreading the cooked mixture on a plate helps it cool evenly, too, instead of holding heat in a deep bowl. You’ll have a filling that’s easy to spoon onto the pastry and stays where you put it as the edges puff around it.
What the Apples, Cream Cheese, and Puff Pastry Each Bring
- Apples — Choose apples that hold their shape when cooked. A tart baking apple gives the brown sugar and cream cheese a sharper contrast, while a sweeter firm apple makes the filling milder. Peel, core, and cut them into even 1/4-inch dice so they soften at the same pace.
- Brown sugar, cinnamon, and lemon juice — Brown sugar brings a mellow sweetness, cinnamon gives the apples their familiar warmth, and lemon juice keeps the filling from tasting flat. Fresh cinnamon is worth using if yours has been open for a long time; otherwise, the regular jar in your spice cabinet works well.
- Cream cheese — Let it soften before mixing so the filling turns smooth instead of leaving little lumps. A full-fat block gives the center its familiar rich texture; whipped cream cheese isn’t a direct swap here because its lighter texture can make the filling looser.
- Egg and puff pastry — The yolk blends into the cream cheese filling, and the white brushes the pastry border. Keep them separate as you crack the egg. Thaw the puff pastry according to the package directions; the two-sheet package gives you the eight squares this batch needs.
- Powdered sugar and milk — These whisk into a smooth drizzle that sets lightly on the warm pastries. Powdered sugar dissolves more smoothly than granulated sugar, so it’s the right choice for a quick glaze.
Build the Filling and Pastry in the Right Order
Cook the Apples Until Their Juices Turn Glossy
Melt the butter in a 10-inch skillet over medium heat, then stir in the diced apples, brown sugar, cinnamon, and lemon juice. Cook for 5–7 minutes, stirring often, until the apples are just tender rather than falling apart. Stir the cornstarch into the water, add the slurry to the skillet, and cook for 1 minute. When the juices look glossy and cling to the fruit, spread the filling on a plate to cool completely, about 20 minutes.
Mix a Smooth Cream Cheese Center
Beat the softened cream cheese with the granulated sugar, egg yolk, and vanilla in a medium bowl. Stop when the mixture looks smooth and even, with no visible cream cheese lumps. Scrape the sides of the bowl if needed so the filling doesn’t have sweet pockets or streaks. Keep the egg white separate for brushing the pastry later.
Shape the Squares and Keep the Borders Clear
Heat the oven to 400°F and line two rimmed baking sheets with parchment paper. Cut each thawed puff pastry sheet into four equal squares, then place four squares on each baking sheet. Score a 1/2-inch border on each square without cutting through the pastry, and prick the centers several times with a fork. Divide the cream cheese filling and cooled apple filling among the centers, leaving the borders clear; lightly beat the egg white and brush it over those borders.
Bake Until Deep Golden, Then Glaze While Warm
Bake for 18–22 minutes, swapping and rotating the baking sheets halfway through so the pastries brown evenly. The edges should be puffed and deep golden brown, not pale or merely set. Let the pastries cool on the baking sheets for 10 minutes while you whisk the powdered sugar and milk until smooth. Drizzle the glaze over the warm pastries, then give it a few minutes to settle before serving.
Small Changes That Shift the Sweetness and Texture
Choose a tarter or sweeter apple
A firm, tart apple makes a brighter contrast with the sweet cream cheese and glaze. Choose a firm, sweeter apple for a gentler, more mellow filling; keep the same cut and cook it until just tender.
Leave off the glaze for a less-sweet pastry
Skip the powdered sugar and milk drizzle if you want the apples and cream cheese to lead. The pastry will have a plainer finish, but the cinnamon-sugar apples still bring sweetness to every square.
Make each square more apple-forward
When dividing the fillings, spoon a little more apple and a little less cream cheese onto each square, spreading the full batch evenly across all eight. The result tastes fruitier and less rich without changing the ingredients.
Storage and Reheating
- Refrigerator: Cover and refrigerate leftovers for up to 3 days. The pastry softens as it sits, though the filling stays creamy.
- Freezer: Freeze fully cooled, unglazed pastries in an airtight container for up to 2 months. Thaw in the refrigerator, then warm and glaze before serving.
- Reheating: Warm in a 325°F oven for 6–8 minutes, until heated through. Avoid the microwave if you want to keep the pastry from turning soft.
Questions About These Apple Cream Cheese Danishes
Apple Cinnamon Cream Cheese Danish with Puff Pastry
Ingredients
Equipment
Method
- Melt the butter in a 10-inch skillet over medium heat.
- Add the apples, brown sugar, cinnamon, and lemon juice.
- Cook, stirring often, for 5–7 minutes until the apples are just tender.
- Stir the cornstarch into the water and add it to the skillet.
- Cook for 1 minute until the juices thicken and look glossy.
- Spread the filling on a plate and let it cool completely, about 20 minutes.
- Beat the cream cheese, granulated sugar, egg yolk, and vanilla in a medium bowl until smooth.
- Heat the oven to 400°F.
- Line two rimmed baking sheets with parchment paper.
- Cut each puff pastry sheet into 4 equal squares and place 4 squares on each baking sheet.
- Score a 1/2-inch border on each square without cutting through.
- Prick the centers several times with a fork.
- Divide the cream cheese filling and cooled apple filling among the pastry centers, keeping the borders clear.
- Lightly beat the egg white and brush it over the borders.
- Bake for 18–22 minutes, swapping and rotating the baking sheets halfway through, until the pastries are puffed and deep golden brown.
- Cool the pastries on the baking sheets for 10 minutes.
- Whisk the powdered sugar and milk until smooth.
- Drizzle the glaze over the warm pastries.