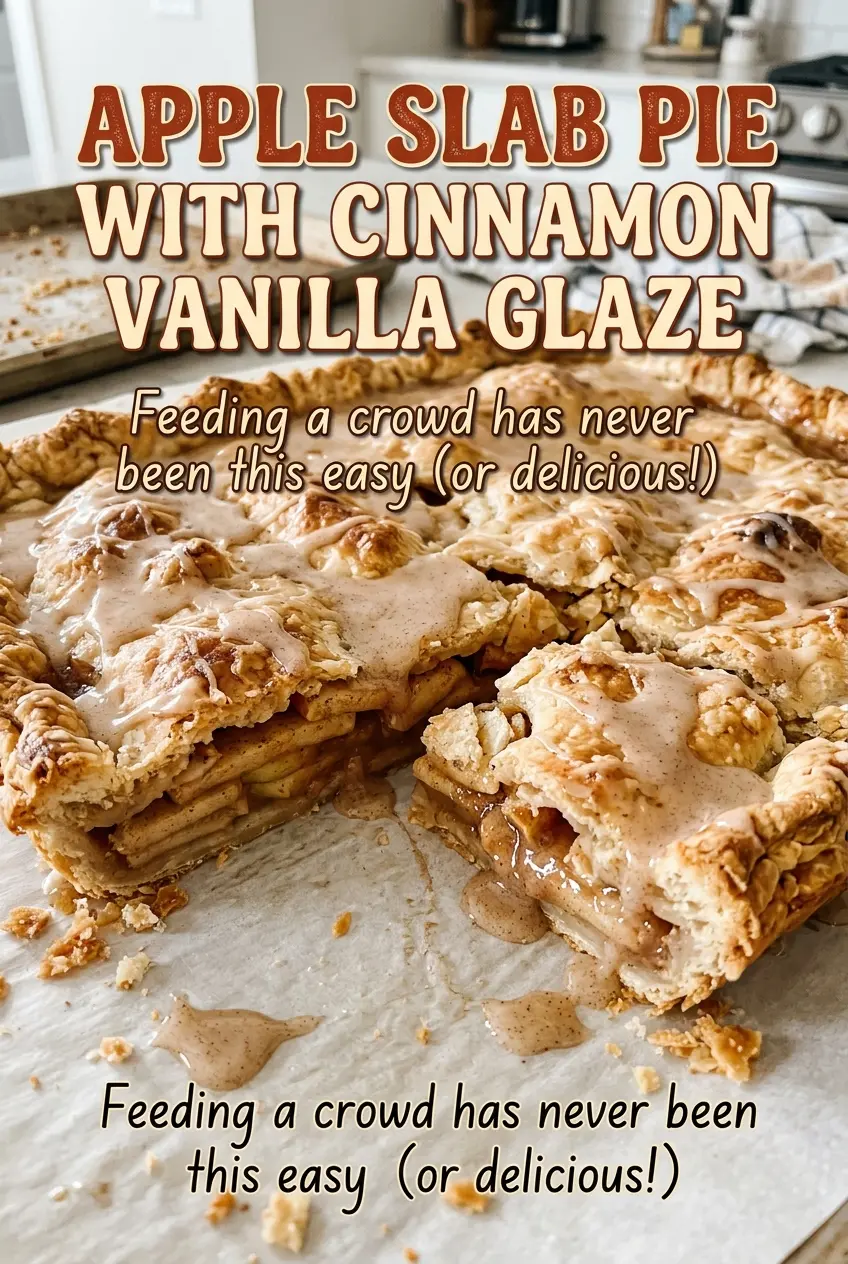
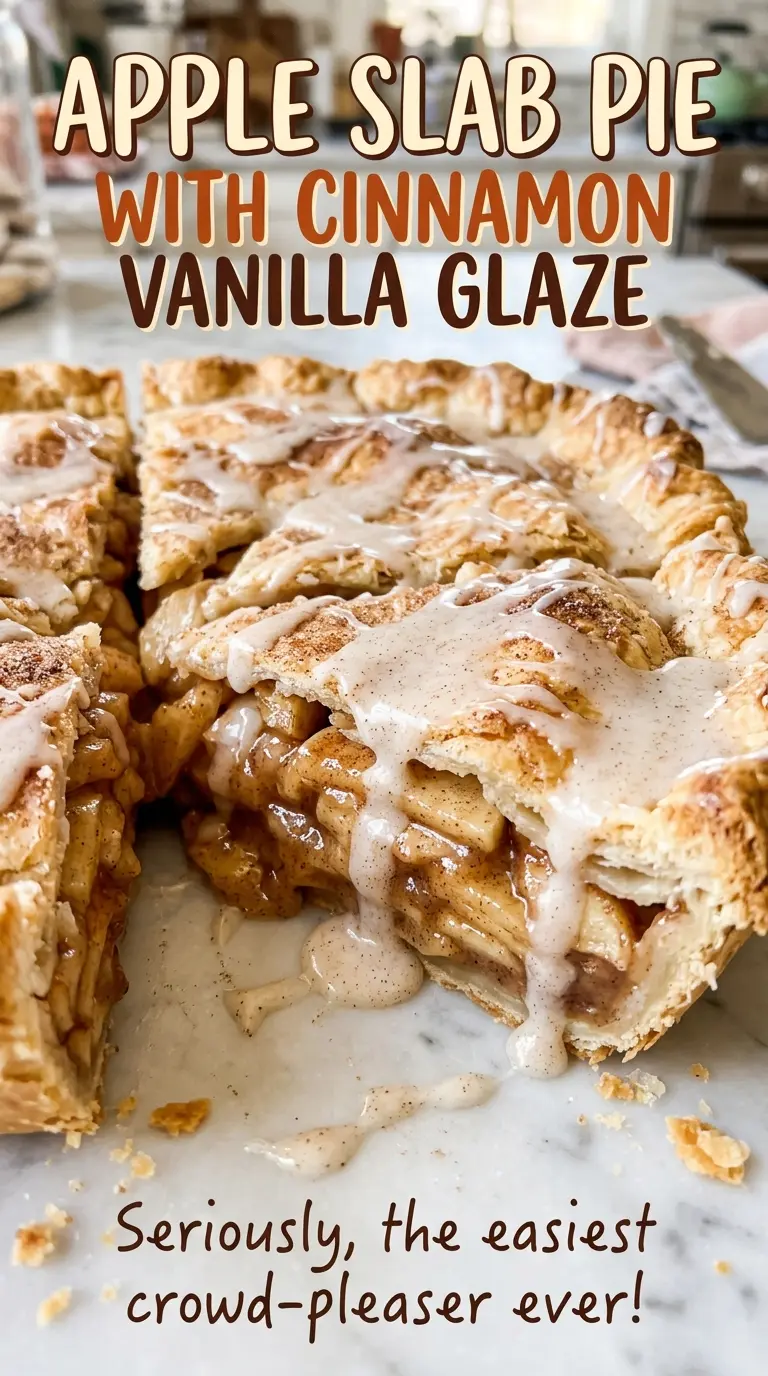
The first thing I watch for is the apple juice bubbling up through the slits in the top crust. That’s when this big, golden apple slab pie is close to ready, and the kitchen starts smelling like cinnamon. I like making it in a rimmed baking sheet because it gives me sixteen generous slices without asking me to fuss with a tall, delicate pie.
The dough needs to stay cold while you work it. I cut the butter into pea-size pieces, then add ice water only until a squeezed handful holds together; adding too much makes the crust harder to handle and less tender. A full hour in the refrigerator gives the dough time to firm up before rolling. Thin, even apple slices and a flour-thickened filling help each square hold together under that cinnamon vanilla glaze.
Kitchen Note
Stop adding water as soon as the dough holds together when you squeeze it. It may still look crumbly in the bowl, and that’s fine; a wet dough is much harder to roll into the large rectangles this pie needs.
Save this apple slab pie with its golden top and cinnamon vanilla glaze for the next time you need an easy-to-slice dessert for a crowd.
Why Thin Apple Slices Matter More in a Slab Pie
A slab pie has a wide, shallow filling rather than the deep mound you get in a round pie. That changes what matters: slices need to be thin enough to soften evenly before the top crust turns deeply golden. Cutting the apples to the same thickness helps avoid a mix of soft edges and firm centers. The quarter-inch slices also settle into an even layer, so the top crust can sit close to the fruit instead of tenting over a few tall pieces.
The flour in the filling has a job beyond coating the apples. As the fruit releases juice in the oven, the flour helps thicken it into a filling that stays between the crusts instead of running across the pan when you cut squares. Toss everything until the sugar and flour are distributed over the slices, then spread the fruit evenly right to the edges. Keeping the apple layer level matters: a thick pile in the middle takes longer to heat through, while thin spots can leave you with more crust than fruit.
What the Apples, Butter, and Flour Contribute to This Pie
- Apples — Choose apples that feel firm and will hold their shape when baked; very soft fruit can collapse into a looser filling. Peeling and coring before slicing gives the filling a more even, tender texture. A tart baking apple brings a sharper contrast to the sweet glaze, while a sweeter variety makes the finished pie taste rounder.
- Cold unsalted butter — Butter is what gives this pastry its rich flavor and flaky texture, and keeping it cold helps it stay in distinct pieces as you work the dough. Cubing it before cutting it into the flour makes the job easier. If the butter softens noticeably while you mix, chill the dough before rolling rather than trying to work warm pastry.
- All-purpose flour — The flour in the crust gives it structure; the flour in the filling thickens the apple juices. Use the same kind of flour for both jobs so the dough and filling behave predictably. For a gluten-free adaptation, see the variation below for how to replace it in both places.
- Lemon juice and cinnamon — Lemon juice brightens the apples and helps keep their flavor from tasting flat beneath the sugar. Ground cinnamon brings warmth to both the filling and the glaze, so a fresh, fragrant jar is worth using if yours has been open for years.
- Powdered sugar and vanilla — Powdered sugar dissolves into a smooth drizzle more readily than granulated sugar. Add the milk gradually so the glaze stays thick enough to cling to the cooled crust; vanilla rounds out the cinnamon without overwhelming the apples.
From Cold Dough to a Sealed 10-by-15-Inch Slab
Bring the Butter Dough Together
Whisk the flour, sugar, and salt in a large bowl, then cut in the cold cubed butter with a pastry cutter. Stop when the largest butter pieces are about the size of peas; the mixture won’t look like a smooth dough yet. Toss in the first portion of ice water with a fork, then add more a tablespoon at a time until a squeezed handful holds together. Divide the dough into two rectangles, make one slightly larger for the bottom, wrap both, and refrigerate for an hour.
Season the Apples and Set Up the Pan
Heat the oven to 400°F and line a 10×15-inch rimmed baking sheet with parchment paper. Toss the peeled, cored, thinly sliced apples with the sugar, flour, cinnamon, and lemon juice in a large bowl. Use a broad folding motion so the flour doesn’t collect at the bottom and leave some slices uncoated. Keep the filling nearby while you roll the dough so the prepared apples don’t sit longer than needed.
Fit, Fill, and Seal the Pastry
Roll the larger dough portion into a 12×17-inch rectangle and ease it into the prepared pan, pressing it into the corners and up the sides. Spread the apple mixture in an even layer over the bottom crust. Roll the remaining dough into a 10×15-inch rectangle, lay it over the apples, and pinch the edges together with the lower crust to seal. Trim excess dough, cut six slits across the top, and brush the surface with the beaten egg; the vents give steam a way out as the fruit cooks.
Bake Until the Slits Bubble, Then Glaze Cold
Bake for 40 to 50 minutes, watching for a golden-brown top and filling bubbling through the slits. If the crust is still pale or the filling isn’t bubbling, give it more time rather than pulling it early. Cool the pie in its pan on a wire rack for at least an hour. Whisk the powdered sugar, vanilla, cinnamon, and one tablespoon of milk; add the remaining milk a little at a time until the glaze is thick but pourable, drizzle it over the cooled pie, and let it set before slicing.
Three Changes That Keep the Slab Pie’s Structure Intact
Use a gluten-free baking blend
Replace the all-purpose flour in both the crust and filling with a cup-for-cup gluten-free baking blend that includes xanthan gum. The pastry will be more delicate and less stretchy than wheat dough, so roll it between sheets of parchment and handle the top crust gently. The result still gives you a crisp-edged slab with a tender apple center.
Trade the filling sugar for light brown sugar
Use packed light brown sugar in place of the granulated sugar in the apple filling, one-for-one. Its molasses notes make the fruit taste deeper and a little less cleanly sweet, while the flour still thickens the juices. Keep the powdered sugar in the glaze; brown sugar won’t whisk into the same smooth drizzle.
Make the drizzle vanilla-forward
Leave the cinnamon out of the glaze while keeping it in the filling. You’ll get a simpler vanilla icing that lets the apple and cinnamon center come through more clearly. Keep the glaze thick but pourable, since a thinner drizzle is more likely to run off the crust.
Storage and Reheating
- Refrigerator: Cover leftover pie and refrigerate it for up to 4 days. The pastry softens as it sits, but the apple filling keeps well.
- Freezer: Freeze cooled, unglazed slices in an airtight container, with parchment between layers, for up to 3 months. Thaw in the refrigerator and add glaze once the slices have come to room temperature.
- Reheating: Warm slices briefly in a low oven for a crisper crust. The microwave is quick, but it softens the pastry, so use short bursts only if convenience matters more than crispness.
The Questions That Come Up Before the First Slice
Apple Slab Pie with Cinnamon Vanilla Glaze
Ingredients
Equipment
Method
- Whisk the flour, sugar, and salt together in a large bowl.
- Cut in the cold butter with a pastry cutter until the largest pieces are about pea-size.
- Drizzle in 1/2 cup ice water, tossing the mixture with a fork.
- Add more water 1 tablespoon at a time until the dough holds together when squeezed.
- Divide the dough into two portions, making one slightly larger.
- Flatten each portion into a rectangle and wrap.
- Refrigerate the dough for 1 hour.
- Heat the oven to 400°F.
- Line a 10x15-inch rimmed baking sheet with parchment paper.
- Toss the apples with the sugar, flour, cinnamon, and lemon juice in a large bowl.
- Roll the larger dough portion into a 12x17-inch rectangle.
- Fit it into the prepared pan, pressing it into the corners and up the sides.
- Spread the apple filling evenly over the bottom crust.
- Roll the remaining dough into a 10x15-inch rectangle.
- Place it over the apples and pinch it together with the bottom crust to seal.
- Trim any excess dough and cut 6 slits in the top.
- Brush the top crust with the beaten egg.
- Bake for 40 to 50 minutes, until the crust is golden brown and the filling bubbles through the slits.
- Cool the pie in the pan on a wire rack for at least 1 hour.
- Whisk the powdered sugar, 1 tablespoon milk, vanilla, and cinnamon in a small bowl.
- Add more milk a little at a time until the glaze is thick but pourable.
- Drizzle the glaze over the cooled pie.
- Let the glaze set before slicing.