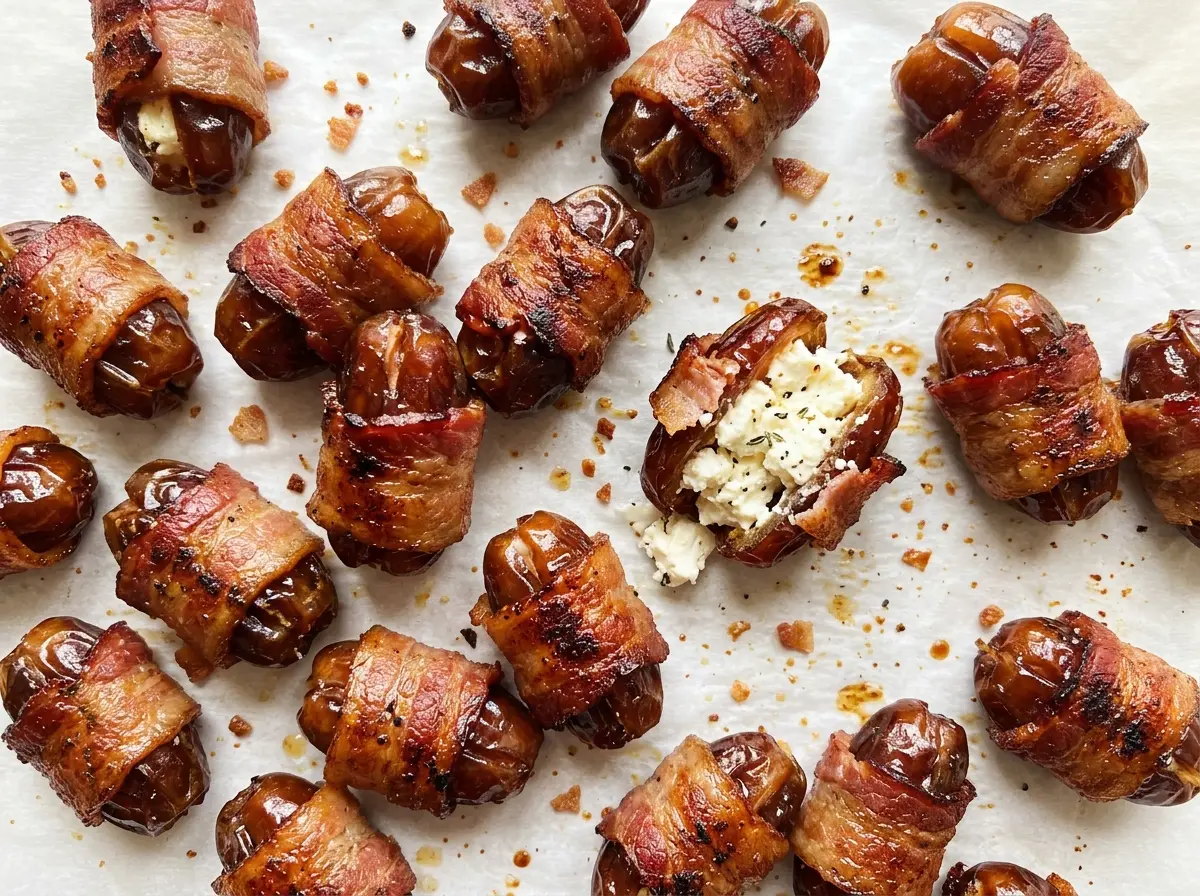
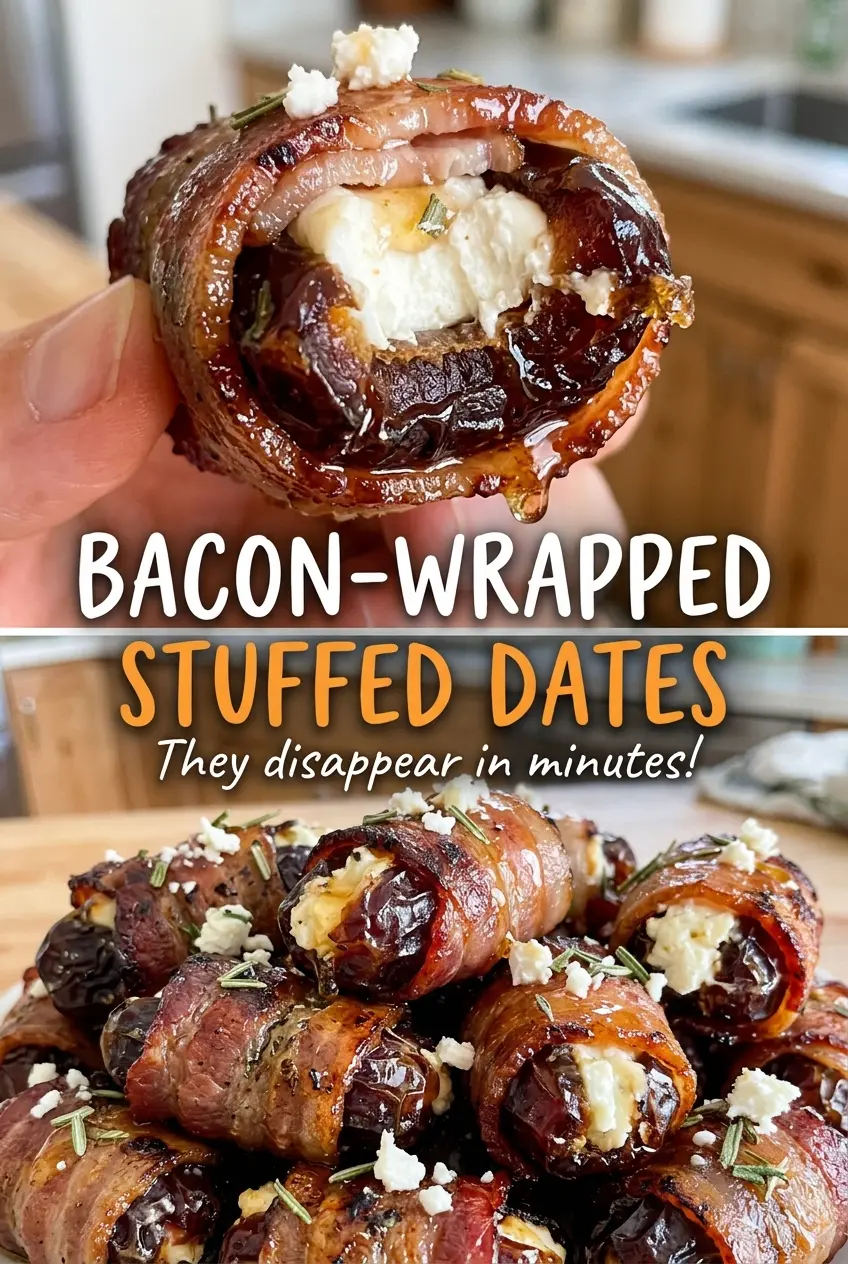
The bacon starts to render before the dates have even had a chance to warm through, and that sweet, smoky smell is the first sign these little bites are on their way. Bacon Wrapped Stuffed Dates are a favorite of mine when I want an appetizer with a short ingredient list but a real contrast of textures: soft, chewy fruit, creamy goat cheese, and bacon that turns crisp around the outside.
Medjool dates are large enough to hold a small spoonful of cheese without losing their shape, and their deep sweetness stands up to the salty bacon. I keep the filling simple so each bite stays balanced instead of becoming too rich. Once the bacon is browned and crisp, let the dates sit for a few minutes; the cheese settles, and they’re easier to pick up and eat while still warm.
Kitchen Note
Softened goat cheese is much easier to spoon into the dates than cheese straight from the refrigerator. If it’s cold and firm, it can drag against the fruit instead of settling neatly into the opening.
Save these Bacon Wrapped Stuffed Dates for a gathering when you want a sweet, creamy center tucked inside crisp bacon.
Why the Wire Rack Keeps the Bacon Crisp Instead of Greasy
Bacon releases fat as it cooks. When the dates sit directly in that rendered fat, the undersides can turn greasy before the bacon has a chance to crisp evenly. Setting a lightly greased wire rack over a foil-lined rimmed baking sheet gives the fat somewhere to drip while hot air can reach the bacon around each date. The foil catches the drippings, which makes cleanup less of a project, too.
The rack also matters because these are small parcels with a soft center. A flat baking sheet can leave the side touching the pan darker and softer than the side facing up. On the rack, turning the dates halfway through gives both sides time against the heat. Don’t skip the rimmed sheet beneath it; it catches the bacon fat and keeps it from reaching the oven floor. This simple setup is what lets the bacon finish browned and crisp while the dates stay tender.
How Medjool Dates, Goat Cheese, and Regular-Cut Bacon Balance Each Other
- Medjool dates — Their size gives you room to fill the fruit and wrap it without the whole bite becoming too small to handle. Choose dates that feel soft and pliable rather than dried out and stiff; very small dates won’t hold the same filling-to-bacon balance. They’re already pitted here, but still check each opening as you prepare it.
- Goat cheese — Its tang keeps the sweet dates from tasting one-note, and its creamy texture gives the center a clear contrast with the bacon. A plain, softened goat cheese works best because it lets the dates and bacon provide the other flavors. I don’t recommend replacing it with a firmer cheese; it won’t spoon into the fruit in the same way.
- Regular-cut bacon — This thickness browns and crisps within the baking window without overwhelming the date. Thick-cut bacon takes longer to crisp, so it’s not a dependable swap for this timing. Use slices that are flexible enough to wrap around each date without tearing.
How to Fill and Wrap the Dates Without Losing the Cheese
Set Up the Pan Before You Start Filling
Heat the oven to 400°F, line a rimmed baking sheet with foil, and set a lightly greased wire rack on top. Having the rack ready means the filled dates can go straight onto it as soon as they’re wrapped. The rim on the pan is useful because bacon releases fat as it bakes. Keep the rack centered and stable so the dates don’t roll while you’re arranging them.
Open Each Date Just Enough to Fill It
Cut each pitted date lengthwise, stopping before you slice all the way through. You want a pocket that opens easily but still has a hinge of fruit to hold its shape. Spoon about 1 teaspoon of softened goat cheese into each date. If the opening is packed full, the cheese has nowhere to settle as the fruit warms, so keep the filling level modest.
Wrap, Turn, and Let the Centers Set
Cut each bacon slice in half crosswise and wrap one piece around each stuffed date, securing it with a toothpick. Arrange the dates seam-side down on the rack so the loose end of bacon is held in place as it begins to cook. Bake for 20 to 25 minutes, turning them halfway through, until the bacon is browned and crisp; the exact point to watch is the bacon’s color and texture, not a pale or floppy strip. Let the dates rest for 5 minutes before serving so the hot filling can settle.
Two Simple Ways to Change the Stuffed Date Bites
Dairy-free bacon-wrapped dates
Leave out the goat cheese and wrap the opened dates with the bacon as usual. The result is a simpler sweet-and-smoky bite without a creamy center, and the dates still hold together well for wrapping. This is the most straightforward way to make a dairy-free version without bringing another ingredient into the mix.
Goat-cheese-stuffed dates without bacon
For a meat-free change, fill and bake the dates without wrapping them in bacon. You’ll lose the smoky, crisp outer layer, but the soft fruit and tangy cheese still make a sweet-savory bite. Set them cut-side up on the prepared rack and keep an eye on the cheese as they warm.
Storage and Reheating
- Refrigerator: Store leftovers in a covered container for 3 to 4 days. The bacon softens in the refrigerator, so it won’t keep its just-baked crispness.
- Freezer: They can be frozen in a single layer, then transferred to a sealed freezer container for up to 2 months. Thaw them in the refrigerator; the bacon may be less crisp after freezing.
- Reheating: Warm them in a 400°F oven until hot and the bacon has crisped again. Avoid the microwave if crisp bacon matters; it warms the center but leaves the wrapper soft.
Questions That Come Up When Making Bacon Wrapped Stuffed Dates
Bacon Wrapped Stuffed Dates
Ingredients
Equipment
Method
- Heat the oven to 400°F.
- Line a rimmed baking sheet with foil, then set a lightly greased wire rack on top.
- Cut each date lengthwise without cutting all the way through.
- Fill each date with about 1 teaspoon goat cheese.
- Cut each bacon slice in half crosswise.
- Wrap one piece of bacon around each stuffed date and secure with a toothpick; arrange the dates seam-side down on the rack.
- Bake for 20 to 25 minutes, turning the dates halfway through, until the bacon is browned and crisp.
- Let the dates rest for 5 minutes before serving.