
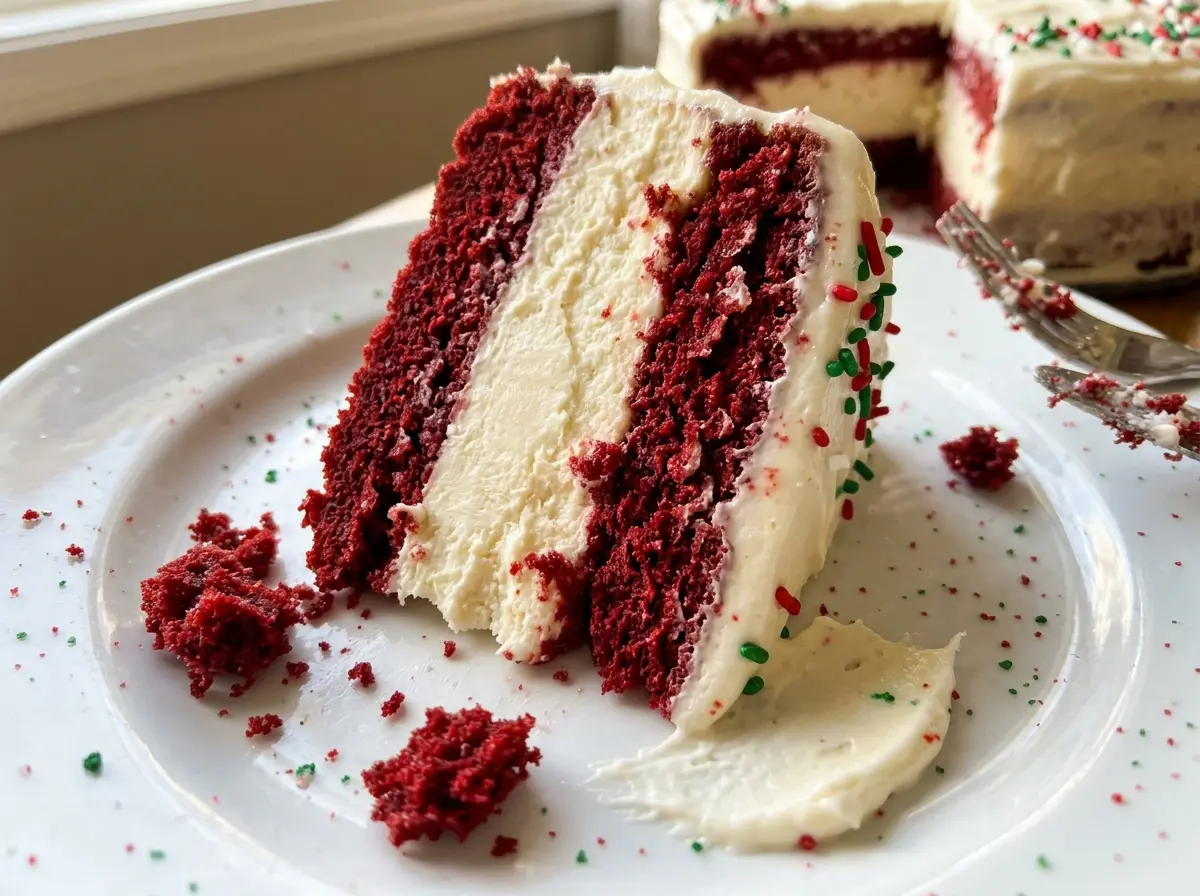
When the edges look settled but the center still has a little movement, this cheesecake isn’t finished cooling—it’s right where it should be. The gradual finish is what helps the filling set without turning dry, and it gives the chocolate cookie crust time to stay firm under the creamy red center. Christmas Red Velvet Cheesecake has a mild cocoa note, a gentle tang, and a cloud of whipped cream on top.
I keep the mixing gentle once the eggs go in, then give the cheesecake time to cool in stages. That patience matters as much as the bake: the filling needs a long chill before it’s firm enough to slice cleanly. The red color comes from liquid food coloring mixed through the cocoa batter, while the chocolate sandwich cookie base keeps each bite grounded in deep cocoa. Finish it with whipped cream and red and green sprinkles, and it’s ready for the dessert table.
Kitchen Note
Wrap the springform pan in three layers of heavy-duty foil before setting it in the water bath. Press the foil snugly around the outside so water can’t seep in and soften the chocolate crust.
Save Christmas Red Velvet Cheesecake for a holiday dessert with a cocoa-cookie crust, creamy red filling, and a festive whipped-cream finish.
Why This Cheesecake Needs a Slow Landing After the Oven
A cheesecake can look ready at the edges before its center has finished setting. Its filling is dense, so it keeps cooking gently from the heat held in the pan even after the oven is turned off. Moving it straight from a hot oven to a cool counter can make the outer edge contract faster than the center, which is one reason cheesecake tops crack.
The cooling stages each do a different job. Leaving the pan in the turned-off oven with the door propped open lets the temperature drop gradually; cooling on a rack releases more heat before the long refrigerator chill firms the filling. The water bath also buffers the heat during baking, helping the edges cook more gently while the center reaches its target temperature. Keep those transitions unhurried and the finished cheesecake has a smooth, creamy texture instead of a dry ring around the outside.
What Gives This Red Velvet Filling Its Color and Tang
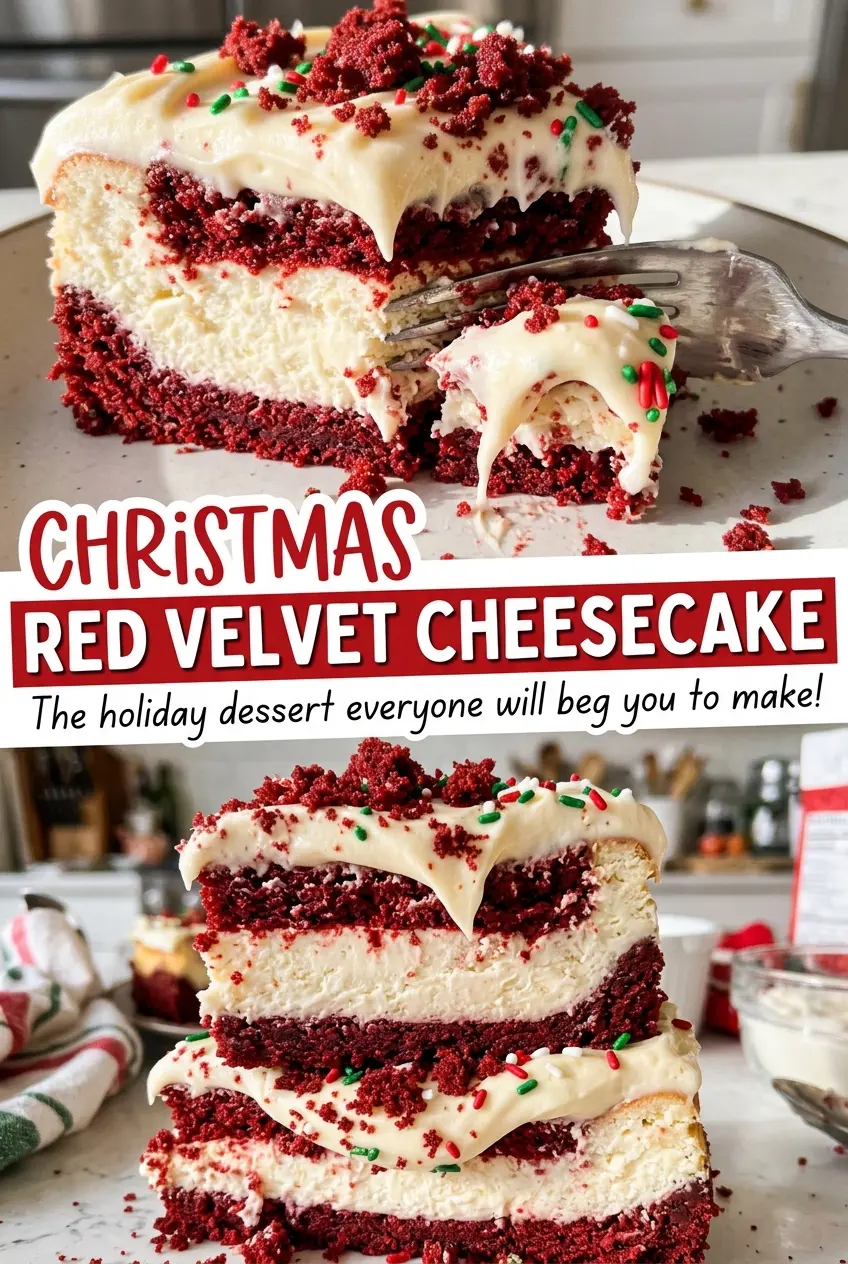
- Chocolate sandwich cookies — Finely crushed cookies make a cohesive chocolate base without needing a separate chocolate ingredient. Crush them evenly so larger pieces don’t leave weak spots in the crust; a different brand of chocolate sandwich cookie works as long as you use the same cookie count.
- Cream cheese — Softened cream cheese blends smoothly with the sugar, while cold cream cheese is more likely to leave small lumps in the batter. Let it soften before mixing. I wouldn’t swap in a spreadable tub-style cream cheese, which has a looser consistency than the blocks used here.
- Unsweetened cocoa powder — Cocoa gives the filling its chocolate note without making it taste like a full chocolate cheesecake. Whisk it with the flour before adding it so the dry ingredients disperse evenly; sweetened cocoa drink mix isn’t a good substitute because it adds sugar and other ingredients.
- Buttermilk, sour cream, and vinegar — These ingredients bring the gentle tang that keeps the cocoa-and-cream-cheese filling from tasting flat. Keep the buttermilk and sour cream at room temperature along with the eggs. Plain milk won’t give the same tang or body, so I stick with buttermilk here.
- Liquid red food coloring — The liquid coloring is mixed into the filling until the batter is evenly colored. Gel coloring is more concentrated, so it isn’t a direct one-for-one swap; use the liquid coloring specified for a predictable shade.
- Heavy cream — Cold heavy cream whips into the stiff peaks needed for a topping that holds its shape. Half-and-half won’t whip the same way, so keep the heavy cream cold and use a chilled bowl.
From Chocolate Crumbs to a Properly Chilled Cheesecake
Press and bake the cookie crust
Heat the oven to 325°F and brush the bottom and sides of a 9-inch springform pan with 1 teaspoon of melted butter. Stir the finely crushed cookies with the remaining melted butter, then press the mixture firmly over the bottom of the pan. Bake the crust for 10 minutes and set it aside while you make the filling. Press evenly across the base so the crust holds together once sliced.
Mix the red velvet filling gently
Beat the softened cream cheese and granulated sugar until smooth. Add the room-temperature eggs one at a time, beating on low speed just until each is incorporated; extended beating can add extra air to the batter. Beat in the sour cream and buttermilk, then whisk the cocoa powder and flour together before mixing them in with the vanilla, vinegar, and red food coloring. Stop when the color is even rather than continuing to beat the batter.
Set up the water bath and bake
Pour the filling over the crust and wrap the outside of the springform pan in three layers of heavy-duty foil. Set it in a 16×13-inch roasting pan, place the roasting pan on the oven rack, and carefully pour in hot water until it reaches halfway up the springform pan. Bake at 325°F for 70 to 90 minutes, until the edges are set and the center reaches 160°F on an instant-read thermometer. The water is hot, so pour slowly once the roasting pan is on the rack.
Cool in stages, then chill thoroughly
Turn off the oven, prop the door open, and leave the cheesecake inside for 1 hour. Lift the springform pan out of the water bath, remove the foil, and run a thin knife around the inside edge of the pan. Cool it on a rack for 1 hour, then refrigerate for at least 6 hours, or until thoroughly chilled. Keep the springform ring on during chilling so the sides stay supported.
Finish with whipped cream and sprinkles
Beat the cold heavy cream and powdered sugar in a chilled bowl until stiff peaks form. Unlatch and remove the pan sides, then spread or pipe the whipped cream over the chilled cheesecake. Add the red and green holiday sprinkles over the cream for the finishing touch.
Two Easy Ways to Adapt the Red Velvet Finish
Make it a cocoa-colored cheesecake
Leave out the red liquid food coloring and keep the rest of the filling the same. The cheesecake will bake up cocoa-brown rather than red, with the same tangy cream cheese filling and chocolate cookie crust.
Serve it without the whipped topping
Skip the heavy cream, powdered sugar, and sprinkles for a simpler slice where the cocoa filling and cookie crust take the lead. The cheesecake will feel denser without the soft cream topping, so this is a good option if you want a less decorated finish.
Storage and Reheating
- Refrigerator: Cover and refrigerate for up to 4 days. The whipped cream may soften, and the sprinkles may bleed some color as it sits.
- Freezer: Freeze the cheesecake without the whipped cream topping for the best texture. Wrap the chilled cheesecake or individual slices tightly and freeze for up to 2 months; thaw overnight in the refrigerator, then add the topping.
- Reheating: Don’t reheat cheesecake; serve it chilled. Heat softens the filling and will melt the whipped cream topping.
Questions That Come Up While Making This Cheesecake
Christmas Red Velvet Cheesecake
Ingredients
Equipment
Method
- Heat the oven to 325°F.
- Brush the bottom and sides of a 9-inch springform pan with 1 teaspoon of the melted butter.
- Stir the cookie crumbs with the remaining 5 tablespoons melted butter.
- Press the mixture firmly over the bottom of the pan.
- Bake for 10 minutes, then set aside.
- Beat the cream cheese and granulated sugar in a large bowl until smooth.
- Add the eggs one at a time, beating on low speed just until each is incorporated.
- Beat in the sour cream and buttermilk.
- Whisk the cocoa powder and flour together.
- Mix the cocoa mixture into the batter with the vanilla, vinegar, and red food coloring just until evenly colored.
- Pour the filling over the crust.
- Wrap the outside of the springform pan in three layers of heavy-duty foil.
- Set the springform pan in a 16x13-inch roasting pan.
- Set the roasting pan on the oven rack.
- Carefully pour hot water into the roasting pan until it reaches halfway up the springform pan.
- Bake at 325°F for 70 to 90 minutes, until the edges are set and the center reaches 160°F on an instant-read thermometer.
- Turn off the oven and prop the door open.
- Leave the cheesecake inside for 1 hour.
- Lift the springform pan out of the water bath.
- Remove the foil and run a thin knife around the inside edge of the pan.
- Cool on a rack for 1 hour.
- Refrigerate the cheesecake for at least 6 hours, or until thoroughly chilled.
- Beat the heavy cream and powdered sugar in a chilled bowl until stiff peaks form.
- Unlatch and remove the pan sides.
- Spread or pipe the whipped cream over the cheesecake.
- Decorate with the holiday sprinkles.


