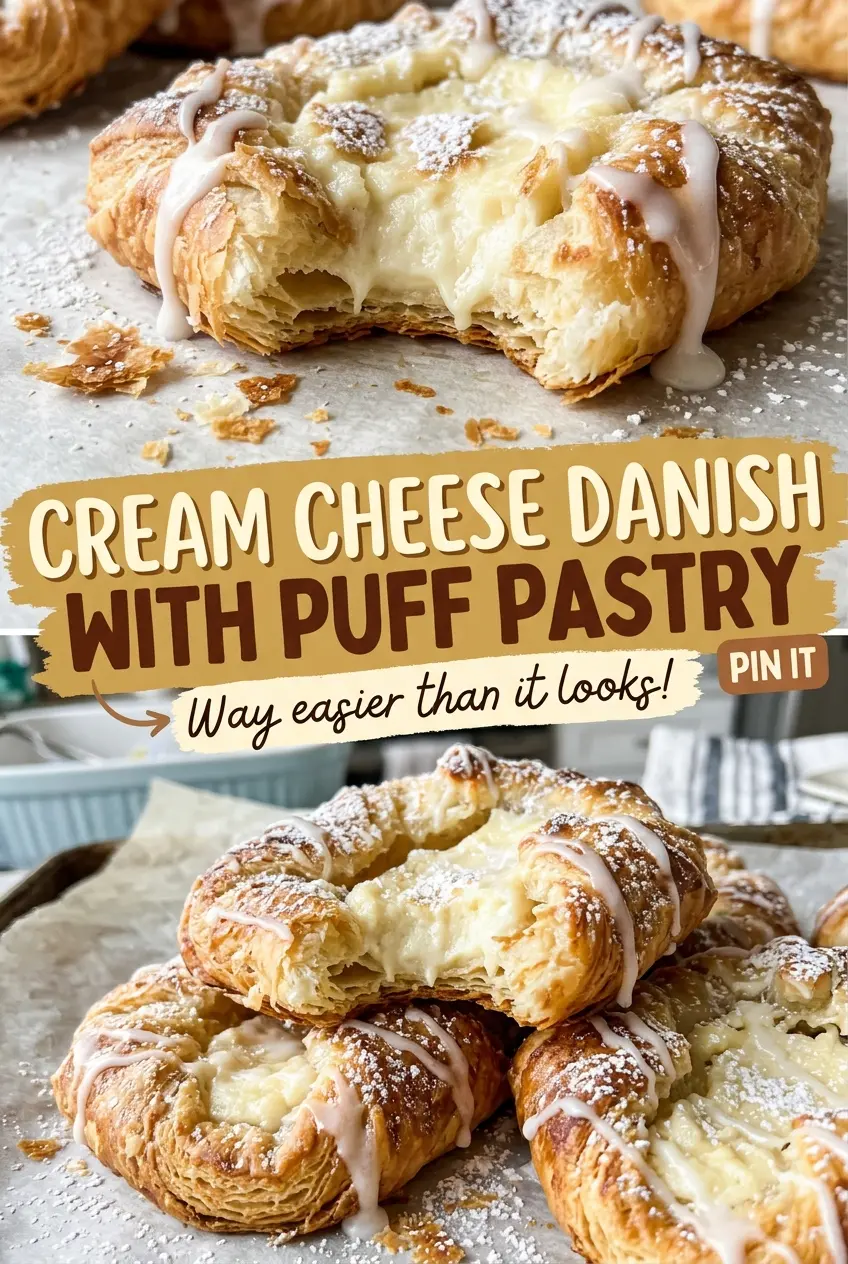
At the oven door, I watch the pastry edges climb while the centers stay low enough to hold their filling. That contrast is what makes these cream cheese Danish with puff pastry feel like a proper bakery treat without turning the kitchen into an all-day project. Each square gets a smooth, lightly tangy center, and a quick powdered sugar glaze goes on after the pastries have cooled a little.
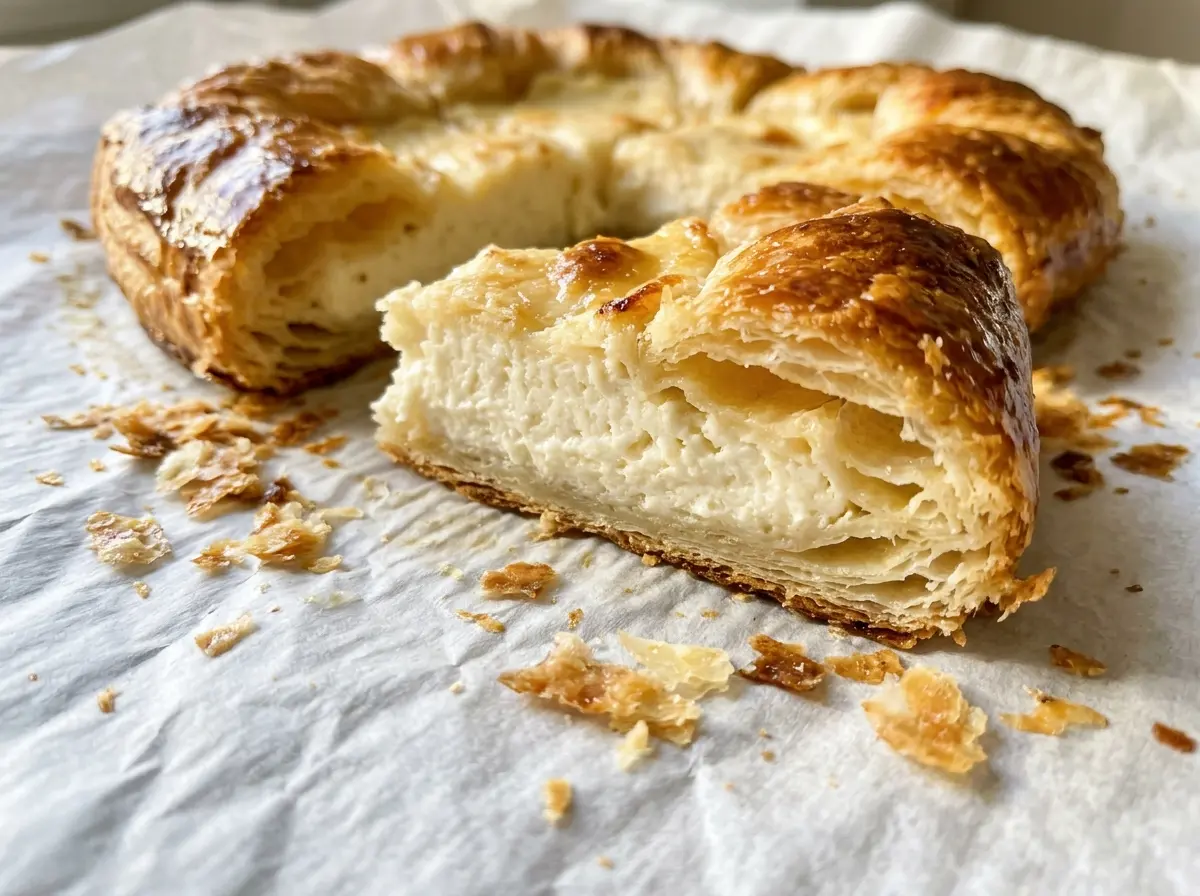
The border and the fork marks do different jobs. Scoring gives the edges a place to rise, while pricking the center keeps it from puffing up under the filling. I keep the pastry thawed but cold as I work; warm sheets get slack and are harder to handle neatly. The finished Danish should be deeply golden, with a set center and crisp, separated layers around it.
Kitchen Note
Keep the puff pastry thawed but cold while you shape it. Cold sheets hold their edges cleanly when scored, while pastry that has warmed up feels soft and can be frustrating to handle.
Save these cream cheese Danish for a brunch spread or a weekend bake: flaky pastry, a lemon-kissed center, and a simple glaze.
Why the Center Needs Fork Marks Before You Add the Cream Cheese
Puff pastry is built to rise in layers, so an unpricked center can balloon beneath the filling. A fork gives steam a way out and helps the middle stay flatter, leaving the border room to puff around it. That little bit of shaping is what keeps the filling sitting in a shallow pastry well instead of riding on top of a dome.
Score a border about half an inch in from each edge, but stop before the knife cuts through the sheet. The score marks a boundary without severing the layers that need to lift together. If you cut all the way through, the edges can separate and the filling has a more direct path to the pan. Prick the center several times, then keep the filling inside that scored frame. The goal isn’t a perfectly flat middle; it’s a center that rises less than the border and stays sturdy under the cream cheese.
What the Cream Cheese, Egg, and Puff Pastry Each Bring
- Cream cheese — It gives the filling its tang and creamy body. Use block cream cheese, softened enough to beat smooth; a whipped or spreadable style has a looser texture and won’t make the same compact center.
- Egg yolk and egg white — The yolk enriches and helps bind the filling, while the reserved white is mixed with water for brushing the pastry edges. Separating the egg cleanly keeps the wash clear of yolk, so it brushes on evenly.
- Granulated sugar — It sweetens the cream cheese without making the filling taste like frosting. Beat it in until the mixture looks smooth so you don’t end up with gritty pockets.
- Vanilla and lemon zest — Vanilla rounds out the dairy, and finely grated zest adds a fresh citrus note without adding juice to the filling. Zest only the colored outer peel; the white pith underneath tastes bitter.
- Puff pastry — The laminated layers create the crisp, airy frame that makes this a Danish rather than a pastry-topped cheesecake. The two sheets should be thawed but cold, and a package totaling about 17 ounces gives the intended amount of pastry.
- Powdered sugar and milk — Together they make a smooth, pourable glaze. Powdered sugar dissolves more readily than granulated sugar here, so the drizzle stays fine instead of crunchy.
Shape the Pastry So the Filling Stays Put
Beat the Cream Cheese Filling Until Smooth
Separate the egg and set the white aside for the wash. Beat the softened cream cheese with the sugar, yolk, vanilla, and finely grated lemon zest in a medium bowl. Stop when the filling looks even and creamy, with no visible lumps of cream cheese. If the cream cheese is still firm, you’ll have to work harder to smooth it out.
Cut, Score, and Dock Each Square
Heat the oven to 400°F and line two 13×18-inch rimmed baking sheets with parchment paper. Unfold each pastry sheet, cut it into four equal squares, and arrange four squares on each baking sheet. Score a half-inch border around every square without cutting through, then prick the centers several times with a fork. Keep the cuts shallow; a through-cut edge won’t rise as one continuous frame.
Brush the Borders and Add the Filling
Whisk the reserved egg white with the water, then brush it over the pastry borders. The wash should coat the raised frame lightly rather than pool around the edges. Divide the filling among the centers and spread it within the scored lines. Filling on the border can interfere with the pastry’s rise, so leave that rim clear.
Bake Until Deep Golden, Then Glaze
Bake for 18–22 minutes, switching the sheets between racks and rotating them front to back halfway through. Look for puffed pastry with a deep golden color and filling that has set; pale pastry needs the full bake rather than an early pull. Let the Danish cool on the baking sheets for 10 minutes. Whisk the powdered sugar and milk until smooth, then drizzle the glaze over the pastries.
Two Easy Ways to Change These Danish
Make Them Dairy-Free
Use dairy-free cream cheese in place of the block cream cheese, dairy-free puff pastry for the two sheets, and an unsweetened plant milk in the glaze. Keep the egg and egg wash; this adaptation is dairy-free, not egg-free or vegan. The filling may be a little less rich, and the pastry’s flavor depends on the dairy-free brand you choose.
Go Vanilla-Forward
Leave out the lemon zest for a milder, more classic cream cheese center. The filling will taste rounder and less bright, while the vanilla comes through more clearly. Keep the rest of the filling and glaze unchanged.
Storage and Reheating
- Refrigerator: Refrigerate in an airtight container for up to 3 days. The pastry will soften as it sits, though the filling stays creamy.
- Freezer: Freeze the cooled pastries without glaze in a single layer until firm, then wrap them well and store for up to 1 month. Thaw in the refrigerator and glaze after thawing.
- Reheating: Warm on a baking sheet in the oven until the pastry edges feel crisp again. Skip the microwave; it warms the filling but turns the flaky layers soft.
Questions That Come Up When Making Cream Cheese Danish
Cream Cheese Danish with Puff Pastry
Ingredients
Equipment
Method
- Heat the oven to 400°F.
- Line two 13x18-inch rimmed baking sheets with parchment paper.
- Separate the egg and set the white aside for the egg wash.
- In a medium bowl, beat the cream cheese, sugar, egg yolk, vanilla, and lemon zest until smooth.
- Unfold each puff pastry sheet and cut it into 4 equal squares.
- Arrange 4 squares on each prepared baking sheet.
- Score a 1/2-inch border around each square without cutting all the way through.
- Prick the centers several times with a fork.
- Whisk the reserved egg white with the water.
- Brush the egg wash over the pastry borders.
- Divide the filling evenly among the pastry centers, keeping it inside the borders.
- Bake for 18–22 minutes, switching the sheets between racks and rotating them front to back halfway through, until the pastries are puffed and deep golden brown and the filling is set.
- Let the pastries cool on the baking sheets for 10 minutes.
- Whisk the powdered sugar and milk in a small bowl until smooth.
- Drizzle the glaze over the pastries.