
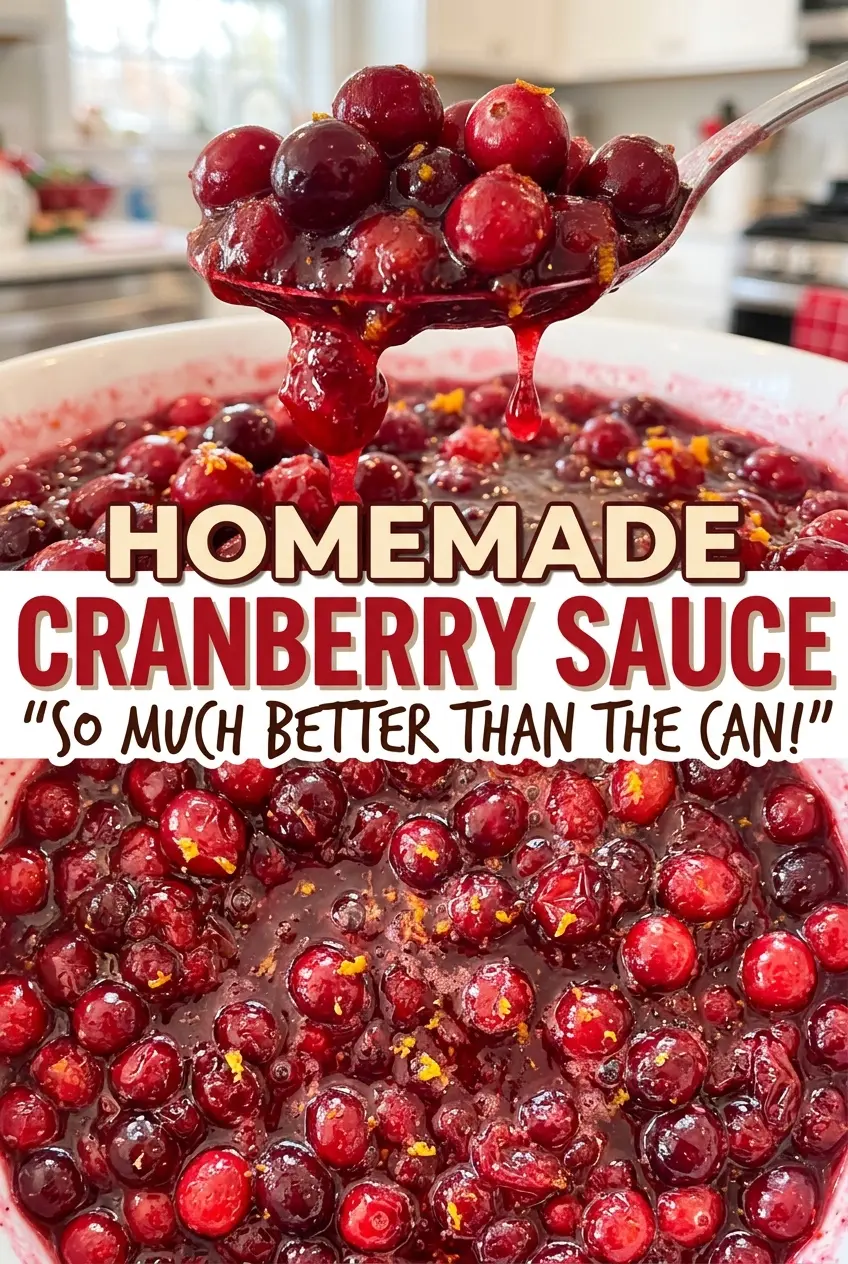
The first cranberries pop with a little snap, and then the saucepan starts to smell bright and tart. I used to think the berries had to burst completely before the sauce was ready, but that can leave you watching the pot longer than you need to. For homemade cranberry sauce, the goal is a thick, glossy mixture with most of the berries broken down and a few still holding their shape.
This version keeps the ingredient list short: water, sugar, salt, and fresh cranberries. I stir the sugar into the water until it dissolves before adding the fruit, then let the berries simmer until they soften and release their juices. The sauce looks looser while it’s hot than it will after chilling, so don’t judge the final texture straight from the pan.
After a short rest, the refrigerator does the last bit of work. The finished sauce is tart, lightly sweet, and easy to spoon alongside a holiday meal or any dinner that needs a sharp, fruity contrast.
Kitchen Note
Use a 2-quart saucepan rather than a small, narrow pot. The berries bubble as they burst, and a little extra room makes stirring easier and helps keep hot cranberry splashes in the pan.
Save this homemade cranberry sauce for a bright, tart-sweet side that chills into a spoonable finish.
Why Cranberry Sauce Thickens After It Leaves the Stove
A hot cranberry sauce can look thinner than you expect, even when it has cooked long enough. Cranberries contain natural pectin, and as the berries burst and release their juices, that pectin helps the liquid thicken. Cooling gives the sauce time to settle into its final consistency, so a pan that looks a little loose at first isn’t automatically a sign that something went wrong.
That’s also why I don’t keep boiling the sauce until it looks stiff. The berries continue to soften during the simmer, and an overly reduced sauce can turn dense once it’s cold. Let the fruit do the thickening, then give the sauce its full chill before deciding whether the texture is right. The finished consistency should be easy to scoop, with enough body to stay on a spoon but not so firm that it cuts into a block.
What the Cranberries, Sugar, and Water Each Bring
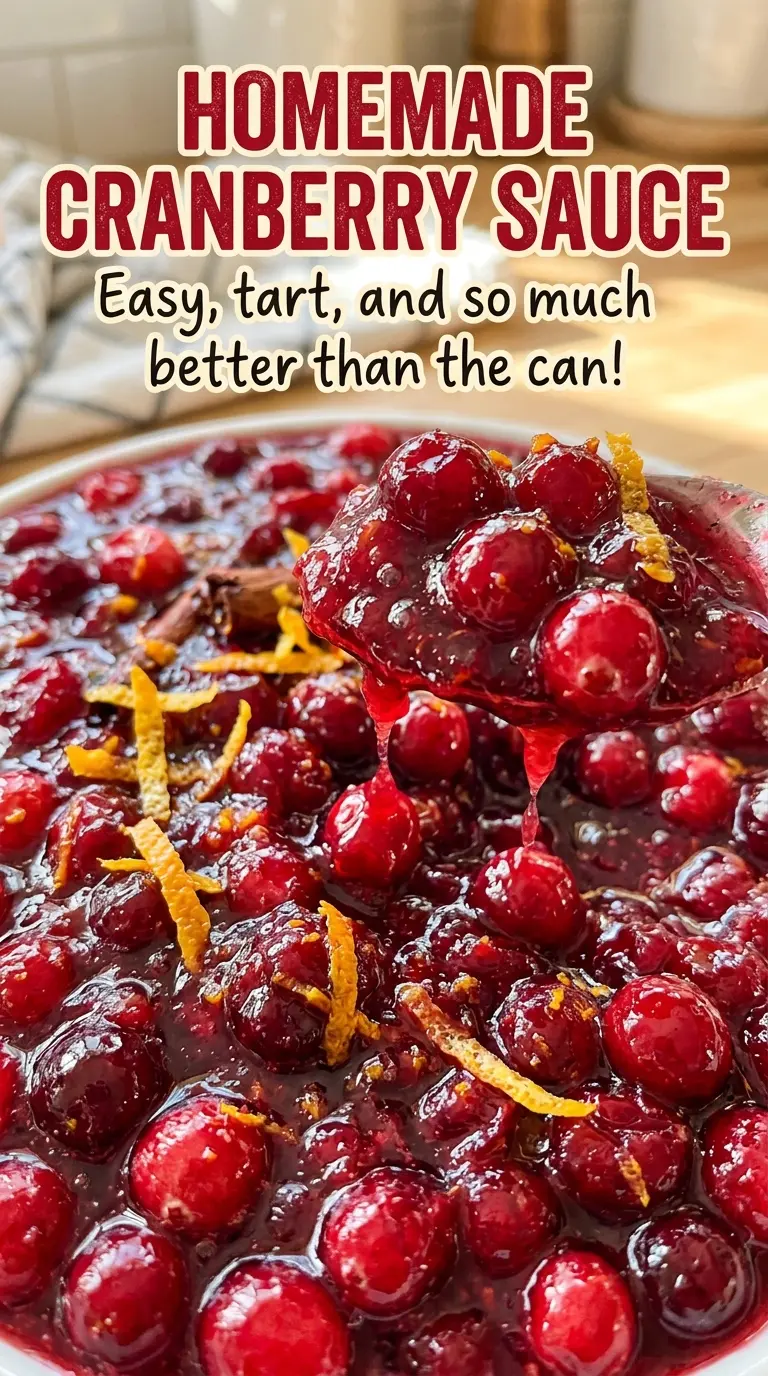
- Fresh cranberries — They bring the tart flavor, color, and natural pectin that gives the sauce body. Rinse them and pick out any stems or damaged berries before cooking. If fresh cranberries aren’t available, frozen cranberries work in the same quantity; add them straight from the freezer and allow extra time for the pot to return to a simmer.
- Granulated sugar — Sugar softens the cranberries’ sharp tartness and helps create a smooth syrup around the berries. Regular granulated sugar is the right inexpensive choice here; there’s no need for a specialty brand. Light brown sugar can replace it in equal measure for a darker sauce with a mild molasses note.
- Water — Water gives the berries enough liquid to cook evenly while keeping their flavor front and center. For a sweeter, fruitier variation, unsweetened apple juice can replace the water measure for measure; the finished sauce will taste less cleanly tart.
From Dissolved Sugar to Chilled Sauce
Dissolve the Sugar Before the Berries Go In
Combine the water, granulated sugar, and salt in a 2-quart saucepan. Bring the mixture to a boil over medium-high heat, stirring as it warms so the sugar dissolves completely. The liquid should look clear rather than sandy when you stir across the bottom of the pan. Add the cranberries only after the sugar has dissolved, so undissolved crystals don’t cling to the fruit.
Simmer Until Most of the Berries Burst
Stir in the cranberries and bring the mixture back to a simmer over medium heat. Cook for 10 to 12 minutes, stirring occasionally; the berries will pop, wrinkle, and release juice as they soften. Look for most of the cranberries to have burst and for the liquid to look thicker than it did at the start. A few whole berries are fine, so don’t keep cooking just to make every last one split.
Cool, Then Let the Refrigerator Set the Texture
Take the saucepan off the heat and let the sauce cool for 30 minutes. It will continue to thicken as it loses heat, so resist the urge to boil it down further during this rest. Transfer it to a serving bowl, then refrigerate until chilled for at least 2 hours. The sauce is ready when it feels cold throughout and holds its shape when you spoon it.
Three Small Changes for a Different Cranberry Sauce
A Less-Sweet, Lower-Sugar Batch
Reduce the granulated sugar by about one-quarter for a sharper, more cranberry-forward sauce. It will taste noticeably tarter and may set a little softer, but the cranberries still provide body as they cook and chill.
A Smooth, Seedless-Feeling Finish
For a more uniform texture, press the cooked sauce through a fine-mesh strainer while it’s still warm, using the back of a spoon to push the pulp through. You’ll lose the whole-berry texture and a little volume, but the result is smooth and easy to spread.
Make a Half Batch for a Smaller Table
Halve every ingredient, including the salt, and use the same saucepan. Start checking the berries before the usual cook time is up because a smaller amount may reach the burst-and-thickened stage sooner. Use the visual cues rather than waiting for the full batch timing.
Storage and Serving
- Refrigerator: Cover the bowl and refrigerate for 3 to 4 days. The sauce may firm up as it sits; stir it before serving if you prefer a looser texture.
- Freezer: Freeze in an airtight, freezer-safe container for up to 2 months. Thaw it overnight in the refrigerator before serving.
- Serving: Serve chilled; reheating isn’t needed. At room temperature, don’t leave the sauce out for more than 2 hours.
Questions That Come Up While Making Cranberry Sauce
Homemade Cranberry Sauce
Ingredients
Equipment
Method
- Combine the water, sugar, and salt in a 2-quart saucepan, stirring until the sugar dissolves.
- Bring the mixture to a boil over medium-high heat.
- Stir in the cranberries.
- Bring the mixture back to a simmer over medium heat.
- Cook for 10 to 12 minutes, stirring occasionally, until most of the berries burst and the sauce thickens.
- Remove the saucepan from the heat and let the sauce cool for 30 minutes.
- Transfer the sauce to a serving bowl.
- Refrigerate until chilled, at least 2 hours.