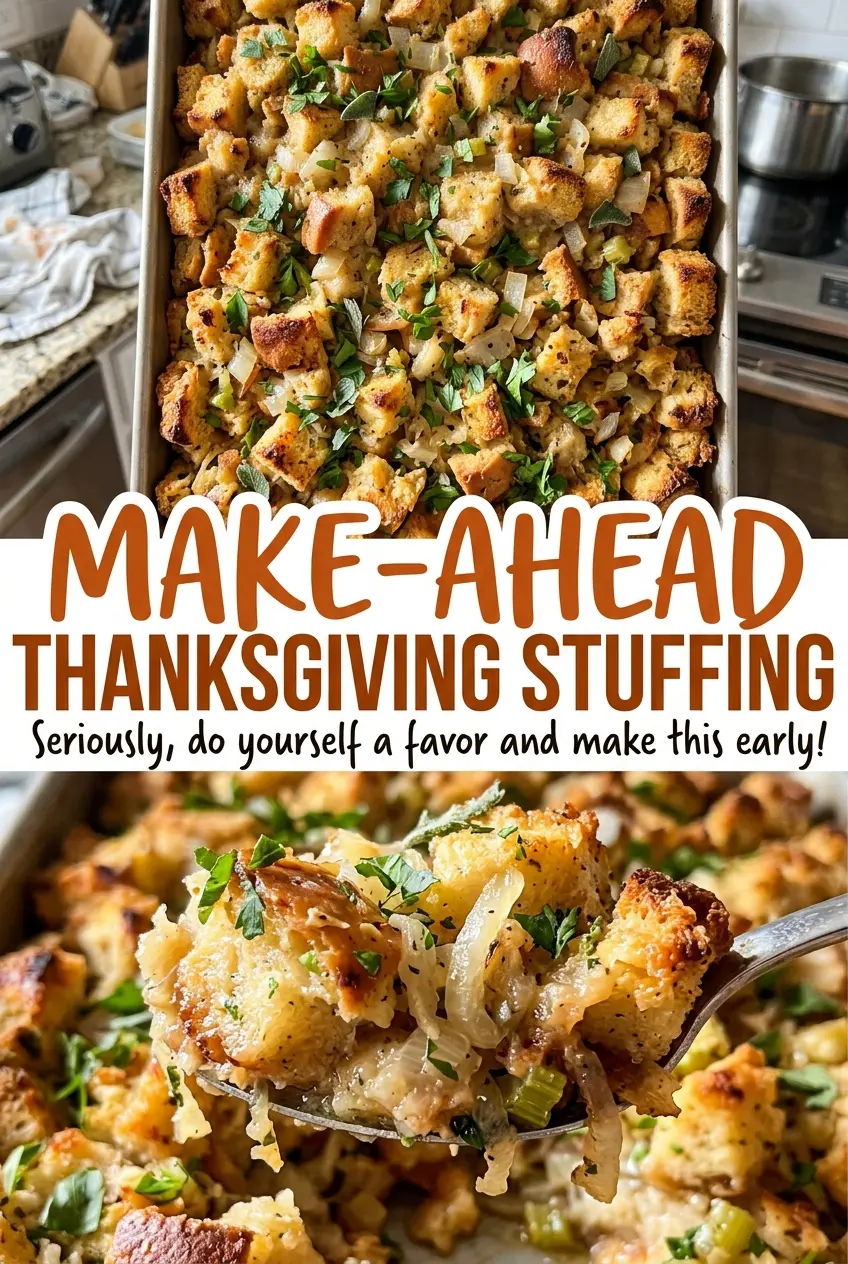
The best moment comes when the cover lifts and the top has turned golden, while the center is still tender enough to scoop cleanly. I like having this Thanksgiving stuffing assembled the day before, so the busy part is already done before the oven goes on. It serves ten and bakes in a 9×13-inch dish, which makes it easy to bring to the table straight from the pan.
Giving the bread time to soak up the broth in the refrigerator makes the make-ahead approach work. The cubes stay distinct instead of collapsing into a dense layer, and the covered bake gives the middle time to heat before the top browns. That contrast—soft inside, crisp at the edges—is what I want in every serving.
Kitchen Note
Dry the bread cubes until they feel crisp all the way through, not just toasted on the outside. If they’re still soft in the middle, they’ll take on broth unevenly.
Save this Make-Ahead Thanksgiving Stuffing for a golden-topped side dish you can assemble the day before.
Why the Broth Needs to Cool Before the Eggs Go In
The broth carries the flavor of the softened onion, celery, and dried herbs into every cube of bread. The eggs help the mixture hold together as it bakes, but they need to meet the broth after it has cooled to lukewarm. If the liquid is still hot, the eggs can start to set before they’re evenly dispersed, leaving little cooked bits instead of a smooth binder.
After the broth mixture comes off the heat, give it about 15 minutes to cool. It should feel warm rather than hot when you stir in the beaten eggs. Then add the parsley and pour the liquid over the bread, tossing until the cubes are evenly moistened. You’re looking for damp bread throughout, not a pool of broth at the bottom of the bowl.
That order also makes the overnight rest more predictable. The bread gets a chance to absorb the seasoned liquid before baking, while the egg stays mixed through the stuffing rather than clumping in one spot. Take the few minutes to cool the broth, and the finished center will bake up cohesive instead of patchy.
What White Bread and the Herb Mix Bring to the Pan
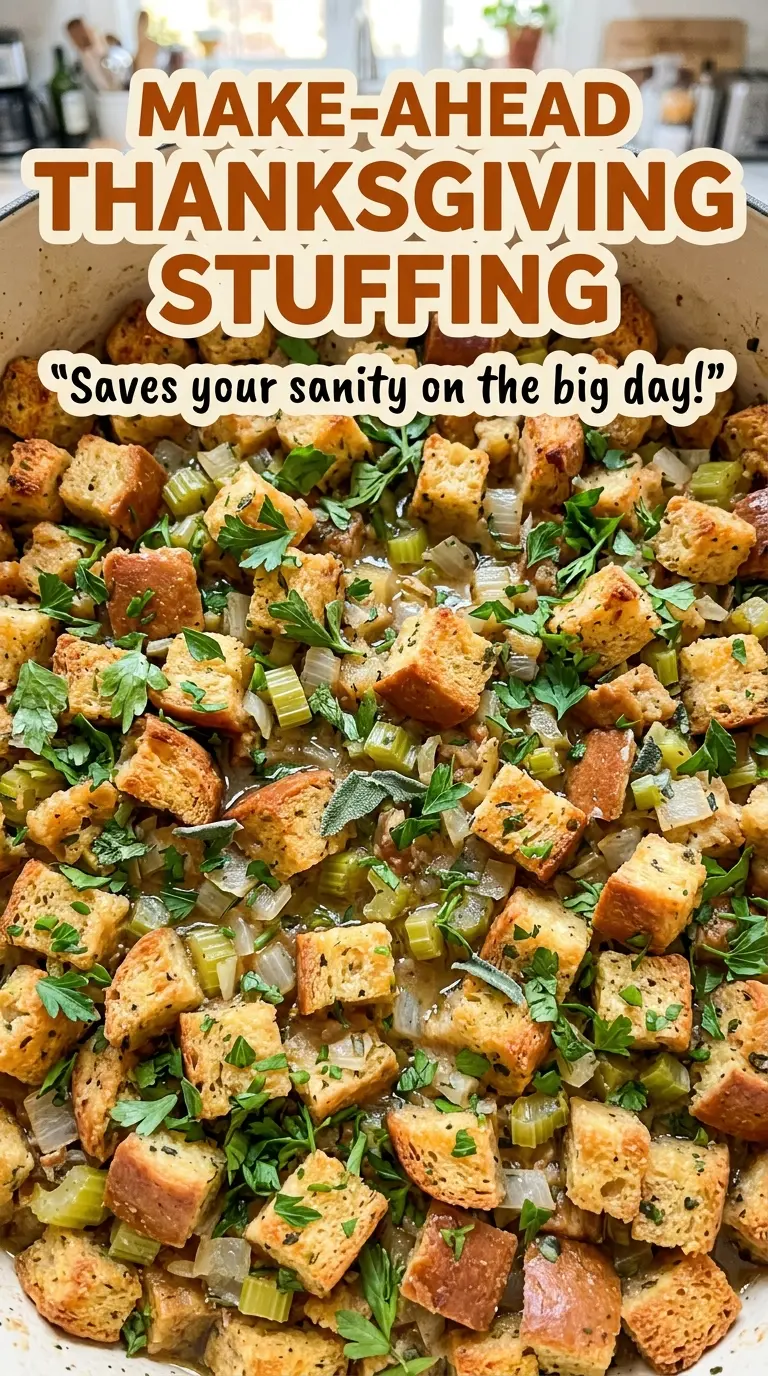
- White bread — Its mild flavor lets the onion, celery, and herbs come through, and its soft crumb absorbs broth without taking over the dish. Day-old bread is convenient, but an inexpensive loaf works well; the oven-drying step is what prepares the cubes to absorb liquid evenly.
- Unsalted butter — Butter softens the vegetables and brings richness to the stuffing. Unsalted butter keeps the seasoning in your hands, and a basic grocery-store butter is fine here; there’s no need for a specialty brand.
- Yellow onion and celery — These soften into the savory base and add a little sweetness and freshness. Dice them to a similar size so they cook at the same pace; standard, fresh vegetables are all you need.
- Dried rubbed sage and dried thyme — Dried herbs hold their flavor through the skillet and the long bake. Rubbed sage has a softer, more open texture than ground sage, so use the type named here rather than swapping in a different form without adjusting the recipe.
- Chicken broth, eggs, and fresh parsley — Low-sodium broth seasons the bread without making the finished dish overly salty, while the eggs bind the soaked cubes. Fresh parsley adds a clean finish; choose bright green leaves and chop them shortly before mixing.
How to Dry, Season, and Bake the Stuffing Without Losing Its Texture
Dry the Bread Cubes Until Crisp
Heat the oven to 300°F and spread the 1-inch bread cubes on a rimmed baking sheet. Bake for 25–35 minutes, stirring once, until the cubes feel dry and crisp; the exact time depends on how dry the bread was to start. If the centers still feel soft, give them more time rather than relying on a browned surface alone. Transfer the cubes to a large bowl once they’re ready.
Soften the Vegetables Before Seasoning
Melt 7 tablespoons of butter in a large skillet over medium heat, then add the diced onion and celery. Cook for 8–10 minutes, stirring occasionally, until both vegetables have softened; they should look tender, not browned or crisp. Stir in the sage, thyme, salt, and pepper and cook for 1 minute. That short minute warms the dried herbs in the buttery vegetables without letting them scorch.
Cool the Broth, Then Moisten the Bread
Pour in the chicken broth and heat until it’s steaming, then take the skillet off the heat. Let the mixture cool until lukewarm, about 15 minutes, before whisking in the beaten eggs and stirring in the parsley. Grease a 9×13-inch baking dish with the remaining butter, then pour the mixture over the bread and toss until the cubes are evenly moistened. Spread the stuffing in the dish and cover it tightly for its refrigerator rest.
Bake Covered First, Then Brown the Top
Refrigerate the covered dish for 8–24 hours, then heat the oven to 350°F when you’re ready to bake. Keep the dish covered for 45 minutes so the center has time to heat through before the surface dries. Uncover and bake for another 15–25 minutes, until the top is golden and the center reaches 165°F. Rest the stuffing for 10 minutes before serving so it settles enough to scoop neatly.
Three Practical Ways to Adapt This Thanksgiving Stuffing
Make It Vegetarian with Vegetable Broth
Replace the chicken broth with the same amount of low-sodium vegetable broth. The stuffing will still hold together, though its savory base will taste a little lighter and less poultry-forward.
Use Gluten-Free White Bread
Choose a gluten-free white loaf and cut it into the same 1-inch cubes. Dry the cubes until crisp before mixing; gluten-free bread can vary in how quickly it dries, so use the texture cue rather than assuming every loaf needs the same time. The flavor stays familiar, though the baked texture may be a little more delicate.
Make the Herbs More Sage-Forward
For a deeper sage note, use dried rubbed sage in place of the dried thyme. The stuffing will taste more distinctly savory and less gently herbal, so this is a good change when sage is the flavor you want to notice first.
Storage and Reheating
- Refrigerator: Refrigerate baked leftovers in a covered container for 3–4 days. The bread softens as it sits, so the top won’t stay crisp.
- Freezer: Freeze cooled portions in an airtight container for up to 1 month for best texture. Thaw in the refrigerator before reheating.
- Reheating: Reheat covered in a 350°F oven until hot throughout, then uncover briefly if you’d like to crisp the top again. Leaving it uncovered the whole time can dry the edges before the middle is hot.
Questions That Come Up When Making Stuffing Ahead
Make-Ahead Thanksgiving Stuffing
Ingredients
Equipment
Method
- Preheat the oven to 300°F.
- Spread the bread cubes on a rimmed baking sheet.
- Bake for 25-35 minutes, stirring once, until dry and crisp.
- Transfer the bread cubes to a large bowl.
- Melt 7 tablespoons of the butter in a large skillet over medium heat.
- Add the onion and celery, and cook for 8-10 minutes, stirring occasionally, until softened.
- Stir in the sage, thyme, salt, and pepper, and cook for 1 minute.
- Add the broth and heat until steaming.
- Remove the broth mixture from the heat and cool until lukewarm, about 15 minutes.
- Grease a 9x13-inch baking dish with the remaining 1 tablespoon butter.
- Whisk the eggs into the cooled broth mixture.
- Stir in the parsley.
- Pour the mixture over the bread cubes and toss until evenly moistened.
- Transfer the stuffing to the baking dish.
- Cover tightly and refrigerate for 8-24 hours.
- When ready to bake, preheat the oven to 350°F.
- Bake the stuffing covered for 45 minutes.
- Uncover and bake for 15-25 minutes, until the top is golden and the center reaches 165°F.
- Let the stuffing rest for 10 minutes before serving.