
At 200°F, these little meringue trees stay pale while their edges dry into a crisp shell. The tricky part is resisting the urge to pull them from the oven just because they’ve been in for the full time. I wait for the trees to feel dry and lift cleanly from the parchment; that’s a much better clue than color.
I make Meringue Christmas Trees when I want a light, crisp treat that looks festive without complicated decorating. Room-temperature egg whites whip into a stronger foam, and adding the sugar gradually gives the meringue time to turn glossy and hold stiff peaks. A large open-star tip does the work of creating ridged branches, while a few holiday sprinkles finish each tree. The result is delicate and crisp, with a sweet vanilla center.
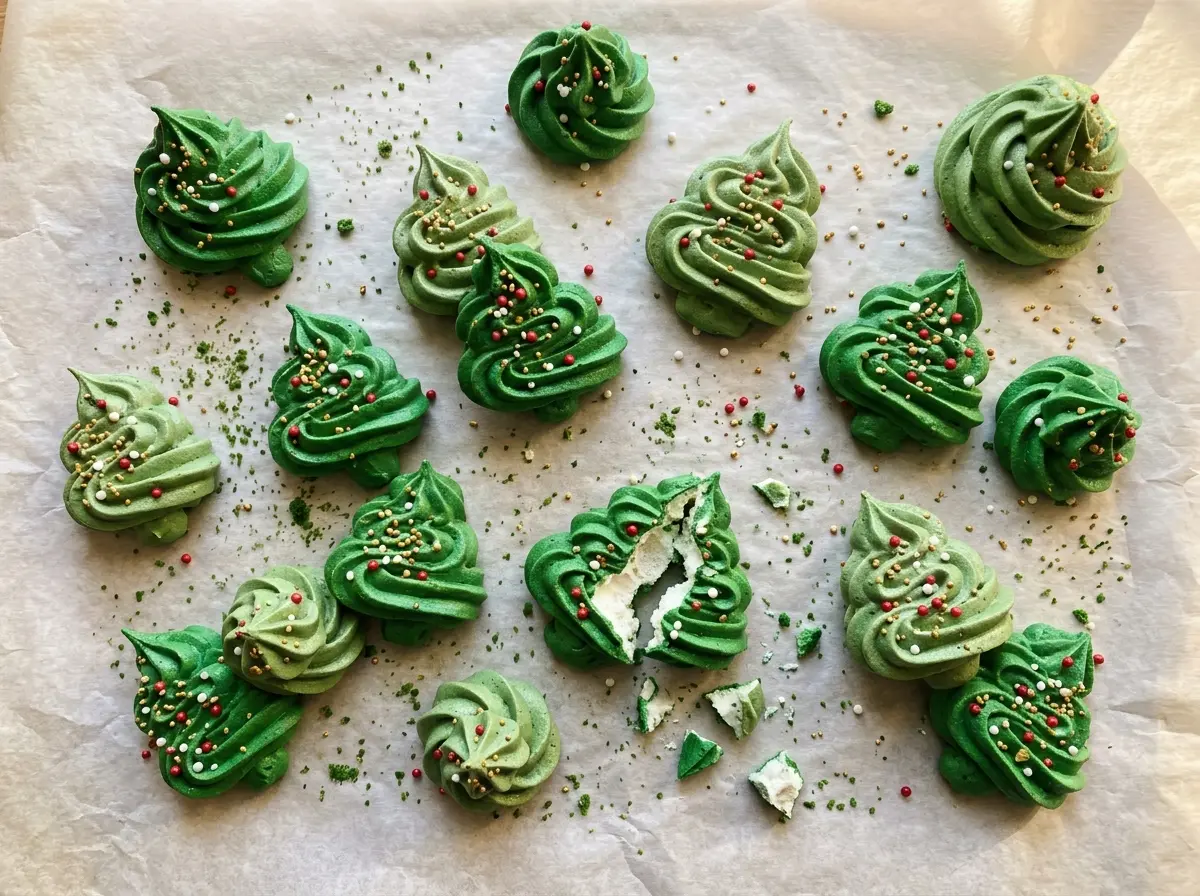
Kitchen Note
Add the sugar one tablespoon at a time while the mixer runs. When I rush that part, the meringue takes longer to turn glossy and the sugar is harder to incorporate evenly.
Save these Meringue Christmas Trees for a crisp, green holiday treat with pretty piped ridges and a little sparkle on top.
Why These Trees Need to Dry, Not Brown
Meringues behave differently from cookies that rely on a browned edge. At a low oven temperature, the goal is to dry the whipped egg whites gradually so the trees become crisp without taking on much color. If you wait for a golden edge as your sign of doneness, you’re waiting for the wrong cue; the finished trees should still look pale.
There’s a useful difference between the oven time and the cooling time, too. The bake removes moisture from the meringue, while the hour in the turned-off oven gives the trees time to cool gently. Pulling them out into a cooler room right away changes the temperature quickly, which can encourage cracking. The texture test matters more than picking a single minute on the clock: after the bake, the trees should feel dry and release from the parchment without sticking. That little check helps account for ordinary differences between ovens.
What Makes the Meringue Hold Its Shape
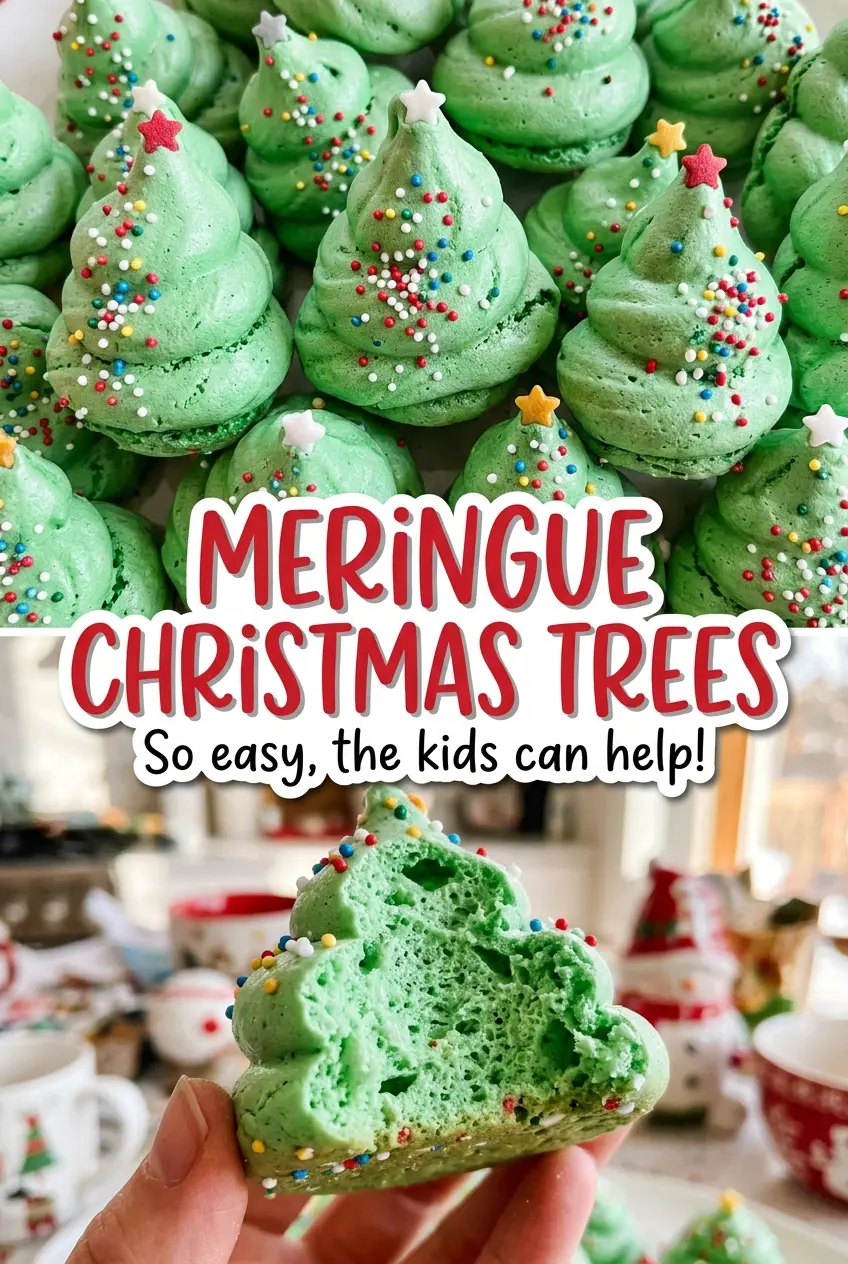
- Egg whites — Room-temperature whites whip more readily than cold ones, so let them lose their chill before mixing. Fresh eggs separated cleanly are the dependable choice here; a little yolk in the whites can interfere with whipping. There isn’t a reliable one-for-one egg-free replacement for this exact method.
- Cream of tartar — This acid helps stabilize the foam as it builds. I wouldn’t leave it out if you want the trees to hold their piped ridges; there isn’t a substitute in this ingredient list that behaves quite the same way.
- Granulated sugar — Regular granulated sugar gives the meringue its sweetness and structure. Add it gradually rather than swapping in a different kind of sugar, which can change how smoothly it dissolves into the whites.
- Vanilla extract — Vanilla rounds out the sweetness without taking over. Use an extract you like, since its aroma comes through in a simple recipe like this; you can omit it, though the finished meringues will taste less fragrant.
- Green gel food coloring — Gel coloring gives the trees a clear green shade without adding much liquid. You can leave it out for white trees; I don’t recommend replacing it with a larger amount of liquid coloring because extra moisture can affect the delicate foam.
- Holiday sprinkles — The sprinkles add color and a little crunch against the airy meringue. They’re easy to omit if you want a plain finish, or you can choose a gluten-free version if that matters for your table.
From Foamy Whites to Crisp Little Trees
Build a Stable Foam
Heat the oven to 200°F and line two baking sheets with parchment paper. In a clean, dry mixing bowl, beat the room-temperature egg whites with the cream of tartar and salt on medium speed until foamy, about 1 minute. At this point the whites should look bubbly rather than glossy or peaked. A damp or greasy bowl can keep the foam from building properly, so start with a bowl that’s completely clean and dry.
Beat Until Glossy and Stiff
With the mixer running, add the granulated sugar 1 tablespoon at a time. Once it’s all added, beat on high for about 5 to 7 minutes, until the meringue looks glossy and holds stiff peaks. Stiff peaks should stand upright when the beaters are lifted, rather than folding over at the tips. If the mixture still looks loose, keep beating until it reaches that texture before adding the flavoring.
Color, Pipe, and Decorate
Beat in the vanilla and green gel food coloring just until evenly blended. Stop as soon as the color is uniform; extended mixing after that point isn’t needed. Fit a piping bag with a large open-star tip and pipe 24 trees, about 2 inches tall, onto the prepared sheets. Add the holiday sprinkles before baking so they sit on the piped meringue.
Dry the Trees and Cool Them Gently
Bake for 1 1/2 to 2 hours, switching the sheets between racks and rotating them front to back halfway through. The trees are ready when they feel dry and lift cleanly from the parchment, not when they turn brown. Turn off the oven, prop the door open slightly, and leave the trees inside to cool for 1 hour. That slow finish helps them keep their delicate texture.
Simple Ways to Change the Look or Meet a Dietary Need
Make snowy white trees
Leave out the green gel coloring and keep the vanilla and sprinkles. The meringue will stay pale, so the ridges from the open-star tip show clearly and the decorations stand out.
Use gluten-free sprinkles
The meringue itself is made without flour, so for a gluten-free batch, replace the holiday sprinkles with the same amount of sprinkles labeled gluten-free. The trees keep their festive finish, though the exact colors and shapes will depend on the sprinkles you choose.
Leave the sprinkles off
Skip the holiday sprinkles for a simpler tree with a clean, crisp finish. The piped ridges and green color still make the shape recognizable, and leaving off the topping doesn’t change the meringue mixture.
Storage and Reheating
- Room temperature: Keep the fully cooled trees in an airtight container in a dry spot for up to 2 weeks. Moisture in the air can soften their crisp texture.
- Refrigerator: Skip refrigeration; the extra humidity can make the meringues sticky.
- Freezer: They freeze well in an airtight container for up to 1 month. Let the closed container come to room temperature before opening it, which helps keep condensation off the trees.
- Reheating: No reheating is needed; serve them at room temperature. Avoid the microwave, which can make meringues soft and sticky.
Questions That Come Up While Making Meringue Trees
Meringue Christmas Trees
Ingredients
Equipment
Method
- Heat the oven to 200°F.
- Line two baking sheets with parchment paper.
- In a clean, dry mixing bowl, beat the egg whites with the cream of tartar and salt on medium speed until foamy, about 1 minute.
- With the mixer running, add the sugar 1 tablespoon at a time, then beat on high until the meringue is glossy and holds stiff peaks, about 5 to 7 minutes.
- Beat in the vanilla and green food coloring just until evenly blended.
- Fit a piping bag with a large open-star tip and pipe 24 trees, about 2 inches tall, onto the prepared sheets.
- Add the sprinkles.
- Bake for 1 1/2 to 2 hours, until the trees feel dry and lift cleanly from the parchment.
- Switch the sheets between racks and rotate them front to back halfway through baking.
- Turn off the oven and prop the door open slightly.
- Let the trees cool in the oven for 1 hour.


