
The centers look a little too soft when the muffin pan first comes out of the oven, but that slight wobble is exactly what I want. These mini eggnog cheesecake cups finish setting as they cool, so baking them until the middles look firm can leave you with a dry, dense bite.
I like this small-batch format because each cup has its own buttery graham cracker base and a smooth, lightly spiced filling. The crust gets a quick head start in the oven before the filling goes in, which helps it hold together under the creamy layer.
A little flour gives the eggnog-rich filling support, while vanilla and nutmeg keep the flavor familiar without overpowering the tang of the cream cheese. Once the cups are fully chilled, the centers are creamy and the crumbly crust stays neatly tucked underneath.
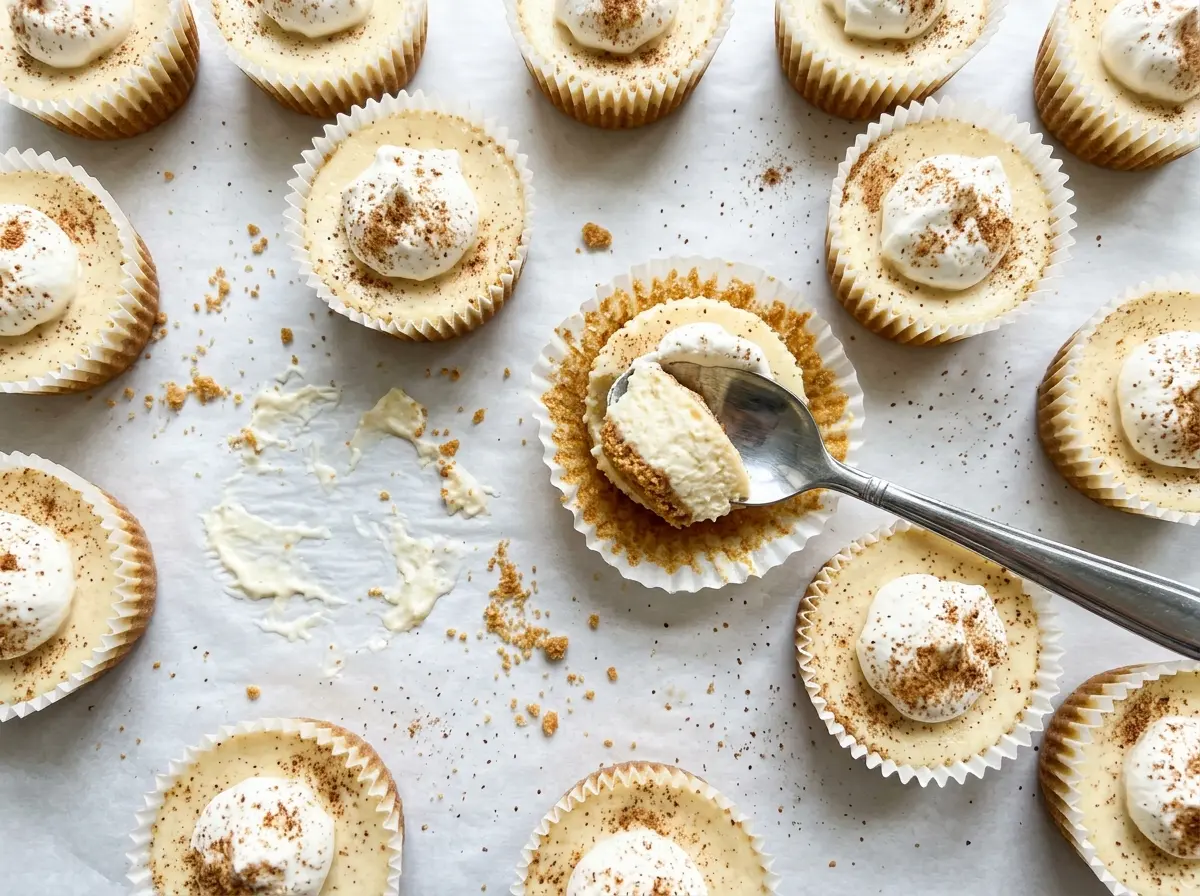
Kitchen Note
Bring the egg to room temperature before mixing it in. A cold egg can cool the softened cream cheese and make the filling harder to blend evenly.
Save these mini eggnog cheesecake cups for a make-ahead dessert with creamy, nutmeg-scented centers and a crisp graham base.
Why a Spoonful of Flour Matters in Eggnog Cheesecake
Eggnog brings extra liquid to a cheesecake filling, so this mixture needs a little help holding its shape. The tablespoon of flour works quietly in the background: it helps support that added moisture as the cups bake, without turning the filling into a heavy, floury cake. It’s a small amount, but leaving it out can make the chilled centers softer and less dependable.
That balance is why these cups should be creamy rather than firm all the way through. The cream cheese gives the filling its classic richness, and the egg helps it set; the flour helps those ingredients work with the eggnog instead of letting the filling stay loose. You still want a tender center, not a dry one, which is why the visual cue at the end of baking matters more than trying to make the surface look completely solid.
The flour also makes this a less forgiving place for casual swaps than the crust. If you’re changing ingredients, keep the filling’s small amount of thickener in mind and use a gluten-free flour blend only as a measured replacement, rather than skipping it.
What Keeps the Eggnog Filling Creamy Without Losing Its Shape
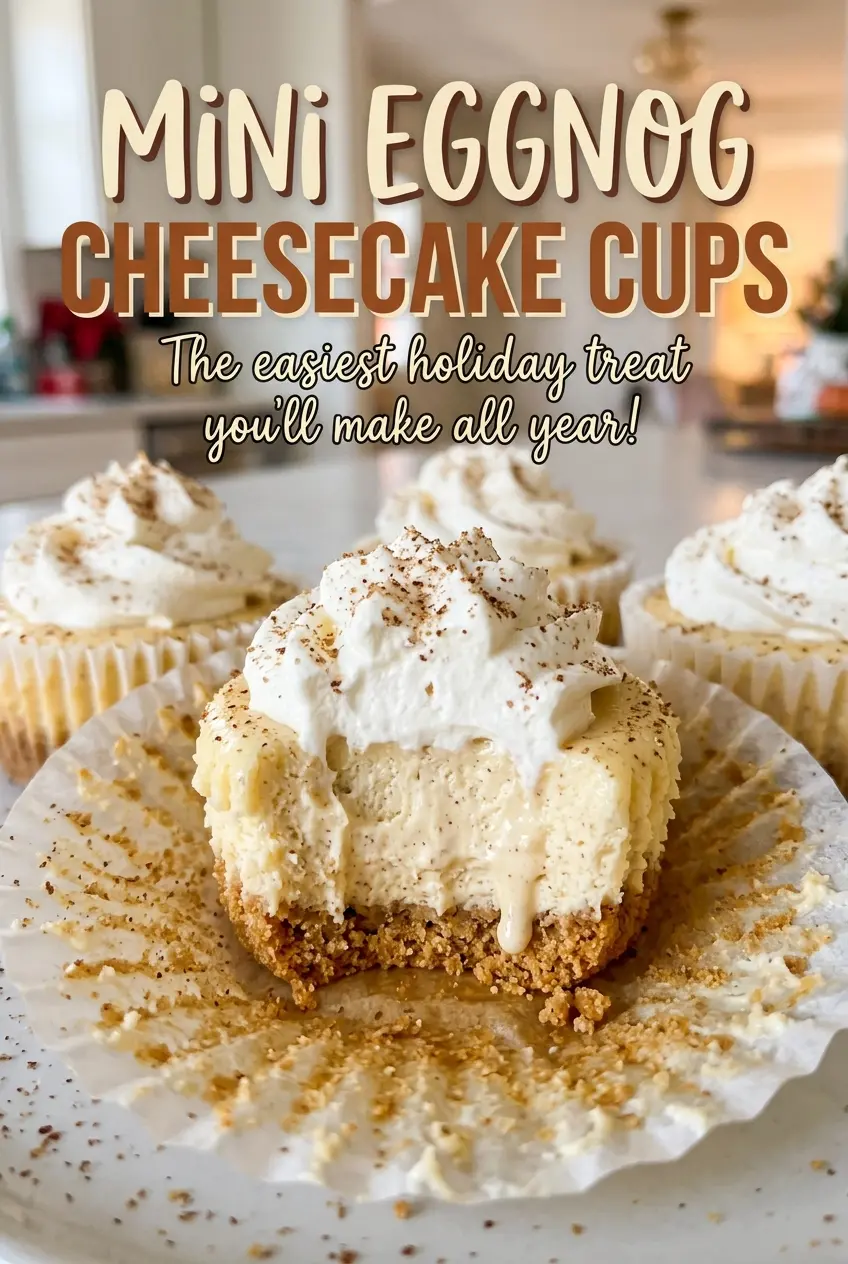
- Graham cracker crumbs and butter — Finely textured crumbs coat evenly with melted butter and press into a compact base. Regular packaged crumbs work well; if you crush crackers yourself, aim for small, even pieces rather than coarse chunks. Ginger-snap crumbs are a practical alternative when you want a more spiced crust.
- Cream cheese — It gives the filling its tang and dense, creamy body. Use a fresh package and soften it before mixing; lumps that remain in the base mixture won’t disappear once the liquid ingredients go in.
- Eggnog and flour — Eggnog supplies the seasonal dairy flavor, while the flour helps the filling set around that added liquid. There isn’t a direct liquid swap that keeps the same taste and texture, so use eggnog for this version. For a gluten-free adaptation, choose gluten-free graham crumbs and replace the all-purpose flour with the same amount of a reliable gluten-free baking flour blend.
- Egg, vanilla, and nutmeg — The egg sets the filling, and vanilla and nutmeg round out the eggnog flavor. Freshly opened ground nutmeg is plenty aromatic here; there’s no need to buy a specialty version for a small amount.
From a Firm Crumb Base to a Center That Still Wobbles
Press and briefly bake the graham crust
Heat the oven to 325°F and line a standard 12-cup muffin pan with paper liners. Stir the graham cracker crumbs with the melted butter until the crumbs look evenly moistened, then divide them among the liners. Press the crumbs firmly into the bottoms so the bases hold together when you lift the finished cups. Bake the crusts for 5 minutes, then set the pan aside while you mix the filling.
Blend the smooth filling base
Beat the softened cream cheese with the sugar and flour in a medium bowl until the mixture looks smooth. Scrape down the bowl if you see unmixed cream cheese clinging to the sides, since streaks can carry through into the finished cups. Mix in the eggnog, vanilla, and nutmeg until everything is combined. The filling should look creamy and uniform before the egg goes in.
Add the egg and fill the cups
Add the room-temperature egg and beat on low just until it’s incorporated. Stop as soon as you no longer see streaks of egg; beating longer adds air that the filling doesn’t need. Divide the mixture evenly among the prepared cups, keeping the portions as similar as you can so they bake at the same rate. The filling will be soft before it goes into the oven.
Bake to a slight wobble, then chill
Bake for 18–22 minutes, until the edges are set and the centers still have a slight wobble. If the centers look completely firm in the oven, the cups are likely to finish denser after chilling. Cool the pan on a wire rack for 30 minutes, then refrigerate the cups for at least 4 hours, until they’re completely chilled. The filling firms as it cools, so judge the final texture after refrigeration.
Small Changes That Still Work in a 12-Cup Pan
Make the crust gluten-free
Use gluten-free graham cracker crumbs in place of the regular crumbs and a gluten-free baking flour blend in place of the all-purpose flour. Keep the same quantities for both swaps. The crust may have a slightly different crumb, but the cups keep the same eggnog-and-nutmeg filling.
Use ginger snaps for a spicier base
Replace the graham cracker crumbs with the same volume of finely crushed ginger snaps and keep the melted butter amount unchanged. The crust will taste warmer and more strongly spiced, so the nutmeg in the filling will feel a little less prominent.
Trade nutmeg for cinnamon
Use the same amount of ground cinnamon in place of the nutmeg. Cinnamon gives the filling a gentler, familiar warmth and lets the eggnog taste come through a bit more clearly.
Storage and Reheating
- Refrigerator: Keep the cups covered and refrigerated for 3–4 days. The crust gradually softens as it sits beneath the filling.
- Freezer: Freeze the fully chilled cups in a single layer until firm, then wrap them individually and store them in an airtight container for up to 2 months. Thaw them in the refrigerator before serving.
- Reheating: Don’t reheat these; serve them cold. Warming softens the filling and can make the butter in the crust greasy.
Questions I Get Asked About These Cheesecake Cups
Mini Eggnog Cheesecake Cups
Ingredients
Equipment
Method
- Preheat the oven to 325°F.
- Line a standard 12-cup muffin pan with paper liners.
- Stir the graham cracker crumbs and melted butter until evenly moistened.
- Divide the mixture among the liners.
- Press the mixture firmly into the bottoms of the liners.
- Bake for 5 minutes.
- Set the pan aside while you make the filling.
- Beat the cream cheese, sugar, and flour in a medium bowl until smooth.
- Mix in the eggnog, vanilla, and nutmeg until combined.
- Add the egg and beat on low just until incorporated.
- Divide the filling evenly among the cups.
- Bake for 18–22 minutes, until the edges are set and the centers still have a slight wobble.
- Cool in the pan on a wire rack for 30 minutes.
- Refrigerate for at least 4 hours, until completely chilled.


