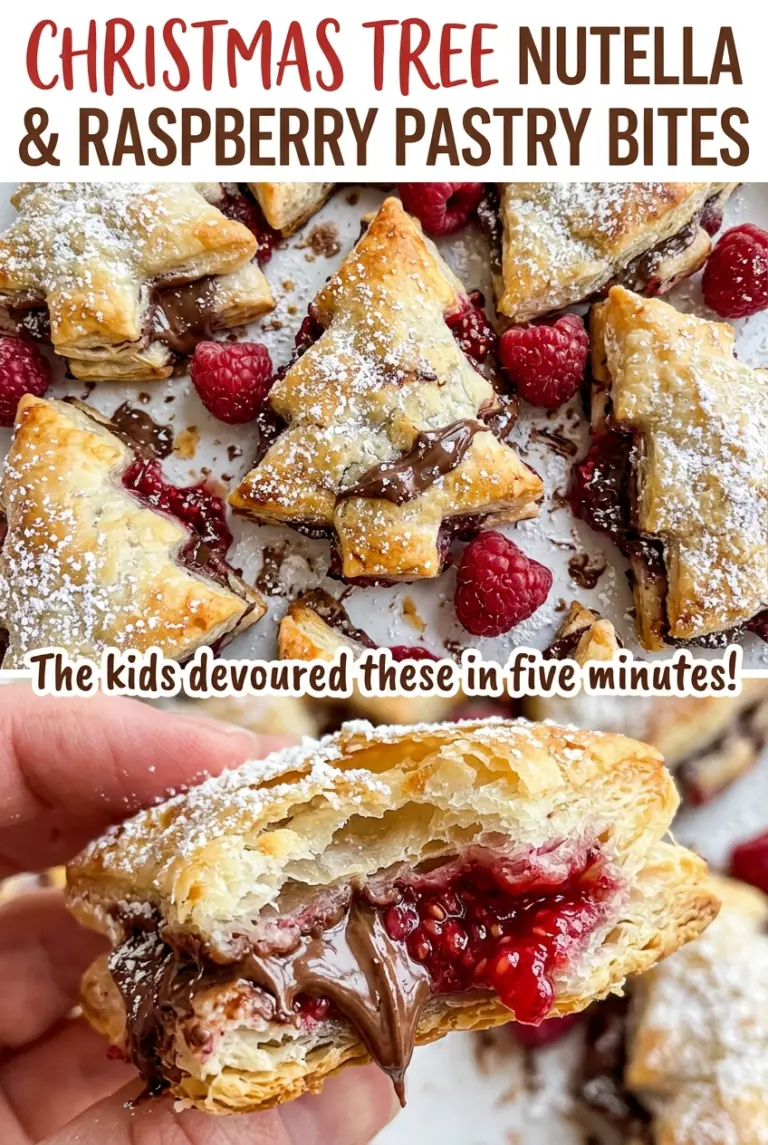
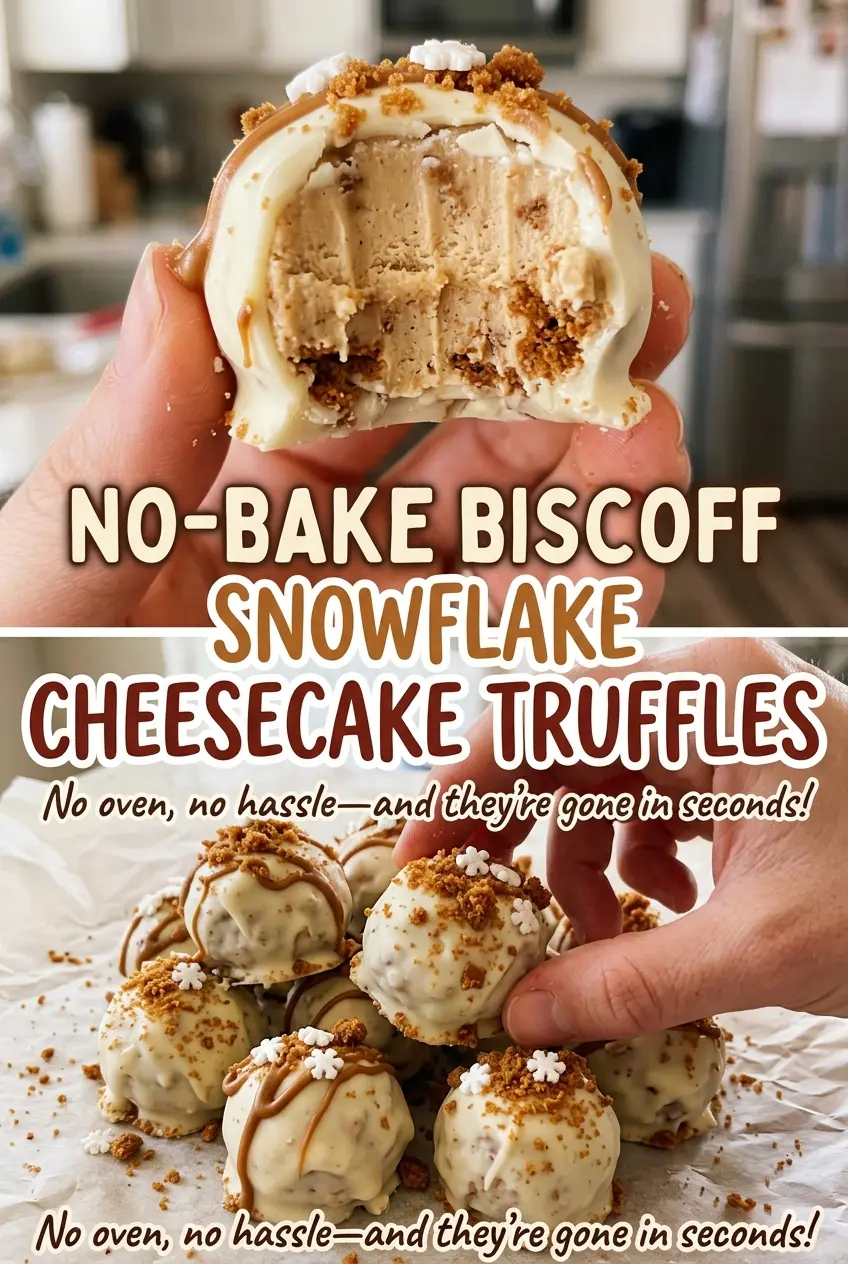
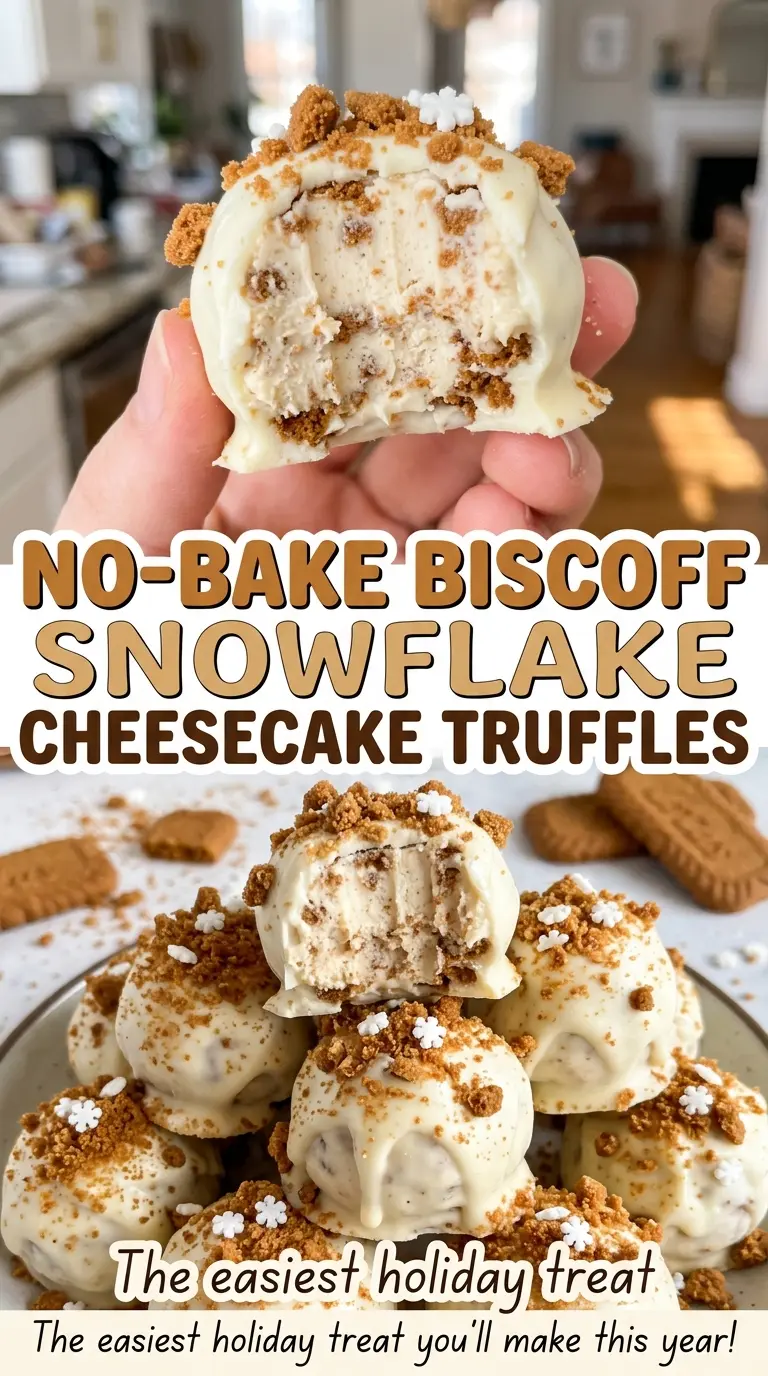
When the first truffle comes off the dipping fork, the white chocolate looks smooth and bright against the cinnamon-brown center. That contrast is what makes No-Bake Biscoff Snowflake Cheesecake Truffles feel special without needing an oven: the middle is creamy like cheesecake, with Biscoff’s toasted spice and cookie richness in every bite. I like the small, round shape here; it gives you a thin shell around a soft center instead of a thick layer of candy coating.
These are sweet, but the cream cheese gives the filling a gentle tang that keeps the cookie butter from taking over. Snowflake sprinkles add a little crunch and give the white shell a finished look, while the Biscoff crumbs make the center tender rather than sticky. The coating gives way quickly, then you get that creamy, lightly spiced middle—one neat little bite from start to finish.
Kitchen Note
Keep the bowl and utensils you use for the white chocolate completely dry. Even a small drop of water can make melted chocolate turn thick and clumpy instead of smooth enough for dipping.
Save these Biscoff snowflake cheesecake truffles for a no-bake treat with a creamy spiced center and a crisp white chocolate shell.
Why the Biscoff Crumbs Need to Be Fine Before They Go Into the Center
These truffles don’t have a baked crust or a cookie base to hold their shape. The finely crushed Biscoff cookies are mixed right into the cream cheese and cookie butter, so the texture of the crumbs affects how uniform the filling feels. Fine crumbs spread through the mixture evenly; larger pieces leave little hard bits that can make a truffle feel rough and can catch as you roll it.
Think of the filling as a cheesecake mixture that needs to be shaped while cold, not a cookie dough that should feel firm straight from the bowl. The crumbs give the center body, while the cream cheese keeps it creamy and the cookie butter brings the Biscoff flavor through. If the mixture seems soft before chilling, that alone doesn’t mean anything went wrong. Once the portions are cold and firm, they’re much easier to coat without losing their round shape.
Crush the cookies until there are no obvious large pieces, but stop before they turn into a paste. That even, dry crumb is what lets the center stay smooth enough to eat with a spoon-soft texture while still holding together as a truffle.
What Keeps the Center Creamy Without Losing the Biscoff
- Cream cheese — Plain cream cheese gives the filling its cheesecake-like tang and creamy body. Let it soften before beating so it can become smooth without lumps; there isn’t a direct non-dairy swap that keeps the same flavor and texture.
- Biscoff cookie butter — This supplies the concentrated caramelized-spice flavor and helps the filling taste like Biscoff all the way through. A different spread would change the signature flavor, so there isn’t a like-for-like replacement if that’s what you want to preserve.
- Finely crushed Biscoff cookies — These add the cookie flavor and the dry crumb that gives the center structure. Fine, even crumbs matter more than choosing a particular brand of crushing tool; keep the texture powdery rather than leaving coarse pieces.
- White chocolate melting wafers — Wafers are made to melt into a smooth coating, which makes them easier to dip with than regular chocolate chips. Use a fresh package for the most consistent coating; chips aren’t a direct swap for this dipping method.
- Snowflake sprinkles — The sprinkles give the coating a seasonal finish and a small crunchy contrast. Any package with intact, crisp decorations works; there’s no need for a specialty brand.
How to Shape and Coat the Truffles Without Losing the Smooth Finish
Beat the Cheesecake Filling Until Smooth
Beat the softened cream cheese in a large bowl until no lumps remain. Add the Biscoff cookie butter and vanilla, then beat until the mixture looks evenly blended, with no pale streaks of cream cheese. Stir in the finely crushed cookies so they’re distributed through the filling rather than sitting in pockets. If you leave large cookie pieces, they’ll make the mixture harder to roll evenly.
Portion, Roll, and Chill Until Firm
Scoop the filling into 24 portions and roll each one into a ball. Set them on a parchment-lined baking sheet with a little space between them so they’re easy to pick up for dipping. Refrigerate for 1 hour, until the centers feel firm when you lift one; a soft center can slide off a dipping fork or lose its round shape in the coating. Give the full tray time to chill before you start melting the wafers.
Melt the Wafers and Finish Each Truffle
Put the white chocolate melting wafers in a microwave-safe bowl and heat at 50% power in 30-second intervals, stirring between each interval. Stop when the chocolate is smooth, with no unmelted pieces; shorter bursts help keep the coating from overheating. Dip a chilled truffle, let excess chocolate drip back into the bowl, and return it to the parchment-lined sheet. Add the snowflake sprinkles while the coating is still wet, then refrigerate for 20 minutes, until the shell is set.
Two Simple Ways to Adapt the Batch
Make a 12-Truffle Half Batch
Halve every ingredient to make 12 truffles: use 4 ounces cream cheese, 1/4 cup cookie butter, 1/2 teaspoon vanilla, 3/4 cup crushed cookies, 6 ounces melting wafers, and 1 tablespoon sprinkles. Keep the same mixing and chilling method. You’ll have fewer bites to coat, and the center-to-shell balance stays the same.
Leave Off the Snowflake Sprinkles
Skip the sprinkles for a simple white chocolate finish. The truffles keep the same creamy Biscoff center, but the coating won’t have the little crunchy contrast or decorative snowflake look. This is the easiest adjustment if you want a plainer finish without changing the filling.
Storage and Reheating
- Refrigerator: Keep the finished truffles in an airtight container in the refrigerator for up to 5 days. The centers may soften a little as they sit, but the coating will help them hold their shape.
- Freezer: Freeze the truffles in a single layer until firm, then transfer them to an airtight freezer container for up to 2 months. Thaw them overnight in the refrigerator so the centers soften gradually.
- Reheating: These are served chilled, so don’t reheat them. Warmth softens the white chocolate shell and makes the cream cheese center less tidy to handle.
Answers to Biscoff Truffle Questions That Come Up Mid-Batch
No-Bake Biscoff Snowflake Cheesecake Truffles
Ingredients
Equipment
Method
- Beat the cream cheese in a large bowl until smooth.
- Beat in the cookie butter and vanilla extract until combined.
- Stir in the crushed cookies until evenly mixed.
- Scoop the mixture into 24 portions.
- Roll the portions into balls and arrange them on a parchment-lined baking sheet.
- Refrigerate for 1 hour until firm.
- Microwave the white chocolate wafers in a microwave-safe bowl at 50% power in 30-second intervals, stirring between intervals, until smooth.
- Dip each chilled truffle in the melted chocolate.
- Let the excess chocolate drip off, then return each truffle to the baking sheet.
- Immediately add the snowflake sprinkles.
- Refrigerate for 20 minutes until the coating is set.