
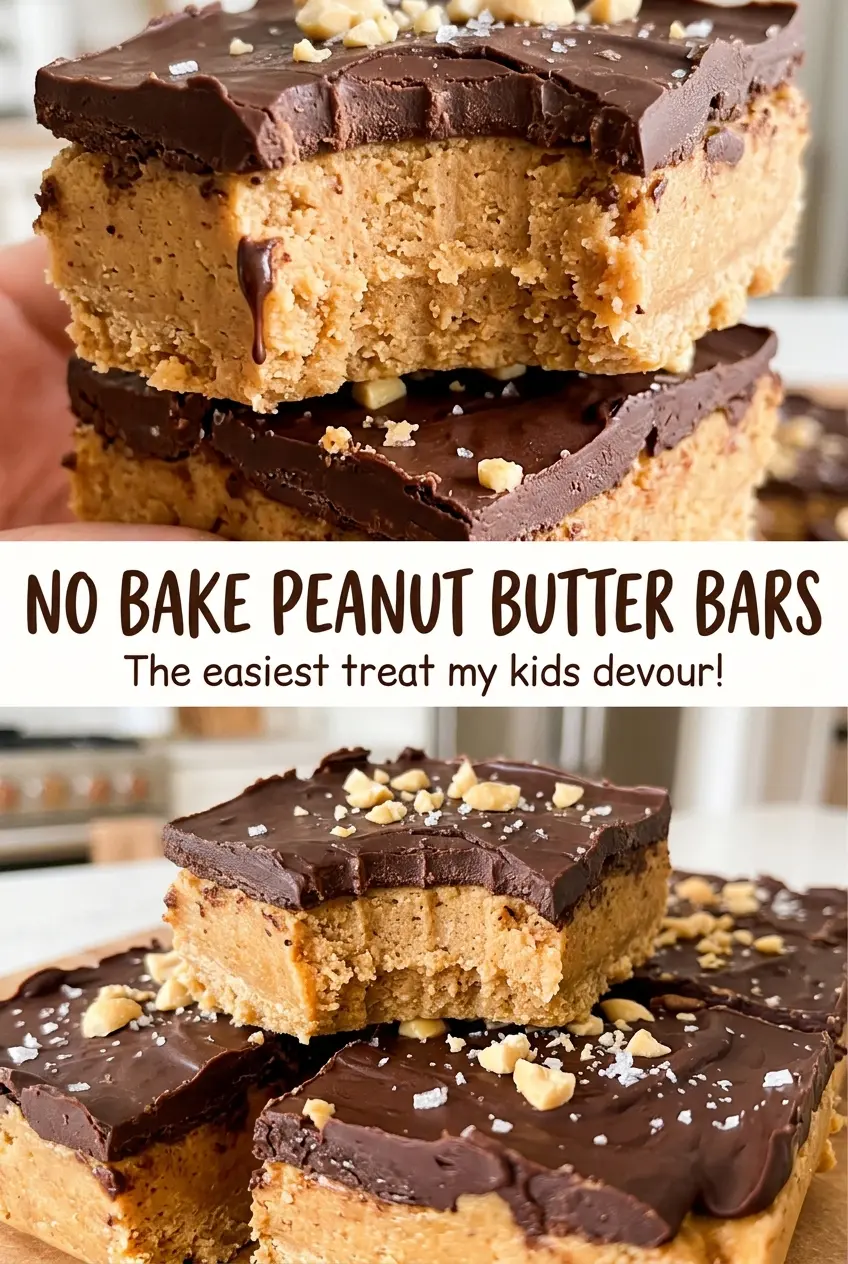
The melted butter makes the peanut butter layer look loose at first, but the graham cracker crumbs and powdered sugar quickly turn it into a thick, pressable mixture. I smooth it into the dish, then cover it with a glossy chocolate topping that sets in the refrigerator. These no bake peanut butter bars are rich, easy to portion, and made without turning on the oven.
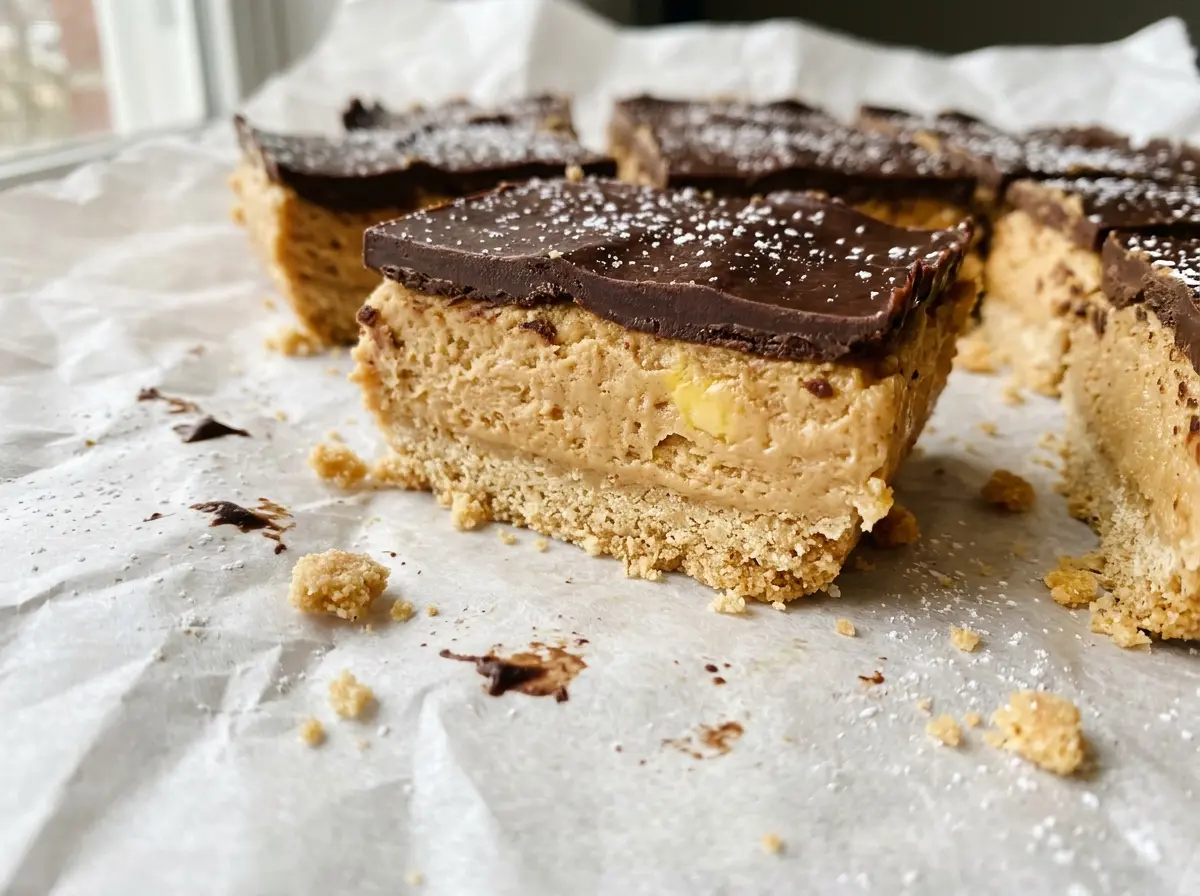
The little detail that makes the bars easier to handle happens before any mixing: I line the dish with parchment and leave enough paper hanging over the sides. Once the chocolate is firm, the parchment lifts the whole slab out in one piece, so you can cut on a board instead of wrestling bars out of the corners. Each bite has a sweet, compact peanut butter base and a smooth semisweet chocolate top.
Kitchen Note
Leave a generous parchment overhang on the sides of the dish. Once the topping has set, those paper handles lift the bars out without bending or breaking the edges.
Save these no bake peanut butter bars for a make-ahead treat with a buttery graham cracker base and a smooth chocolate top.
Why a Two-Hour Chill Makes These Bars Slice Cleanly
The base and topping set at different rates, and that’s why a quick stint in the refrigerator can leave you with messy cuts. The butter in the peanut butter layer firms as it cools, while the chocolate topping needs time to become solid enough to hold its shape. Give the dish at least two hours in the refrigerator, until the chocolate feels firm rather than soft when lightly touched.
Cutting too soon can drag the topping across the peanut butter layer or leave the bars too soft to lift neatly. A firm top gives the knife a clean path, and the chilled base supports each piece as you separate it. This is a useful make-ahead dessert: the refrigerator does the setting while you get on with something else. The finished bars should hold their square shape when lifted, with a clear chocolate layer rather than a smear.
Why These Crumbs and Sugars Make a Stable Peanut Butter Base
- Graham cracker crumbs — Fine, even crumbs give the melted butter a dry base to coat, which helps the mixture press into a compact layer. Store-bought crumbs are convenient; if you have whole graham crackers, crush them finely so there aren’t large pieces that make the base uneven.
- Powdered sugar — Its fine texture blends into the peanut butter mixture without leaving the grit that regular granulated sugar can create in a no-bake filling. There isn’t a direct swap that keeps the same smooth texture, so use powdered sugar for the most reliable result.
- Unsalted butter — Melted butter binds the crumbs and gives the base its rich, firm texture after chilling. Unsalted butter also lets the peanut butter and chocolate remain the main flavors; butter quality matters less here than using it melted and mixing it evenly through the dry ingredients.
- Creamy peanut butter — This gives the base its familiar peanut flavor and helps the mixture hold together. A smooth, well-stirred creamy peanut butter is the dependable choice; natural peanut butter with separated oil can make the texture less consistent.
- Semisweet chocolate chips — These melt into a sweet-but-not-too-sweet cap that balances the peanut butter layer. A fresh bag of chips from the pantry works well; the extra peanut butter stirred into the topping helps it spread smoothly once melted.
How to Build the Base and Spread a Smooth Chocolate Top
Line the Dish Before You Melt the Butter
Line a 9×13-inch baking dish with parchment paper, leaving enough overhang to lift the bars out later. Melt the butter in a large microwave-safe bowl for 45 to 60 seconds. Stir in the graham cracker crumbs, powdered sugar, and creamy peanut butter until the mixture looks evenly combined, with no dry pockets of crumbs.
Press the Peanut Butter Layer Firmly
Transfer the mixture to the lined dish and press it firmly and evenly across the bottom. Work it into the corners so the layer has a consistent thickness from edge to edge. Loose or unevenly pressed spots can break apart more easily when you cut the chilled slab, so take a moment to smooth the surface.
Melt the Chocolate Without Rushing It
Combine the semisweet chocolate chips and peanut butter in a microwave-safe bowl. Microwave in 30-second intervals, stirring between each, for 1 to 2 minutes total, until smooth. The mixture should look glossy and spreadable; pause to stir well between intervals so the chocolate melts evenly instead of overheating in one spot.
Spread, Chill, and Cut the Bars
Spread the chocolate mixture evenly over the peanut butter layer, taking it all the way to the edges. Refrigerate for at least 2 hours, until the topping is firm. Lift the slab out using the parchment, let it stand at room temperature for 10 minutes, then cut it into 24 bars. That short rest makes the chilled slab easier to slice without changing the recipe into a soft, room-temperature dessert.
Three Useful Ways to Adapt These Peanut Butter Bars
Crunchy Peanut Butter in the Base
Use crunchy peanut butter in the peanut butter layer and keep the creamy peanut butter for the chocolate topping. The base will have small peanut pieces and a little more texture, while the topping stays smooth and easy to spread.
Gluten-Free Graham Cracker Crumbs
Replace the graham cracker crumbs with gluten-free graham-style crumbs, using the same amount. The base keeps its familiar sweet, crumbly character, though the exact texture can vary a little by brand.
Peanut-Free with Sunflower Seed Butter
For a peanut-free version, replace the creamy peanut butter in both layers with creamy sunflower seed butter in the same amounts. The bars will taste earthier and a little less like the classic peanut butter version, but the seed butter still gives the base body and helps the chocolate topping spread.
Make-Ahead and Storage
- Refrigerator: Keep the bars in an airtight container for up to 1 week. The layers stay firm and are easiest to handle chilled.
- Freezer: Freeze the bars in an airtight container with parchment between layers for up to 2 months. Thaw them in the refrigerator so the chocolate topping stays neat.
- Serving: These bars don’t need reheating. If they’re straight from the refrigerator, let them stand briefly before serving for a softer bite.
Questions That Come Up When Making No Bake Peanut Butter Bars
No Bake Peanut Butter Bars
Ingredients
Equipment
Method
- Line a 9x13-inch baking dish with parchment paper, leaving enough overhang to lift out the bars.
- Melt the butter in a large microwave-safe bowl for 45 to 60 seconds.
- Stir in the graham cracker crumbs, powdered sugar, and peanut butter until evenly combined.
- Press the mixture firmly and evenly into the prepared dish.
- Combine the chocolate chips and peanut butter in a microwave-safe bowl.
- Microwave in 30-second intervals, stirring between each, for 1 to 2 minutes total, until smooth.
- Spread the chocolate mixture evenly over the peanut butter layer.
- Refrigerate for at least 2 hours, until the topping is firm.
- Lift the bars from the dish using the parchment.
- Let stand at room temperature for 10 minutes.
- Cut into 24 bars.


