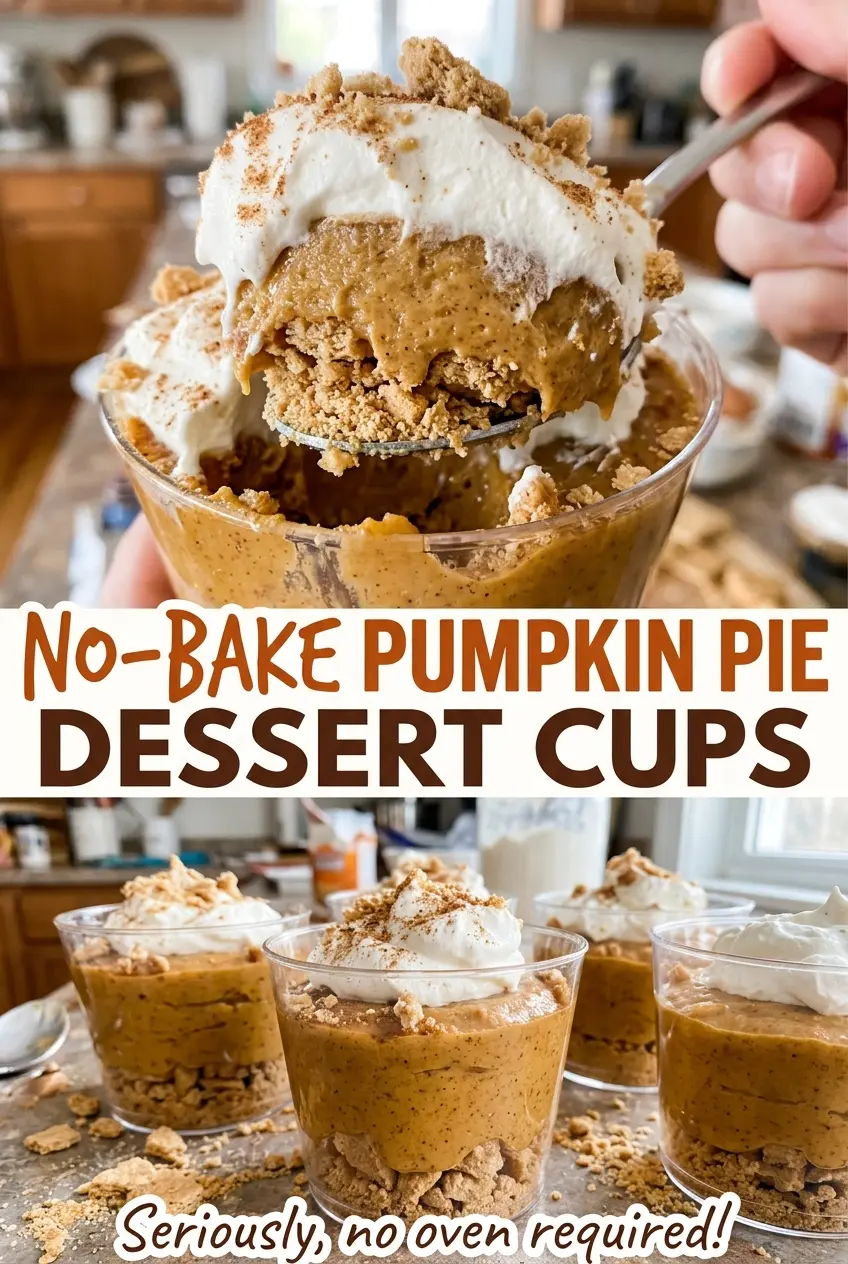
When I press the graham cracker crumbs into little cups, they look like a sturdy base—but a loose crust can ride up with the first spoonful of pumpkin filling. A short rest in the refrigerator gives the melted butter time to firm around the crumbs, keeping each layer distinct. That small detail is what makes these no-bake pumpkin pie dessert cups easy to serve and pleasant to eat.
The filling gets its body from a few things working together: cream cheese, pumpkin, and instant pudding that’s thickened before it goes into the bowl. I like that the cups don’t need oven time or a pie plate, and each one has its own crust-to-filling ratio. Fold in the whipped topping gently, and the pumpkin layer stays creamy rather than dense.
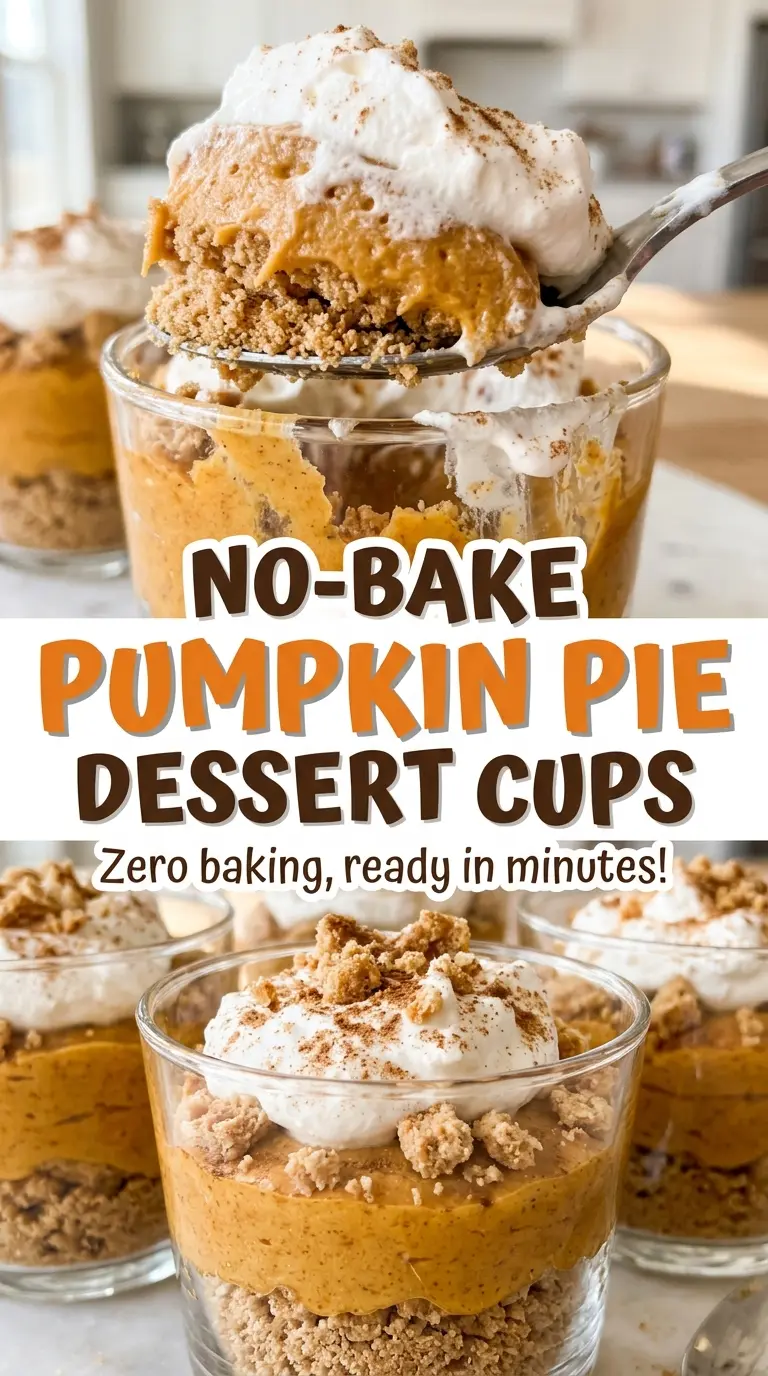
After a chill, you get a cool, softly spiced pumpkin layer over a buttery crumb base, finished with a spoonful of whipped topping. It’s pumpkin pie in a neat little cup, with no slicing required.
Kitchen Note
Fold the whipped topping in with broad, gentle strokes and stop as soon as the white streaks disappear. Beating it into the pumpkin mixture makes the filling heavier than it needs to be.
Save these no-bake pumpkin pie dessert cups for a make-ahead treat with a buttery graham crust and creamy spiced filling.
Why the Crumb Layer Needs a Chill Before the Pumpkin Filling
A no-bake crumb crust gets its structure from butter, not from baking. The melted butter coats the crumbs, and chilling helps it firm up into a base that can support the pumpkin filling. Skip that pause and the crust is more likely to crumble into the creamy layer when you scoop.
These individual cups make the brief chill especially useful. Each crust is pressed right where it will be served, so there’s no need to turn out a pie or cut through a fragile base. While the cups rest in the refrigerator, you can make the filling; by the time it’s ready, the crumb layer has had a head start. Press the crumbs into an even layer rather than packing them into a hard disk, so the crust holds together but is still easy to spoon through.
The Ingredients That Give These Cups Their Pie-Like Layers
- Graham cracker crumbs and butter — Fine, evenly sized crumbs make a compact base; large shards leave weak spots. Store-bought crumbs are convenient, while finely crushed graham crackers work just as well. Unsalted butter lets the sweet, toasted cracker flavor come through without adding extra saltiness.
- Instant vanilla pudding and cold milk — The pudding gives the pumpkin layer structure and a mild vanilla sweetness. Cold milk helps it thicken before it joins the cream cheese mixture. If you want a different flavor, an instant cheesecake pudding mix is the closest easy swap; the variation below explains how to use it.
- Cream cheese and brown sugar — Cream cheese gives the filling its tang and a plush, dense base, while brown sugar brings a mellow molasses note. Regular brown sugar is a good choice here; there’s no need to use a specialty variety.
- Canned pumpkin puree — Pure pumpkin keeps the pumpkin flavor clear, while the pumpkin pie spice supplies the warm seasoning. Choose plain puree rather than a pre-sweetened pumpkin product, since the filling’s sweetness and spice are balanced separately.
- Frozen whipped topping — Thawed topping lightens the pumpkin mixture and gives you a smooth finish on top. The tub is divided between those two jobs, so keep the portion for the topping separate until serving time.
Building the Cups Without Smearing the Layers
Press and chill the crumb bases
Stir the graham cracker crumbs with the granulated sugar and melted butter until every crumb looks evenly moistened. Divide the mixture among eight 6-ounce dessert cups, then press it into an even layer. If you see dry patches, stir again before portioning; they won’t hold together as well. Refrigerate the cups while you prepare the filling.
Let the pudding thicken first
Whisk the instant vanilla pudding mix with the cold milk for 2 minutes. Let it stand for 5 minutes, until it has thickened. This gives you a smooth, ready-to-mix pudding rather than a thin liquid in the filling. Set it aside while you beat the cream cheese mixture.
Make the pumpkin mixture smooth
Beat the softened cream cheese and brown sugar in a large bowl with an electric mixer until smooth. Add the canned pumpkin puree and pumpkin pie spice, then beat until combined. Beat in the thickened pudding mixture until the filling looks even, with no visible cream cheese streaks. If the cream cheese is still firm, small lumps can remain, so give it time to soften before you start.
Fold, fill, and give the cups time to set
Fold 1 1/2 cups of the thawed whipped topping into the pumpkin mixture until no white streaks remain. Divide the filling among the chilled cups and spread it over each crust. Cover and refrigerate for at least 2 hours, until the centers are set. Spoon the remaining whipped topping over the cups just before serving.
Easy Swaps That Change the Flavor or Fit a Gluten-Free Table
Make the cups gluten-free
Replace the graham cracker crumbs with an equal volume of gluten-free graham-style crumbs, and use a gluten-free instant vanilla pudding mix in the same package size. Choose gluten-free versions of the packaged ingredients; the pumpkin and cream cheese layers stay much like the original.
Give the filling a cheesecake note
Swap the instant vanilla pudding mix for a 3.4-ounce package of instant cheesecake pudding mix and keep the cold milk the same. The pumpkin stays front and center, with a slightly tangier, cheesecake-like finish.
Use a gingery cookie crust
Replace the graham cracker crumbs with an equal volume of finely crushed gingersnaps, and leave out the granulated sugar in the crust. Keep the melted butter the same. The base will taste more warmly spiced and a little sweeter than the graham version.
Storage and Reheating
- Refrigerator: Keep the cups covered and refrigerated for up to 3 days. The crust softens gradually as it sits beneath the filling.
- Freezer: I don’t recommend freezing the assembled cups; the creamy layer can release moisture as it thaws, and the crust loses its pleasant crumbly texture.
- Reheating: These are served cold, so no reheating is needed. Keep them chilled until serving rather than letting the topping warm on the counter.
Questions That Come Up With No-Bake Pumpkin Pie Cups
No-Bake Pumpkin Pie Dessert Cups
Ingredients
Equipment
Method
- Stir the graham cracker crumbs, granulated sugar, and melted butter in a medium bowl until evenly moistened.
- Divide the crumb mixture among 8 (6-ounce) dessert cups and press it into an even layer.
- Refrigerate the cups while you make the filling.
- Whisk the pudding mix and cold milk in a medium bowl for 2 minutes, then let stand for 5 minutes to thicken.
- Beat the cream cheese and brown sugar in a large bowl with an electric mixer until smooth.
- Beat in the pumpkin puree and pumpkin pie spice until combined.
- Beat in the thickened pudding mixture until smooth.
- Fold 1 1/2 cups of the whipped topping into the pumpkin mixture until no streaks remain.
- Divide the filling among the cups and spread it over the crusts.
- Cover and refrigerate for at least 2 hours, until set.
- Spoon the remaining whipped topping over the cups just before serving.