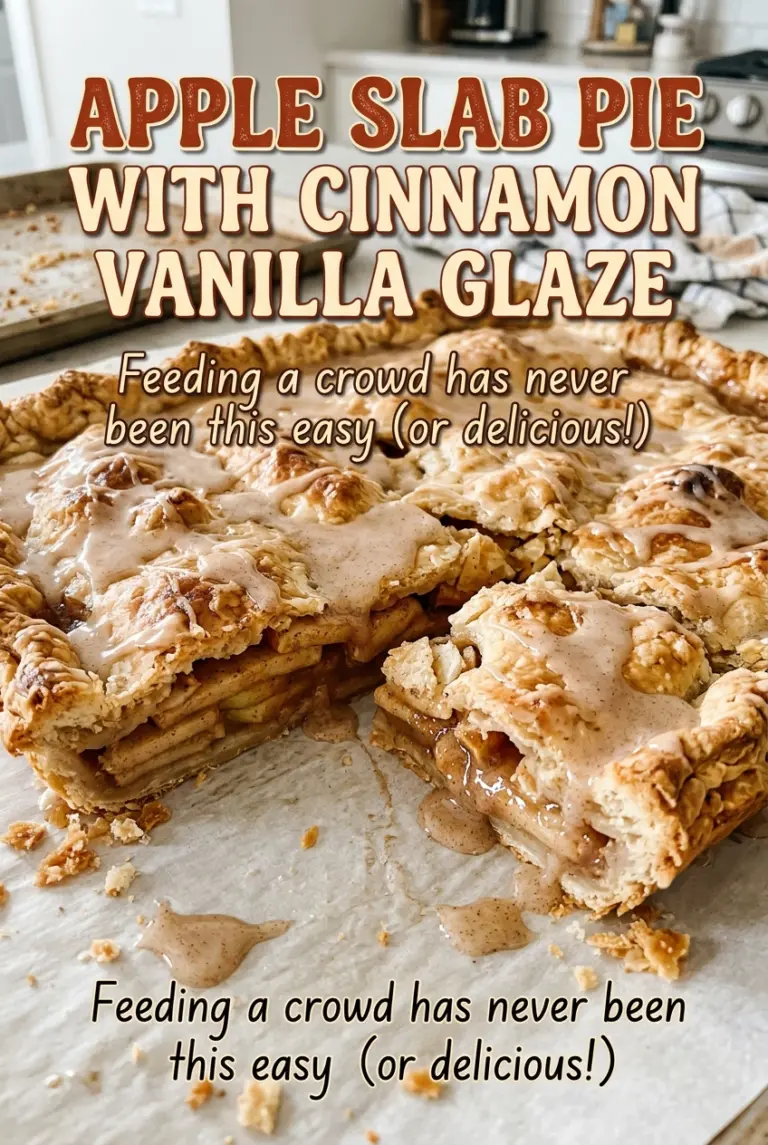
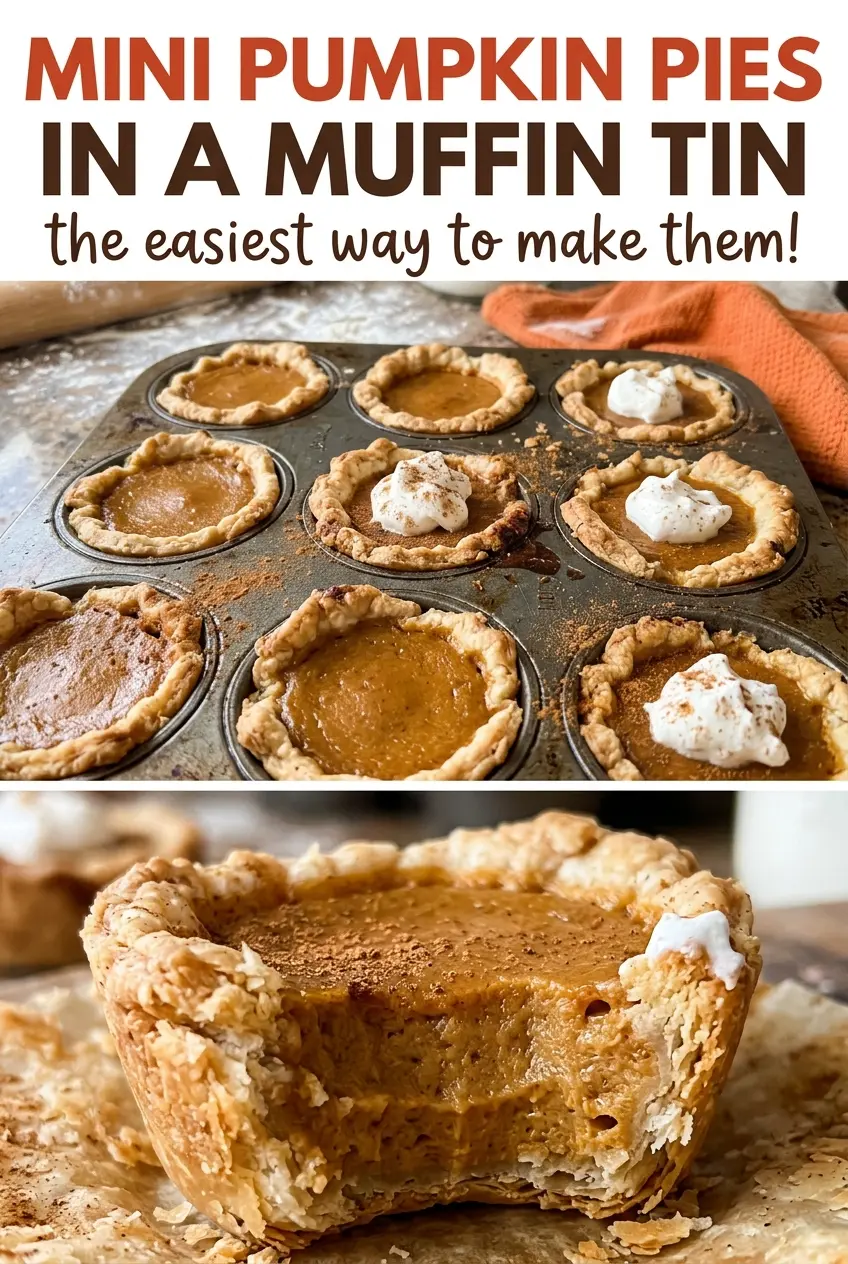
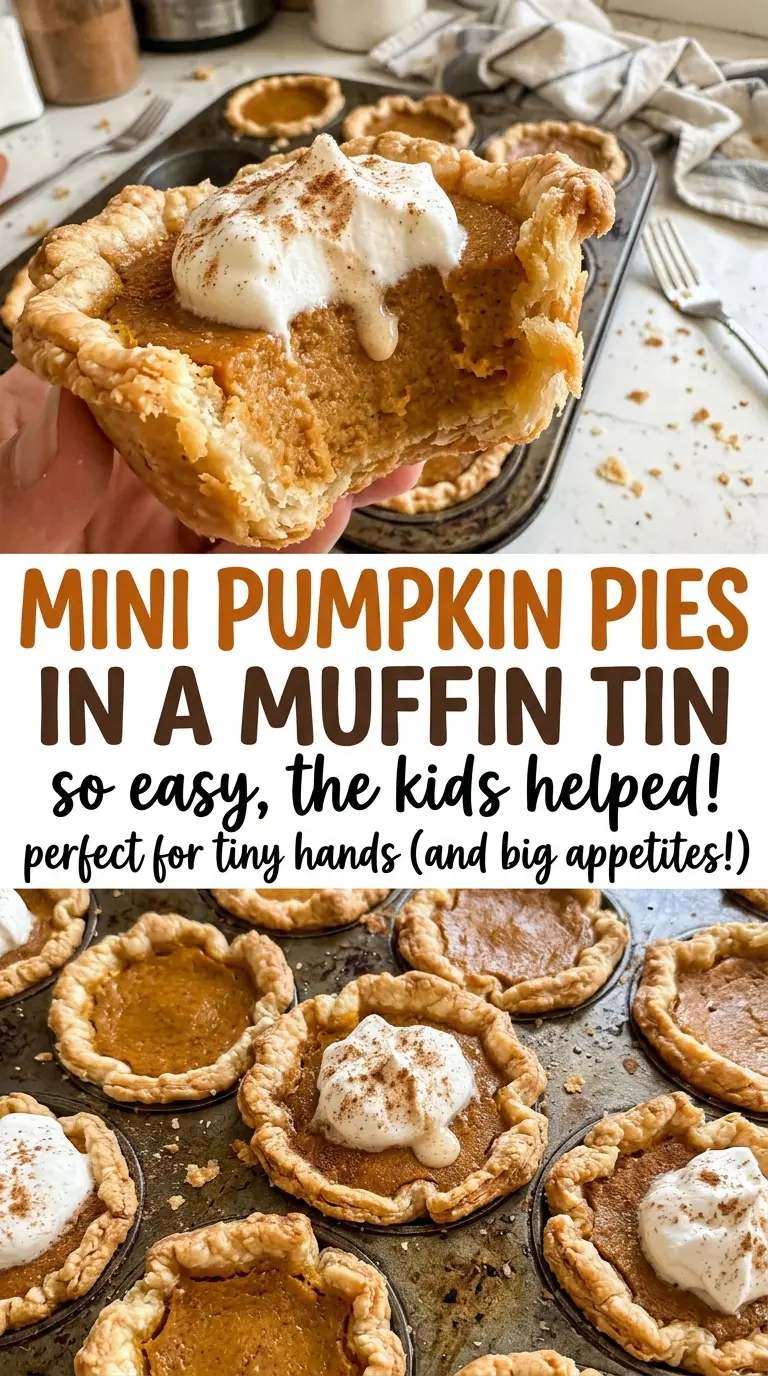
The rounds of pie dough look a little too wide when you first cut them, but they need that extra room to climb the sides of a muffin cup. Press each one in gently and you get a proper little shell, not just a shallow puddle of crust under the filling. These mini pumpkin pies in a muffin tin bring the familiar spiced pumpkin center into an easy-to-portion size, with enough pastry around each one to hold its shape.
I use two oven temperatures rather than baking the pies at one setting from start to finish. The hotter beginning gives the crust a head start, then the lower temperature lets the pumpkin custard finish setting without rushing the center. Leave a little space at the top of each crust, too; the filling needs room as it bakes. After a full chill, the centers are cool and neatly set, with golden pastry around every bite.
Kitchen Note
Reroll the pie dough scraps just once if you need extra rounds. More handling tends to make pastry tougher, and a slightly uneven edge still presses into the muffin cup just fine.
Save these mini pumpkin pies in a muffin tin for twelve spiced pumpkin centers tucked into golden little crusts.
Why the Oven Starts Hot Before These Pumpkin Custards Finish Gently
A mini pie has a lot of pastry around a relatively small pool of filling. Starting hot helps the crust begin baking promptly, while the temperature change gives the egg-and-pumpkin center a gentler finish. If the entire bake stayed at the higher heat, the edges could brown before the middle had time to set evenly.
The center is the part to watch most closely. Pumpkin filling behaves like a custard: it continues to firm as it cools, so waiting for a completely rigid surface in the oven can take it past the texture you want. The useful target is a center that has just set and still gives a slight jiggle, backed up by a thermometer reading of at least 160°F. The two cues work together, rather than asking the crust color to tell you what is happening inside.
That little jiggle can be easy to misread in a full muffin tin, especially when the pastry edges are already golden. Check a center pie rather than judging only by the outer row, where the oven may brown the crust sooner. Once the filling has reached its set point, the cooling and chilling stages finish the texture without more oven time.
What the Pumpkin, Evaporated Milk, and Pie Dough Each Bring
- Refrigerated pie crust — Store-bought dough keeps this batch practical and gives each pie a tender pastry shell. Choose a crust that rolls or bends without cracking; if it needs thawing, let it soften enough to handle before cutting. The rounds need to fit the sides of a standard muffin cup, so a very small tart dough won’t give the same shape.
- Canned pumpkin — Use plain canned pumpkin, not pumpkin pie filling. The latter is already sweetened and spiced, which would throw off the balance of the brown sugar and measured spices here. A familiar grocery-store can is fine; the important distinction is that it contains pumpkin without added pie-seasoning ingredients.
- Light brown sugar — Its soft texture dissolves readily into the pumpkin and brings a mild molasses note. Dark brown sugar can stand in if that’s what you have; expect a deeper, more pronounced molasses flavor in the filling.
- Eggs — These set the pumpkin mixture into a sliceable custard rather than a loose puree. Whisk until the mixture looks smooth, but don’t beat it into a foamy layer; excess bubbles can leave the surface less even.
- Ground cinnamon, ginger, nutmeg, and cloves — Together, these give the filling its warm, familiar pumpkin-pie character. Ground spices lose their aroma with age, so smell them before measuring; if they smell faint or dusty, the finished pies will taste flatter.
- Evaporated milk — This unsweetened, concentrated milk adds richness and body while keeping the filling pourable. Sweetened condensed milk isn’t interchangeable because it contains added sugar, and ordinary milk is thinner, which changes the custard’s consistency.
From 3½-Inch Dough Rounds to a Chilled, Set Center
Fit the Dough to the Muffin Cups
Heat the oven to 425°F and coat the wells of a standard 12-cup muffin tin with nonstick cooking spray. Cut twelve 3½-inch rounds from the two pie crusts, rerolling scraps once if needed. Set one round into each well and press it gently against the bottom and sides so the crust follows the cup instead of folding inward. If a round cracks while you shape it, press the dough back together rather than stretching it thin.
Whisk a Smooth Pumpkin Filling
In a medium bowl, whisk together the pumpkin, packed brown sugar, eggs, cinnamon, ginger, nutmeg, cloves, and kosher salt. Keep whisking until you don’t see streaks of egg or pockets of spice. Pour in the evaporated milk and whisk again until the filling is smooth and evenly fluid. A few small bubbles are fine; a frothy top isn’t needed.
Fill and Bake in Two Stages
Divide the filling evenly among the crusts, stopping with about ¼ inch of space at the top of each one. Bake for 8 minutes at 425°F, then lower the oven to 350°F without opening the door. Continue baking for 15 to 20 minutes, until the crusts are golden and the centers are just set with a slight jiggle. Check a center pie with a thermometer; it needs to register at least 160°F.
Cool Before You Chill
Let the pies cool in the muffin tin for 15 minutes before loosening the edges. Transfer them to a wire rack and let them cool completely, then refrigerate until cold for at least 2 hours. Trying to lift them while the pastry is still hot makes the tender crust more likely to break. Once chilled, the custard is firmer and the little pies are easier to handle.
Two Useful Changes to the Spice and Crust
Make the Filling Cinnamon-Forward
For a simpler, less layered spice note, leave out the ginger, nutmeg, and cloves and keep the cinnamon. The pumpkin and brown sugar still make a warmly flavored filling, but it won’t have the same sharp, aromatic finish as the full spice blend.
Use Refrigerated Gluten-Free Pie Crust
For a gluten-free batch, use refrigerated gluten-free pie dough in place of the regular crusts and cut rounds that fit your muffin cups. Gluten-free dough can be more delicate when pressed, so handle it gently and patch small cracks with a bit of dough. The pumpkin filling stays the same; the pastry may be more tender or crumbly than a wheat crust.
Storage and Reheating
- Refrigerator: Keep the cooled pies covered in the refrigerator for 3 to 4 days. The crust softens a little as it sits against the custard.
- Freezer: Freeze the completely cooled pies in an airtight container for up to 1 month for best texture. Thaw them in the refrigerator; the pastry may be softer after freezing.
- Reheating: These are best served chilled, so reheating isn’t needed. Avoid microwaving them, which can warm the custard unevenly and soften the crust.
Questions That Come Up With Muffin-Tin Pumpkin Pies
Mini Pumpkin Pies in a Muffin Tin
Ingredients
Equipment
Method
- Heat the oven to 425°F.
- Coat the wells of a standard 12-cup muffin tin with nonstick cooking spray.
- Cut twelve 3 1/2-inch rounds from the pie crusts, rerolling the scraps once if needed.
- Press one round into each muffin well.
- In a medium bowl, whisk the pumpkin, brown sugar, eggs, cinnamon, ginger, nutmeg, cloves, and salt until smooth.
- Whisk in the evaporated milk.
- Divide the filling evenly among the crusts, leaving about 1/4 inch of space at the top.
- Bake for 8 minutes at 425°F.
- Reduce the oven to 350°F without opening the door.
- Bake for 15 to 20 minutes more, until the crusts are golden, the centers are just set with a slight jiggle, and a thermometer inserted in a center registers at least 160°F.
- Cool the pies in the tin for 15 minutes.
- Loosen the edges and transfer the pies to a wire rack to cool completely.
- Refrigerate until cold, at least 2 hours.