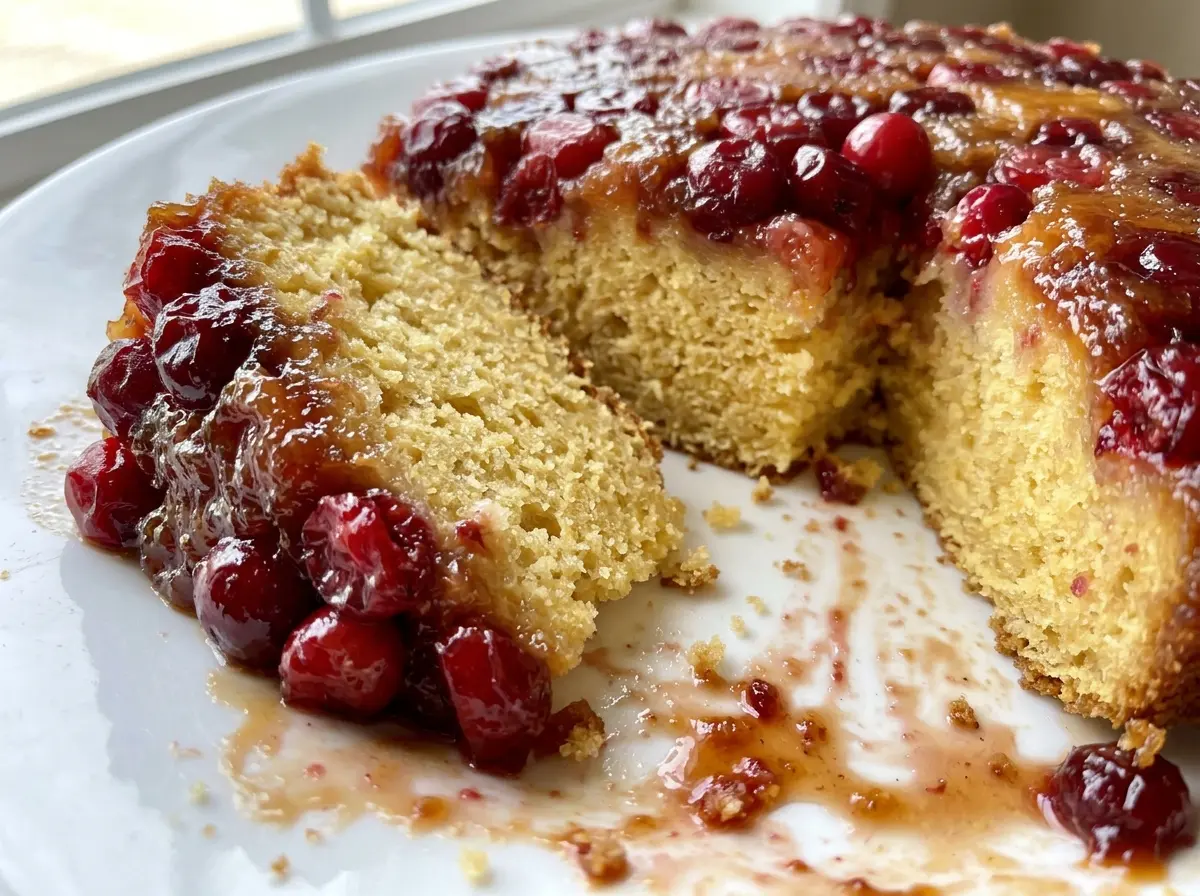
The brown sugar and butter go from separate grains to a smooth, bubbling layer in just a minute or two, and that’s where this cake’s glossy cranberry top begins. For this Old Fashioned Cranberry Upside Down Cake, the whole berries bake beneath a tender, buttery cake, then turn into a bright red layer when you flip it onto a plate. It’s a lovely contrast: tart fruit, a sweet brown sugar glaze, and a soft cake that soaks up a little cranberry juice.
I like that the topping comes together in the pan before the batter goes on, so there’s no separate cranberry sauce to cook or cool. The cake batter is mixed gently after the flour goes in; that keeps the crumb tender instead of tough. Give the cake its full cooling time in the pan, then turn it out while the topping is still warm enough to release. You’ll get a glossy crown of cranberries over golden cake.
Kitchen Note
The 10-minute rest before turning the cake out is worth watching closely. The topping is still loose enough to release, but the cake has had a moment to settle; wait much longer and the sugary layer is more likely to cling to the pan.
Save this Old Fashioned Cranberry Upside Down Cake for its glossy tart cranberry layer and buttery golden cake.
Why the Cranberries Go Into the Pan Whole
These berries don’t need to become a sauce before they meet the cake batter. Baking them whole lets their tartness stay distinct, while the heat softens them and draws their juices into the brown sugar and butter below. Some berries may split as they bake, but the layer should still look like fruit rather than jam.
That contrast is what keeps each bite from tasting overly sweet. The brown sugar mixture brings a deep caramel note, while the cranberries cut through it with their sharp, tangy flavor. The cake sits over the fruit and catches some of that juice as it bakes, so the crumb stays tender without turning into a pudding-like layer. Keep the berries in an even layer instead of piling them in the center; an even spread gives you cranberry in each slice and helps the cake bake at a steady pace.
Fresh berries have a firm bite going into the oven, and frozen berries are also suitable here. Either way, what matters most is an even layer and a cake that’s baked through before you invert it. The finished topping is glossy and soft, not a firm candy-like coating.
What the Cranberries, Butter, and Brown Sugar Bring to the Cake
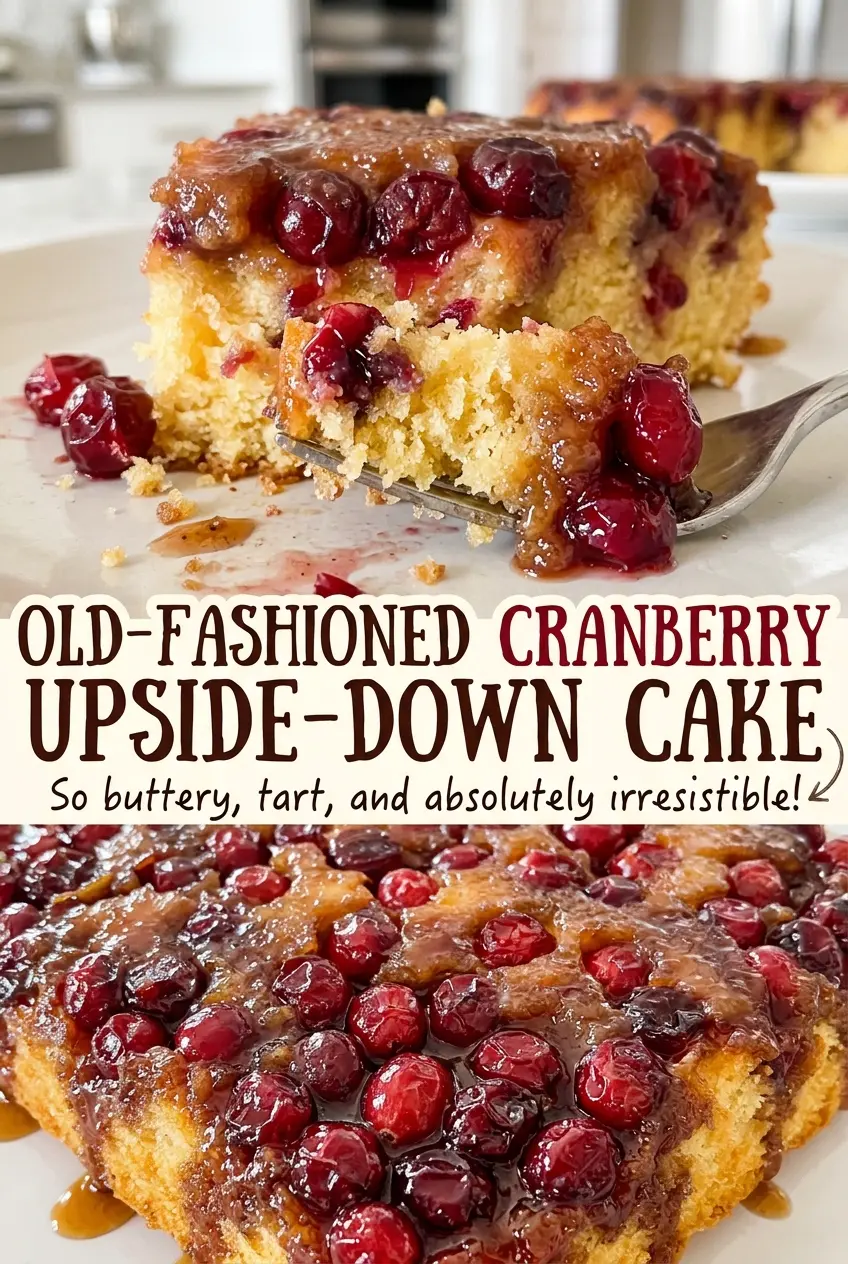
- Cranberries — Their natural tartness balances the sweet topping, and their juices make the layer glossy. Choose firm, intact fresh berries when buying them; frozen cranberries are a useful option when fresh ones aren’t available.
- Unsalted butter — Butter gives the topping its rich base and helps the cake batter cream up light. A standard store-brand butter works well; for the cake portion, let it soften so it can beat smoothly with the sugar. The recipe divides the butter between topping and batter, so keep those portions separate.
- Light brown sugar — Packed brown sugar melts into the butter and gives the fruit a soft, caramel-like coating. Dark brown sugar can replace it in the same quantity for a more pronounced molasses flavor and a darker topping.
- All-purpose flour and baking powder — Flour builds the cake’s structure, and baking powder gives it lift. For a gluten-free version, use a cup-for-cup gluten-free baking flour blend in place of the all-purpose flour; almond flour won’t provide the same structure.
- Eggs, milk, and vanilla — Eggs help the cake hold together, whole milk keeps the crumb tender, and vanilla rounds out the buttery batter. If whole milk isn’t on hand, 2% milk works in the same amount, with a slightly less rich result.
The Three Stages That Keep the Cranberry Layer Under the Cake
Make a smooth, bubbling base
Coat the bottom and sides of a 9-inch round cake pan that’s at least 2 inches deep with nonstick cooking spray. Melt the topping butter in a small saucepan over medium heat, then stir in the brown sugar until the mixture is smooth and bubbling, about 1 to 2 minutes. If the sugar still looks grainy, keep stirring over the heat until it comes together; don’t let it sit unattended, because it can scorch. Pour the mixture into the pan and spread the cranberries over it in an even layer.
Cream the butter and build the batter
Whisk the flour, baking powder, and salt in a medium bowl. In a large bowl, beat the softened cake butter with the granulated sugar on medium speed for 2 to 3 minutes, until the mixture looks light and fluffy rather than dense. Beat in the eggs one at a time, then mix in the vanilla. Add the flour mixture in three additions, alternating with the milk in two additions and beginning and ending with flour; keep the mixer on low and stop as soon as the batter is combined.
Cover the berries and bake until set
Spread the batter evenly over the cranberries, reaching the edges without disturbing the fruit layer. Bake at 350°F until the cake is golden and a toothpick inserted in the center comes out clean or with a few moist crumbs, about 45 to 55 minutes. If the toothpick has wet batter on it, give the cake more time and check again. Cool it in the pan for 10 minutes, run a thin knife around the edge, then invert it onto a serving plate and carefully lift off the pan.
Three Smart Ways to Adapt the Cake
Use a cup-for-cup gluten-free flour blend
Swap the all-purpose flour for the same amount of a gluten-free baking blend designed as a 1:1 replacement. A blend with xanthan gum gives the cake more support; expect a slightly more delicate crumb, so let each slice settle on the plate before moving it.
Choose dark brown sugar for a deeper topping
Replace the light brown sugar with the same quantity of dark brown sugar. The extra molasses makes the cranberry layer taste more robust and look darker, while keeping the same buttery, soft-set texture.
Use 2% milk if that’s what you have
Replace the whole milk with the same amount of 2% milk. The cake will be a little less rich, but the batter still bakes into a tender crumb; avoid using a much thinner milk alternative unless you’re prepared for a less buttery result.
Storage and Reheating
- Refrigerator: Cover the cooled cake and refrigerate it for up to 4 days. The topping softens and moistens the cake as it sits.
- Freezer: Freeze individual slices, wrapped tightly and placed in an airtight container, for up to 2 months. Thaw a slice in the refrigerator or at room temperature.
- Reheating: Warm an individual slice in the microwave for about 10 to 15 seconds. Longer heating can make the cranberry syrup bubbling-hot before the center of the slice is pleasantly warm.
Questions That Come Up Before You Turn the Cake Out
Old Fashioned Cranberry Upside Down Cake
Ingredients
Equipment
Method
- Preheat the oven to 350°F.
- Coat the bottom and sides of a 9-inch round cake pan that is at least 2 inches deep with nonstick cooking spray.
- Melt 1/4 cup of the butter in a small saucepan over medium heat.
- Stir in the brown sugar and cook, stirring, until smooth and bubbling, 1 to 2 minutes.
- Pour the brown sugar mixture into the prepared pan and spread it evenly over the bottom.
- Arrange the cranberries in an even layer.
- Whisk the flour, baking powder, and salt together in a medium bowl.
- Beat the remaining 1/2 cup butter and the granulated sugar in a large bowl with an electric mixer on medium speed until light and fluffy, 2 to 3 minutes.
- Beat in the eggs one at a time.
- Mix in the vanilla.
- Add the flour mixture in three additions, alternating with the milk in two additions and beginning and ending with the flour, mixing on low speed just until combined.
- Spread the batter evenly over the cranberries.
- Bake at 350°F until the cake is golden and a toothpick inserted into the center of the cake comes out clean or with a few moist crumbs, 45 to 55 minutes.
- Cool the cake in the pan for 10 minutes.
- Run a thin knife around the edge.
- Invert the cake onto a serving plate and carefully lift off the pan.