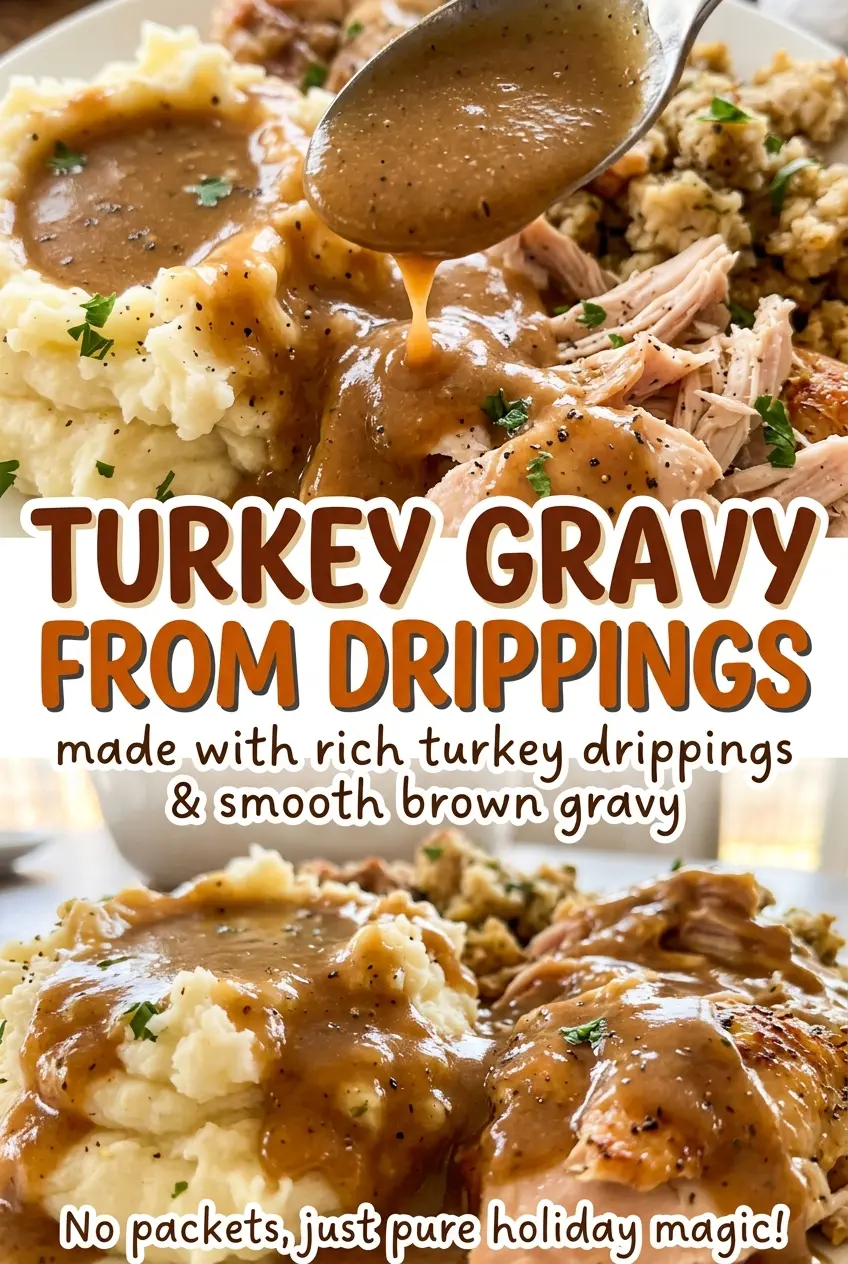
When the turkey comes out of the oven, the pan holds two useful things: flavorful juices and the fat that can become the start of a roux. The tricky part is that every bird leaves a different amount behind. I measure the strained juices and fat separately, then use broth and butter to fill any gaps. That little bit of flexibility is what makes this turkey gravy from drippings dependable, even when the pan looks different every time.
The gravy gets its body from a simple flour-and-fat roux, cooked while you whisk so it stays smooth. Then the liquid goes in gradually, which gives the flour a chance to blend in instead of clumping. A few minutes at a gentle simmer bring it together into a savory gravy that coats a spoon without turning pasty.
Kitchen Note
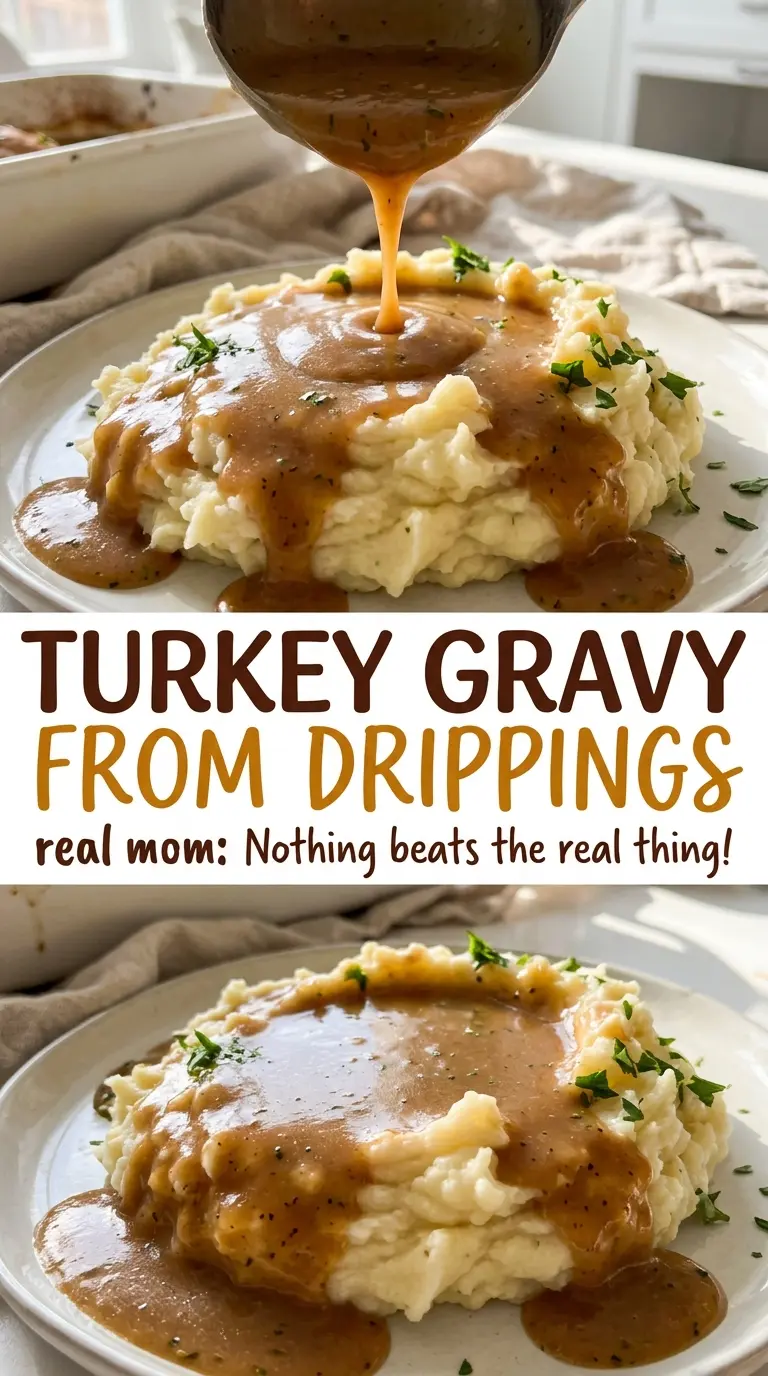
Pour the liquid in gradually while whisking, rather than tipping it all in at once. That steady addition is the easiest way to keep the gravy smooth from the first stir.
Save this turkey gravy from drippings for a smooth, spoon-coating finish that makes the most of the flavor in your roasting pan.
Why the Four-Cup Liquid Target Makes Dripping Gravy Reliable
Turkey drippings aren’t predictable. One roasting pan may give you plenty of juices; another may leave only a small puddle. Building the gravy around a set total of liquid solves that problem. Measure whatever defatted pan juices you have, then add turkey broth until the combined liquid reaches four cups. You keep the flavor the pan provides without having to guess how much broth to pour in.
The same approach works for the fat. Use the turkey drippings fat you collected, then top it up with unsalted butter until you have the amount needed for the roux. That keeps the flour-to-fat balance steady, so the gravy thickens as expected even when the turkey doesn’t leave much fat behind. It also means you don’t need to scrape every last drop from the roasting pan to make a full batch. Think of the drippings as the flavor base, and the broth and butter as the practical backups that make the method repeatable.
What the Drippings, Broth, and Roux Each Bring to the Gravy
- Strained turkey pan juices — These carry the roasted turkey flavor, so use all the defatted juices you have. Straining removes browned bits that could make the finished gravy uneven. If there isn’t a full cup, broth fills the difference.
- Low-sodium turkey broth — Broth brings the liquid up to the full amount while keeping the gravy turkey-forward. Low-sodium broth gives you room to season at the end, especially since pan juices can vary in saltiness. Low-sodium chicken broth works in the same role if turkey broth isn’t available, with a milder turkey flavor.
- Turkey drippings fat and unsalted butter — Fat coats the flour and forms the roux that thickens the gravy. The drippings add roasted flavor; unsalted butter is the useful top-up when you don’t collect enough fat. Unsalted butter is preferable to salted because the pan juices and broth already contribute seasoning.
- All-purpose flour — Flour gives the gravy its classic opaque, gently thick texture. Whisk it into the melted fat rather than sprinkling it into the liquid, where it can form stubborn lumps. For a gluten-free adaptation, use the cornstarch method in the variations below; it makes a glossier gravy with a slightly different body.
- Kosher salt and black pepper — Salt rounds out the roasted flavors, while pepper adds a quiet warmth. Stir them in after the gravy simmers, when you can taste the finished base and judge what it needs.
Building a Smooth Roux and Letting the Gravy Thicken
Measure the Drippings Before You Start
Strain the turkey drippings and separate the fat from the juices. Measure the defatted juices, using all you have if there is less than a cup, then add turkey broth until the combined liquid measures four cups. Measure the fat separately and top it up with unsalted butter to the amount needed for the roux. Having both measurements ready before the saucepan goes on the stove keeps the next stages calm and quick.
Cook the Flour in the Fat
Melt the measured fat in a 3-quart saucepan over medium heat. Whisk in the flour until it forms a smooth paste, then keep whisking constantly for two minutes. The mixture should look cohesive, without dry pockets of flour or streaks of melted fat. If it catches on the bottom, keep the whisk moving across the whole pan rather than only through the center.
Whisk in the Liquid Gradually
Add the measured drippings and broth a little at a time, whisking as you go until each addition blends into the roux. The mixture may look thick at first, then loosen as more liquid goes in. Keep whisking around the sides and across the bottom, where flour can hide. Once all the liquid is incorporated and the gravy looks smooth, bring it to a simmer over medium heat.
Simmer Until It Coats a Spoon
Simmer the gravy for five to eight minutes, whisking often as it thickens. It’s ready when it clings to the back of a spoon rather than running off like broth. If it still looks thin, give it more time at a gentle simmer and keep whisking; the flour needs heat and time to build body. Stir in the kosher salt and black pepper at the end.
Two Practical Ways to Adapt This Turkey Gravy
Make It Gluten-Free With a Cornstarch Slurry
Skip the flour-and-fat roux. Set aside 1/4 cup of the measured broth and whisk it with 3 tablespoons cornstarch until smooth. Bring the remaining measured drippings and broth to a simmer, then whisk in the slurry and cook until thickened, stirring often. The result is glossy and a little more translucent than flour-thickened gravy; use gluten-free turkey broth as well.
Keep It Lower in Added Salt
Leave out the kosher salt and taste the gravy after it has simmered. Pan juices and broth bring their own seasoning, so the finished gravy may need no added salt at all. The flavor will be less rounded than the salted version, but you can serve salt at the table for anyone who wants more.
Storage and Reheating
- Refrigerator: Store in a covered container for 3 to 4 days. It will thicken as it chills.
- Freezer: Freeze in an airtight container for up to 3 months. Thaw in the refrigerator; the texture may look separated, but whisking as it reheats brings it back together.
- Reheating: Warm it in a saucepan over low to medium-low heat, whisking often, until it reaches 165°F. Add a small splash of broth if it has become too thick; high heat without whisking can scorch the bottom.
Questions That Come Up When Making Turkey Gravy
Turkey Gravy from Drippings
Ingredients
Equipment
Method
- Strain the turkey drippings and separate the fat from the juices.
- Measure up to 1 cup defatted juices, using all available if there is less.
- Add low-sodium turkey broth to make 4 cups total liquid.
- Top up the turkey drippings fat with unsalted butter as needed to measure 1/4 cup.
- Melt the measured fat in a 3-quart saucepan over medium heat.
- Whisk in the flour and cook, whisking constantly, for 2 minutes.
- Gradually whisk in the 4 cups of drippings and broth until smooth.
- Bring to a simmer over medium heat.
- Simmer, whisking often, for 5 to 8 minutes, until the gravy thickens enough to coat the back of a spoon.
- Stir in the salt and pepper.