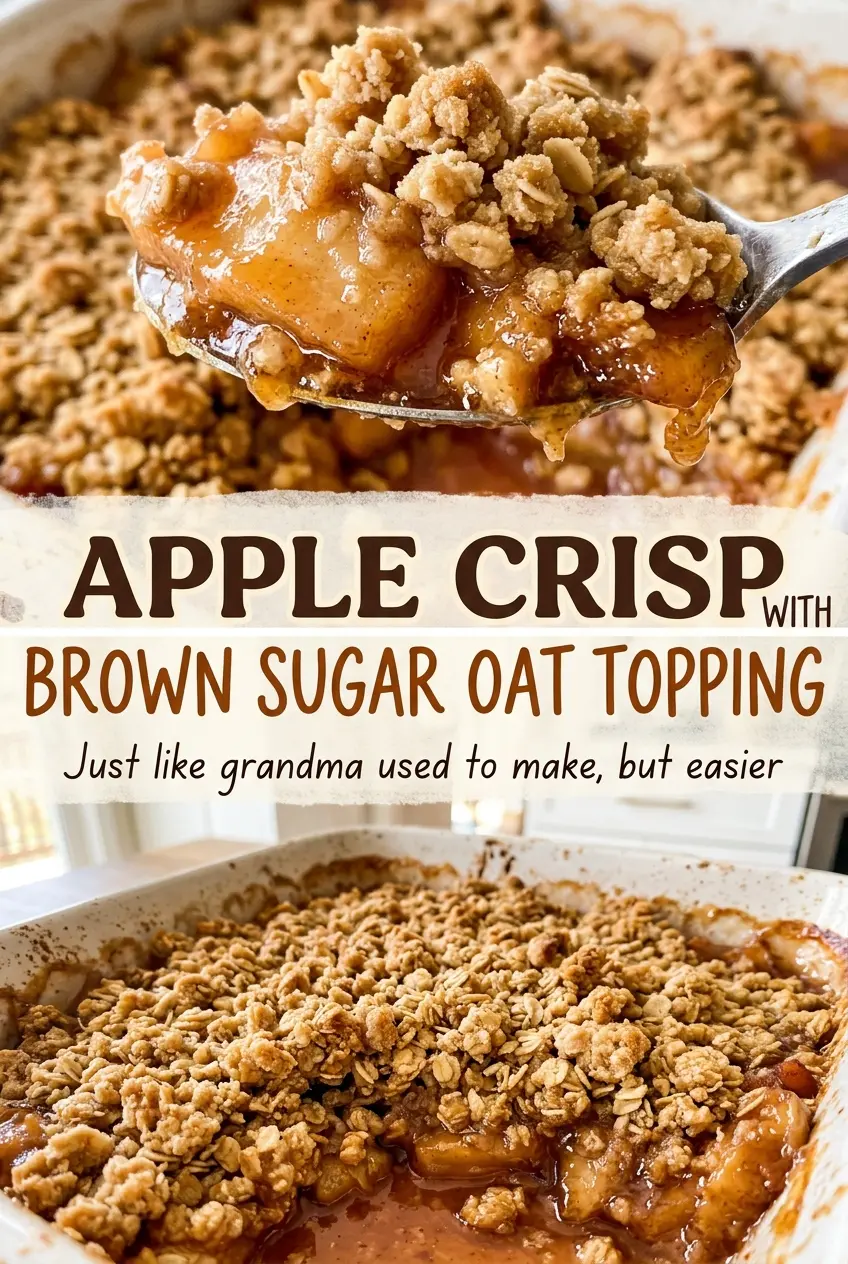
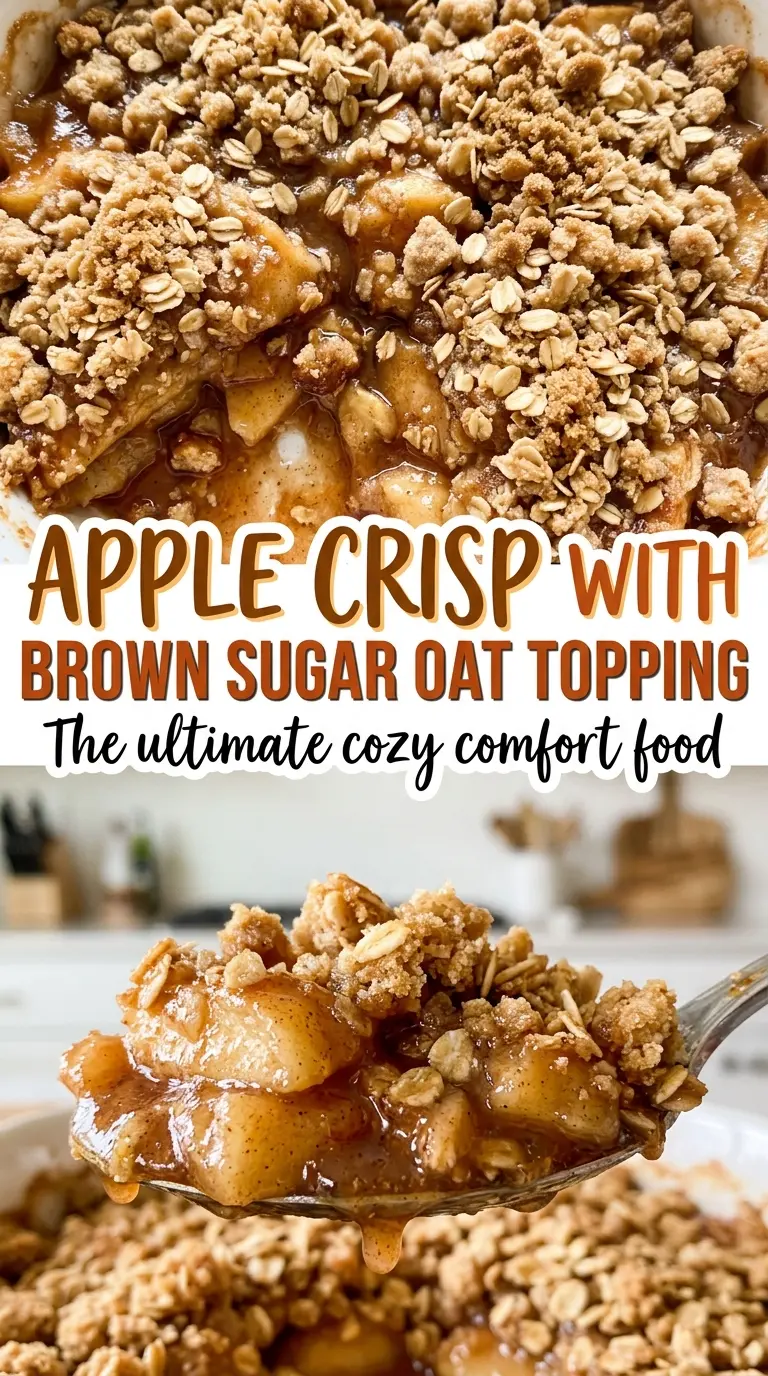
The first sign that an apple crisp is ready isn’t just the golden top; it’s the little bubbles working their way up around the edge of the dish. I watch for both, then check an apple with a knife before I pull it from the oven. That combination keeps the topping from getting too dark while the fruit underneath is still firm. This apple crisp with brown sugar oat topping is made for that contrast: soft, cinnamon-scented apples under a layer of crisp, buttery crumbs.
I slice the apples evenly so they soften at the same pace, then toss them with sugar, lemon juice, cinnamon, and flour before they go into the dish. The flour gives the juices somewhere to go as the apples bake, rather than leaving a thin puddle at the bottom. Up top, cold butter worked into the oats and brown sugar makes the crumbs clump instead of baking into a flat sheet.
Once the topping is bronzed and the apple filling is bubbling, a short rest lets the juices settle into a spoonable sauce. Scoop through the crisp topping into tender apples, and you get a little of both in every serving.
Kitchen Note
Keep the butter cold until you work it into the oat mixture. Stop when you have coarse, clumpy crumbs; if you keep rubbing, the butter warms and the topping can turn sandy instead of forming those crisp little clusters.
Save this apple crisp with brown sugar oat topping for its tender cinnamon apples and chunky, buttery crumble.
Why the Filling Needs Flour Before the Apples Hit the Oven
Apples release plenty of juice as they heat, and the sugar in the filling draws out even more. Without something to thicken that liquid, the fruit can be tender while the bottom of the dish stays watery. Tossing the apples with flour before baking distributes the thickener throughout the filling, so it can bind those juices as they bubble. The result is a soft, spoonable layer rather than fruit sitting in a thin pool.
Mix the flour with the sugar, cinnamon, salt, and lemon juice right alongside the apples. That way, the flour doesn’t collect in dry pockets and every slice gets coated. Lemon juice brings a little brightness to the sweet fruit, while cinnamon gives the filling warmth without competing with the brown sugar in the topping. The bubbling around the edges is a useful visual cue: the filling is hot enough for the thickening to happen, not just warmed through.
Slice the apples to a similar thickness before tossing them. Thin pieces soften quickly, while much thicker pieces can lag behind; an even cut helps the filling finish at the same time as the topping turns golden.
What the Oats, Brown Sugar, and Cold Butter Each Bring
- Apples — Choose apples that hold their shape well during baking; a firm, pleasantly tart apple gives the filling structure and balances the sweet topping. A mix of firm varieties works too, as long as the pieces are sliced evenly. Peeling, coring, and slicing before tossing helps the seasoning coat the fruit instead of gathering on the peel.
- All-purpose flour — It has two separate jobs here: thickening the apple juices and helping the topping hold together. For a gluten-free version, use a cup-for-cup gluten-free baking blend in both parts of the crisp; choose one intended to replace all-purpose flour in baking, since single-ingredient starches won’t behave the same way.
- Old-fashioned rolled oats — These give the topping its distinct, hearty texture. Old-fashioned oats are worth choosing when you want visible oat flakes and a crisp bite; quick oats make a finer, less defined crumb. Store-brand rolled oats work just as well as a premium brand.
- Light brown sugar — Its molasses notes complement the apples and help the topping bake into a deeper, more rounded sweetness. Dark brown sugar can replace it in the same amount for a stronger molasses taste and a slightly darker topping.
- Cold unsalted butter — Butter brings richness and helps the crumbs brown. Keep it cold and cut it into small cubes so it distributes through the dry mixture without melting before the crisp reaches the oven. A good-quality butter is lovely here, but any fresh unsalted butter will do.
- Lemon juice and cinnamon — Lemon juice keeps the filling from tasting one-note sweet, and ground cinnamon links the fruit and topping. Freshness matters most with cinnamon: if the jar has been open for years, it will taste muted. There’s no need for a specialty brand.
From Even Apple Slices to a Bubbling 9×13 Crisp
Coat the Apples Before They Go in the Dish
Heat the oven to 375°F and grease a 9×13-inch baking dish. In a large bowl, toss the peeled, cored apples with granulated sugar, flour, lemon juice, cinnamon, and salt until the slices are evenly coated. Look for a light, uniform coating rather than dry flour clinging in little clumps. Spread the apples evenly in the dish so the topping has a level surface to cover.
Mix the Oat Crumbs
Stir the oats, flour, brown sugar, cinnamon, and salt together in a medium bowl before adding the butter. This distributes the cinnamon and salt through the topping instead of leaving concentrated patches. Work in the cold butter with your fingertips or a pastry cutter until the mixture forms coarse, clumpy crumbs. If the mixture looks like fine, uniform sand, stop and let it chill briefly before scattering it over the apples.
Cover the Fruit Without Packing the Crumbs
Scatter the topping evenly over the apples, letting the crumbs stay loose rather than pressing them into a solid layer. A few larger clumps are welcome; they bake into the crispest bites. Try to cover the fruit from edge to edge, since exposed apple pieces can dry and brown more quickly than the filling beneath the crumble.
Bake Until the Top Is Golden and the Fruit Gives
Bake for 40 to 50 minutes, until the topping is golden brown and the filling bubbles around the edges. Check an apple with a knife; it should pierce easily, not feel firm in the center. If the topping is already golden but the apples need more time, loosely lay foil over the dish and continue baking until the fruit is tender. Let the crisp rest for at least 15 minutes before serving so the hot filling can settle.
Small Changes That Keep the Crisp’s Texture Intact
Use dark brown sugar for a deeper topping
Swap the light brown sugar for dark brown sugar in the same amount. The extra molasses gives the crumble a more pronounced caramel note and a somewhat darker color, while keeping the same oat-and-butter texture.
Make it gluten-free with a baking blend
Replace the all-purpose flour in both filling and topping with the same amount of a cup-for-cup gluten-free baking blend, and use certified gluten-free rolled oats. The topping may have a slightly different crumb depending on the blend, but it still bakes into a crisp oat layer.
Make the topping dairy-free
Use a firm, plant-based butter stick in place of the dairy butter, keeping it cold and cutting it into cubes just as you would the original. The topping will have a slightly different flavor, and the brand’s firmness affects how easily it forms crumbs, so choose a baking-style stick rather than a soft tub spread.
Storage and Reheating
- Refrigerator: Cool, cover, and refrigerate within 2 hours; it keeps for 3 to 4 days. The topping softens as it sits against the fruit.
- Freezer: Freeze cooled portions in an airtight container for up to 3 months. Thaw overnight in the refrigerator; the topping won’t be quite as crisp as freshly baked.
- Reheating: Warm uncovered in a 350°F oven until the center reaches 165°F. Covering the dish traps steam and makes the oat topping softer.
Questions That Come Up When Baking Apple Crisp
Apple Crisp with Brown Sugar Oat Topping
Ingredients
Equipment
Method
- Heat the oven to 375°F.
- Grease a 9x13-inch baking dish.
- In a large bowl, toss the apples with the granulated sugar, 2 tablespoons flour, lemon juice, 1 teaspoon cinnamon, and 1/4 teaspoon salt.
- Spread the apple mixture evenly in the prepared dish.
- In a medium bowl, stir together the oats, 1 cup flour, brown sugar, 1/2 teaspoon cinnamon, and 1/2 teaspoon salt.
- Add the cold butter and work it into the oat mixture with your fingertips or a pastry cutter until it forms coarse, clumpy crumbs.
- Scatter the topping evenly over the apples.
- Bake for 40 to 50 minutes, until the topping is golden brown and the filling is bubbling around the edges and the apples are tender when pierced with a knife.
- Let the crisp rest for at least 15 minutes before serving.