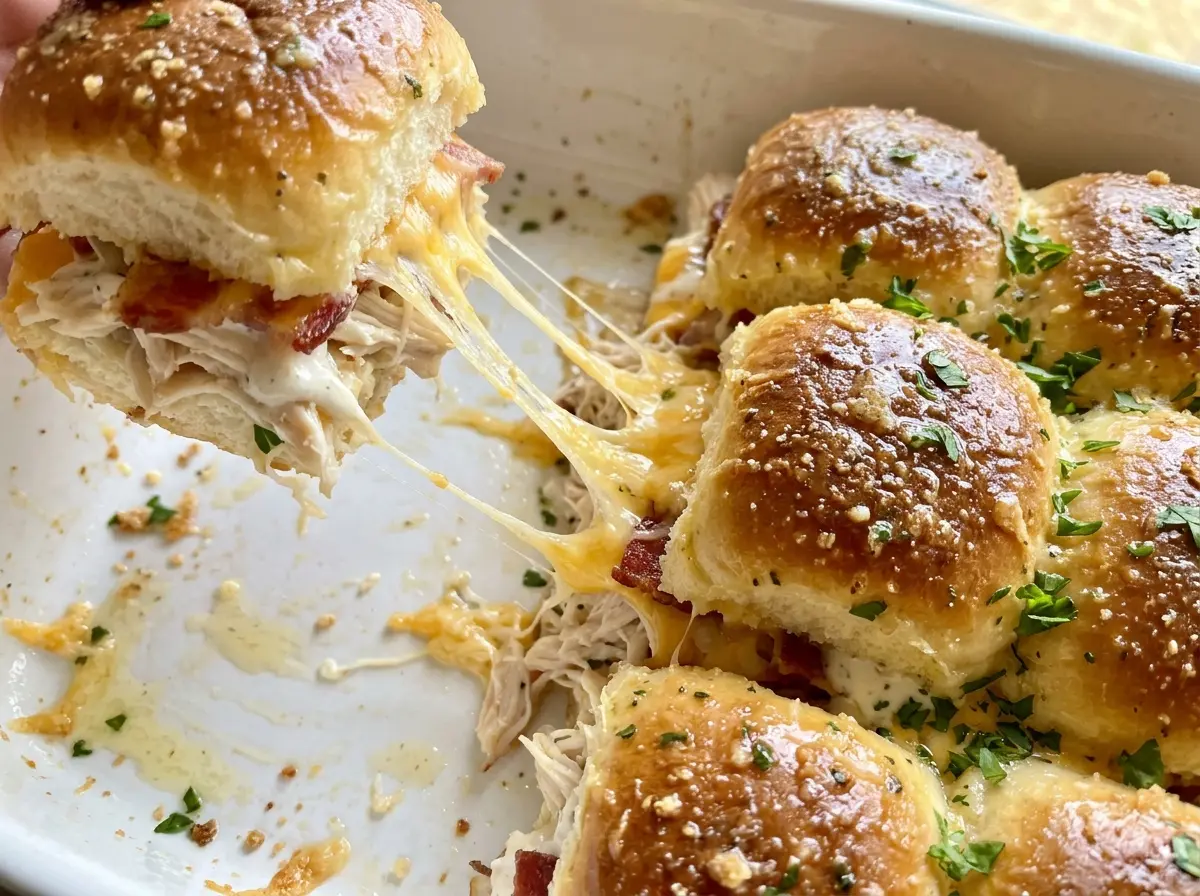
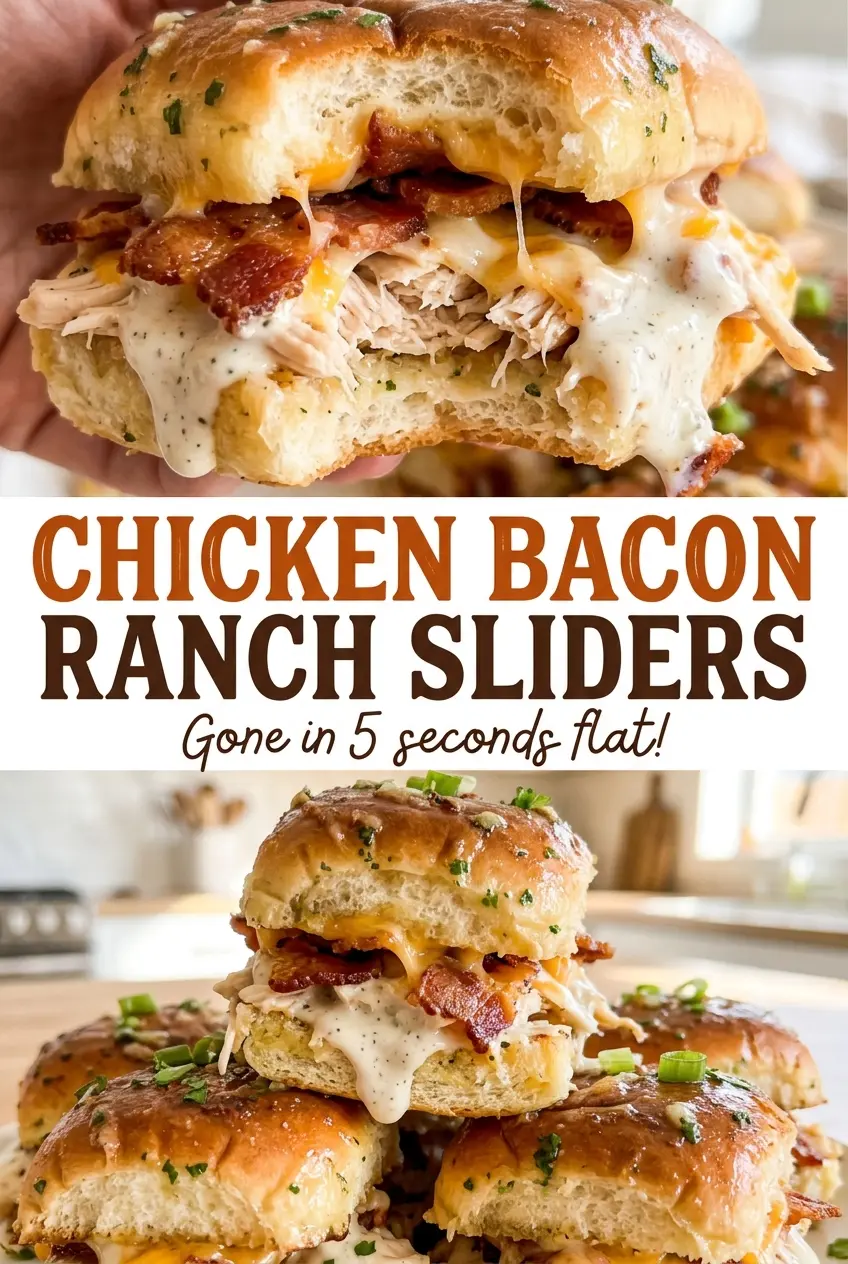
As the foil comes off, the tops turn golden and the cheddar starts bubbling at the edges of the dish. I like keeping the rolls connected while I build these Chicken Bacon Ranch Sliders; the whole slab is easier to handle, and each little sandwich gets an even layer of filling.
The chicken mixture is creamy, so I layer cheese underneath it as well as on top. That first layer sits between the ranch-coated chicken and the soft rolls, while the cheese above helps the filling come together as it melts.
A quick brush of garlic butter gives the tops a savory finish without adding another bowl of filling to manage. Let the sliders rest before cutting them apart, and you’ll have soft sweet rolls, a warm chicken-and-bacon center, and melted cheddar in every bite.
Kitchen Note
Give the pan the full five-minute rest before pulling the sliders apart. The filling settles and the melted cheese firms just enough to keep each sandwich together when you lift it.
Save these Chicken Bacon Ranch Sliders for a get-together or an easy dinner: buttery golden tops, melty cheddar, and a creamy ranch chicken filling.
Why the Chicken Needs a Cheese Layer on Both Sides
Ranch-coated chicken brings moisture to the filling, and Hawaiian rolls are soft enough to absorb it. Put the chicken directly on the bread and the bottom layer can turn damp before the cheese has a chance to melt. Starting with cheddar gives the filling a layer to sit on, rather than leaving the cut rolls in direct contact with the ranch mixture.
The second layer has a different job. As it melts over the chicken, it helps the filling hold together instead of shifting out when you separate the rolls. Keeping the cheddar in two distinct layers also gives you cheese throughout the sandwich, not just mixed into the chicken. Spread the filling from edge to edge in an even layer; a tall mound in the center is harder to warm through evenly and leaves the outer rolls underfilled.
Which Ingredients Make This Filling Creamy and Savory
- Hawaiian sweet rolls — Their soft texture and slight sweetness balance the salty bacon and ranch. Keeping the rolls joined makes the slab easy to fill and bake; if you need a substitute, use a connected slab of soft sweet dinner rolls so it can be handled the same way.
- Cooked, shredded chicken — Shredded pieces mix evenly with the dressing, unlike large chunks that can make the filling lumpy. Rotisserie chicken is convenient, and homemade cooked chicken works just as well; pull it into bite-size shreds before mixing.
- Ranch dressing — Prepared dressing supplies both the creamy coating and the seasoned ranch flavor. A thick dressing clings to the chicken better than a thin, pourable one. Blue cheese dressing can replace it for a sharper, tangier filling.
- Bacon and cheddar — Crumbled bacon distributes smoky, salty bites through the filling. Sharp cheddar gives the sliders a more pronounced cheese flavor, while Monterey Jack is a mild, smooth-melting alternative. Shred cheese from a block if you want it to melt more evenly; pre-shredded cheese is still convenient here.
- Butter, garlic powder, and dried parsley — Melted butter carries the garlic and parsley across the tops, so each roll gets some of the savory coating. Plant-based butter works for a dairy-free version; the dried parsley is easy to keep on hand and mixes directly into the melted butter.
Build the Sliders in Layers, Then Let the Tops Brown
Make a stable roll base
Heat the oven to 350°F and lightly coat a 9×13-inch baking dish with cooking spray. Keep the rolls connected as you slice the whole slab horizontally, then set the bottom half cut-side up in the dish. A level cut helps the top half sit evenly over the filling, so take a moment to keep the knife parallel to the board.
Mix and layer the chicken filling
Stir the shredded chicken, ranch dressing, and crumbled bacon together in a medium bowl until the chicken is coated. Sprinkle 1 cup of cheddar over the roll bottoms, then spread the chicken mixture evenly over that layer. Finish with the remaining 1 cup of cheese before setting the roll tops in place. If the filling is piled higher in the middle, flatten it gently so the center and edges bake at the same pace.
Brush on the garlic-butter topping
Stir the melted butter, garlic powder, and dried parsley together in a small bowl. Brush the mixture over the roll tops, covering the edges as well as the center. Brushing gives the tops an even coating; pouring it in one spot can leave some rolls bare and others overly buttery.
Bake covered, then uncover to brown
Cover the dish loosely with foil and bake for 15–18 minutes. Uncover and bake for another 8–10 minutes, until the cheese is melted, the tops are golden, and the center reaches 165°F. The foil keeps the tops from browning too quickly while the filling heats; if the cheese is still unmelted or the center hasn’t reached temperature, continue baking until both cues are there.
Three Easy Ways to Adapt Chicken Bacon Ranch Sliders
Use Pepper Jack for a little heat
Replace the cheddar with shredded Pepper Jack, keeping the same two-layer arrangement. It melts into the chicken much like cheddar but adds a gentle chile warmth and a less sharp cheese flavor.
Make a dairy-free batch
Use dairy-free sweet rolls, dairy-free ranch dressing, dairy-free cheddar shreds, and plant-based butter. The filling will still be creamy, though dairy-free cheese usually melts less smoothly and may not bind the layers as closely as cheddar.
Make the sliders gluten-free
Choose a connected slab of gluten-free sweet rolls and gluten-free ranch dressing; the chicken, bacon, cheese, and topping can stay the same. Gluten-free rolls tend to be more delicate, so support the slab from underneath as you move it into the baking dish.
Storage and Reheating
- Refrigerator: Refrigerate leftovers within 2 hours and keep them in an airtight container for 3–4 days. The rolls soften as they sit against the filling.
- Freezer: Freeze cooled sliders individually, wrapped well, for up to 2 months. Thaw them in the refrigerator overnight before reheating.
- Reheating: Warm them in a 350°F oven, loosely covered with foil, until hot in the center. Leaving them uncovered the whole time can dry out the tops before the filling warms through.
Questions I Get Asked About These Sliders
Chicken Bacon Ranch Sliders
Ingredients
Equipment
Method
- Preheat the oven to 350°F.
- Lightly coat a 9x13-inch baking dish with cooking spray.
- Keeping the rolls connected, slice the slab horizontally and place the bottom half cut-side up in the baking dish.
- In a medium bowl, stir together the chicken, ranch dressing, and bacon.
- Sprinkle 1 cup of cheese over the roll bottoms, spread the chicken mixture evenly on top, and sprinkle with the remaining 1 cup of cheese; place the roll tops over the filling.
- Stir the melted butter, garlic powder, and parsley together in a small bowl, then brush the mixture over the roll tops.
- Cover the dish loosely with foil and bake for 15–18 minutes, then uncover and bake for 8–10 minutes more, until the cheese is melted, the tops are golden, and the center reaches 165°F.
- Rest the sliders for 5 minutes.
- Cut the sliders apart and serve.