
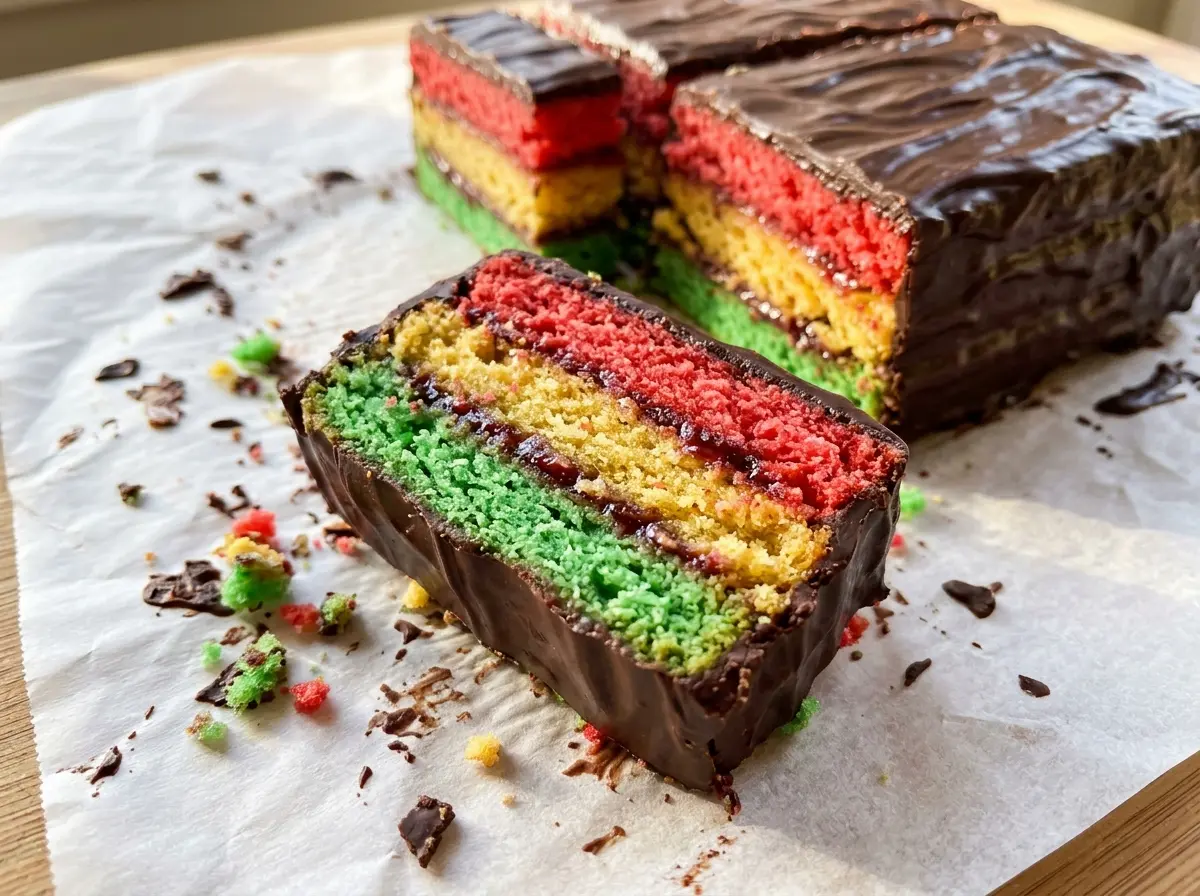
The edges of these thin layers start pulling away from the pans just as the tops set, and that short window is what keeps Italian Rainbow Cookies tender instead of dry. They bake in three separate pans, so each color gets its own delicate layer before apricot preserves and chocolate bring the stack together.
I like how the almond paste gives the layers a close, soft crumb rather than the airy texture of a sponge cake. The red and green layers frame a plain one, and a thin spread of warm preserves helps them hold together without overpowering the almond flavor.
There are a few small details that make a big difference: folding the egg whites gently, pressing the filled stack until it’s firm, and letting the chocolate set before flipping it. Take your time with those, and you’ll get neat, colorful rectangles with a tender almond center and a crisp chocolate finish.
Kitchen Note
Fold the egg whites in three additions, stopping when the batter looks even instead of continuing to stir. A few gentle folds keep the mixture light enough to spread without knocking out all the lift.
Save these Italian Rainbow Cookies for their soft almond layers, apricot filling, and chocolate coating—each colorful bar is worth the careful stack.
Why These Almond Layers Need to Be Level Before They Ever Hit the Oven
These aren’t tall cake layers that can hide a little unevenness under frosting. Each portion is spread into a thin layer, and all three bake in a short window. If one section is much thicker than the rest, the thin edges can dry out before the center of that section sets.
Give each pan a quick look from the side as you spread the batter. Aim for an even layer that reaches the corners, without leaving a mound in the middle or a skimpy edge. You don’t need to fuss over a perfectly polished surface; you’re looking for consistent thickness so the layers bake at the same pace.
This matters again when the cookies are stacked. A level layer sits neatly over the preserves, giving the finished slab even stripes and making it easier to cut consistent rectangles. If a corner is a little ragged, trim the assembled slab before cutting the bars; that small offcut is the cook’s sample.
What Almond Paste Gives These Cookies That Almond Flour Can’t
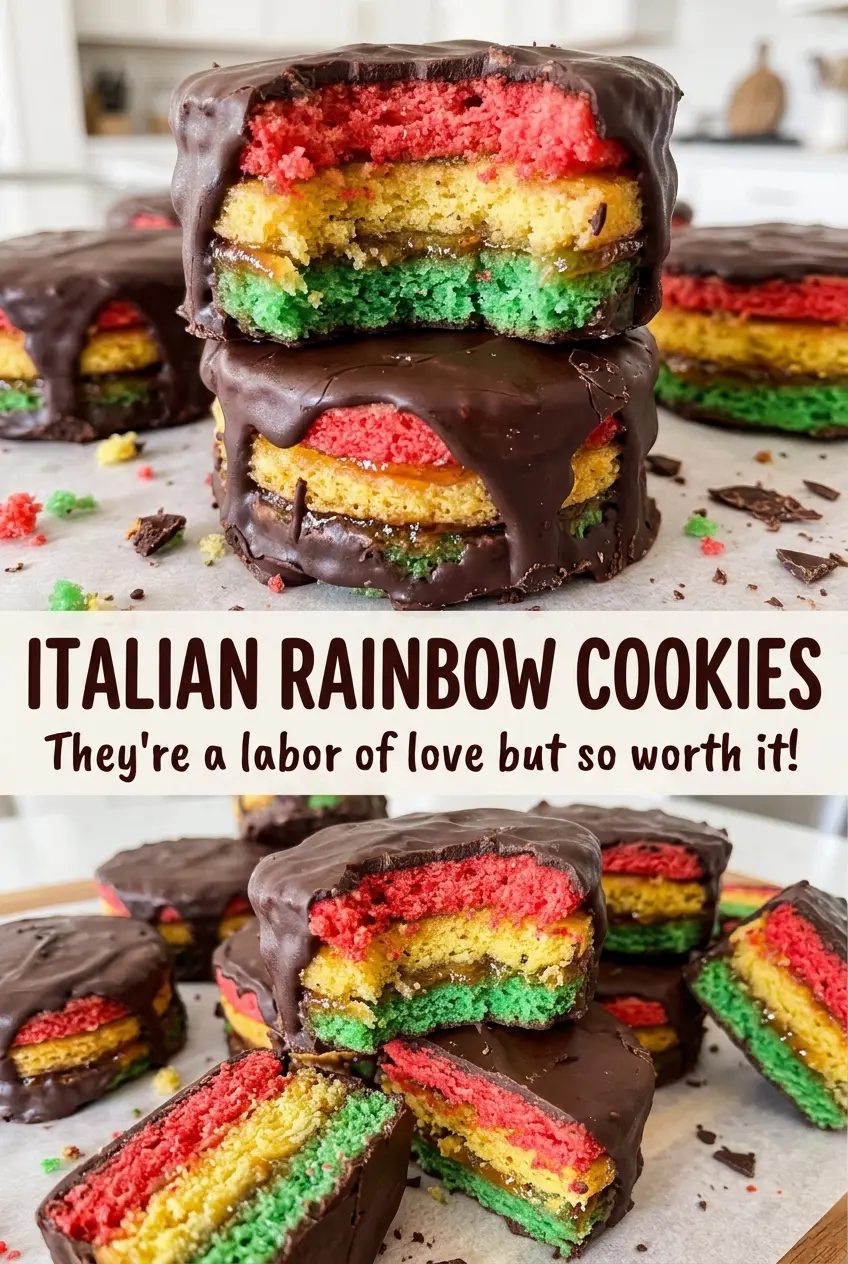
- Almond paste — This is the defining ingredient in the layers, bringing almond flavor along with the sugar and moisture needed for their tender, compact crumb. Almond flour isn’t a direct replacement; it lacks the same sweet, pliable texture. Check the package carefully so you’re buying almond paste, not marzipan, which is sweeter and firmer.
- Eggs, separated — The yolks enrich the almond batter, while the whites are beaten separately to add lift. Separate them cleanly; even a little yolk in the whites can make it harder to beat them to stiff peaks.
- Unsalted butter and all-purpose flour — Softened butter blends smoothly into the almond paste mixture, and all-purpose flour gives the layers enough structure to stack and slice. A standard all-purpose flour is fine here; the butter should be soft enough to blend, not melted.
- Apricot preserves — Warming the preserves makes them loose enough to spread in a thin, even coat between the layers. A smooth preserve spreads most cleanly; chunky fruit can catch and tug at the delicate cake as you spread it.
- Semisweet chocolate and vegetable oil — Finely chopped chocolate melts evenly, while the oil loosens it enough to coat the slab smoothly. Semisweet gives a balanced contrast to the sweet almond layers and preserves, so choose a chocolate you like eating on its own.
- Red and green food coloring — The colors distinguish the outside layers around the plain center. Use the amounts in the ingredient list as a starting point and mix each color into its own portion until the tint looks even.
The Three Colors Are Easy; Keeping Every Layer Tender Is the Work
Make a smooth almond batter, then fold carefully
Heat the oven to 350°F and prepare three 9×13-inch metal pans with cooking spray and parchment on the bottoms, then lightly spray the parchment. Beat the almond paste and sugar on low until finely crumbled, then add the softened butter and beat on medium-high until smooth and fluffy, about 2–3 minutes. Beat in the yolks one at a time, then mix in the flour and salt on low just until no dry streaks remain. Beat the whites to stiff peaks in a clean bowl and fold them into the batter in three additions.
Tint and bake the thin layers
Divide the batter evenly among three bowls; tint one red, one green, and leave the third plain. Spread each portion evenly in its prepared pan, working it into the corners without making a thick center. Set two pans side by side on the lower oven rack and the third centered on the rack above. Bake for 10–12 minutes, switching one pan between racks and rotating the pans front to back halfway through; take them out when the tops are set and the edges just begin to pull away from the pans.
Stack the layers while the preserves are spreadable
Let the layers cool in their pans for 10 minutes, then lift them out by the parchment and cool completely on wire racks. Warm the apricot preserves in a small saucepan over low heat for 1–2 minutes, stirring until loose and spreadable. Put the green layer on a parchment-lined 13×18-inch rimmed baking sheet, spread it with half the preserves, add the plain layer and the remaining preserves, then finish with the red layer. Cover with parchment, set a clean 9×13-inch pan on top, and weigh it with two unopened cans; refrigerate at least 4 hours or overnight, until firm.
Coat both sides, then let the chocolate set
Microwave the finely chopped chocolate with the vegetable oil in a heatproof bowl in 30-second bursts, stirring after each, until smooth; divide it in half. Spread half over the top layer and refrigerate for 15–20 minutes, until set. Cover the chocolate with parchment, place a second parchment-lined rimmed baking sheet on top, and carefully invert the slab. Peel away the original bottom parchment, spread the remaining chocolate over the exposed layer, and refrigerate for 20–30 minutes, until firm.
Cut clean rectangles without dragging the coating
Let the slab stand at room temperature for 10 minutes before trimming the edges. Use a sharp knife to cut it into 48 rectangles, warming and wiping the blade as needed. If the chocolate starts to drag rather than slice cleanly, pause and clean the blade before continuing. A steady cut gives you crisp stripes instead of smudged layers.
Swaps That Change the Flavor Without Losing the Striped Layers
Use raspberry preserves for a brighter filling
Replace the apricot preserves with raspberry preserves, warming them the same way before spreading. The sharper berry flavor makes the almond layers taste a little less sweet, while the red filling adds another note of fruit beneath the chocolate.
Make a gluten-free batch with a 1:1 baking blend
Replace the all-purpose flour with a measure-for-measure gluten-free baking blend that includes xanthan gum. The almond layers may be a little more delicate when you lift and stack them, so let them cool fully in their pans before handling.
Choose bittersweet chocolate for a less-sweet finish
Swap the semisweet chocolate for bittersweet chocolate and keep the vegetable oil in the coating. The darker chocolate makes the top and bottom more pronounced against the sweet layers; finely chop it so it melts evenly in the microwave.
Storage and Reheating
- Refrigerator: Store the cut cookies in an airtight container for up to 1 week. The chocolate and layers will be firm when cold; let them stand at room temperature for about 10 minutes before serving.
- Freezer: Freeze the finished cookies in an airtight container with parchment between layers for up to 2 months. Thaw them in the refrigerator before serving.
- Reheating: These cookies don’t need reheating. Avoid the microwave, which can soften or melt the chocolate coating; let chilled cookies come to room temperature instead.
Questions That Come Up While Making Italian Rainbow Cookies
Italian Rainbow Cookies
Ingredients
Equipment
Method
- Heat the oven to 350°F.
- Coat three 9x13-inch metal baking pans with the cooking spray, line the bottoms with parchment paper, and lightly spray the parchment.
- In a stand mixer fitted with the paddle attachment, beat the almond paste and sugar on low until finely crumbled.
- Add the butter and beat on medium-high until smooth and fluffy, 2–3 minutes.
- Beat in the egg yolks one at a time.
- Mix in the flour and salt on low just until no dry streaks remain.
- In a clean mixer bowl with the whisk attachment, beat the egg whites until stiff peaks form.
- Fold the egg whites into the batter in three additions.
- Divide the batter evenly among three bowls; tint one portion red, one green, and leave the third plain.
- Spread each portion evenly in a prepared pan.
- Set two pans side by side on the lower oven rack and the third centered on the rack above.
- Bake for 10–12 minutes, switching one pan between racks and rotating the pans front to back halfway through, until the tops are set and the edges are just beginning to pull away from the pans.
- Cool the layers in their pans for 10 minutes.
- Lift them out by the parchment and cool completely on wire racks.
- Warm the preserves in a small saucepan over low heat for 1–2 minutes, stirring until loose and spreadable.
- Place the green layer on a parchment-lined 13x18-inch rimmed baking sheet and spread with half the preserves.
- Top with the plain layer and spread with the remaining preserves.
- Add the red layer.
- Cover the stack with parchment, set a clean 9x13-inch pan on top, and weigh it with two unopened cans.
- Refrigerate for at least 4 hours or overnight, until firm.
- Microwave the chocolate and vegetable oil in a heatproof bowl in 30-second bursts, stirring after each, until smooth.
- Divide the chocolate in half.
- Spread half the chocolate evenly over the top layer.
- Refrigerate for 15–20 minutes, until set.
- Cover the chocolate with parchment, place a second parchment-lined rimmed baking sheet on top, and carefully invert.
- Peel off the original bottom parchment and spread the remaining chocolate over the exposed layer.
- Refrigerate for 20–30 minutes, until firm.
- Let the slab stand at room temperature for 10 minutes.
- Trim the edges and cut into 48 rectangles with a sharp knife, warming and wiping the blade as needed.


