
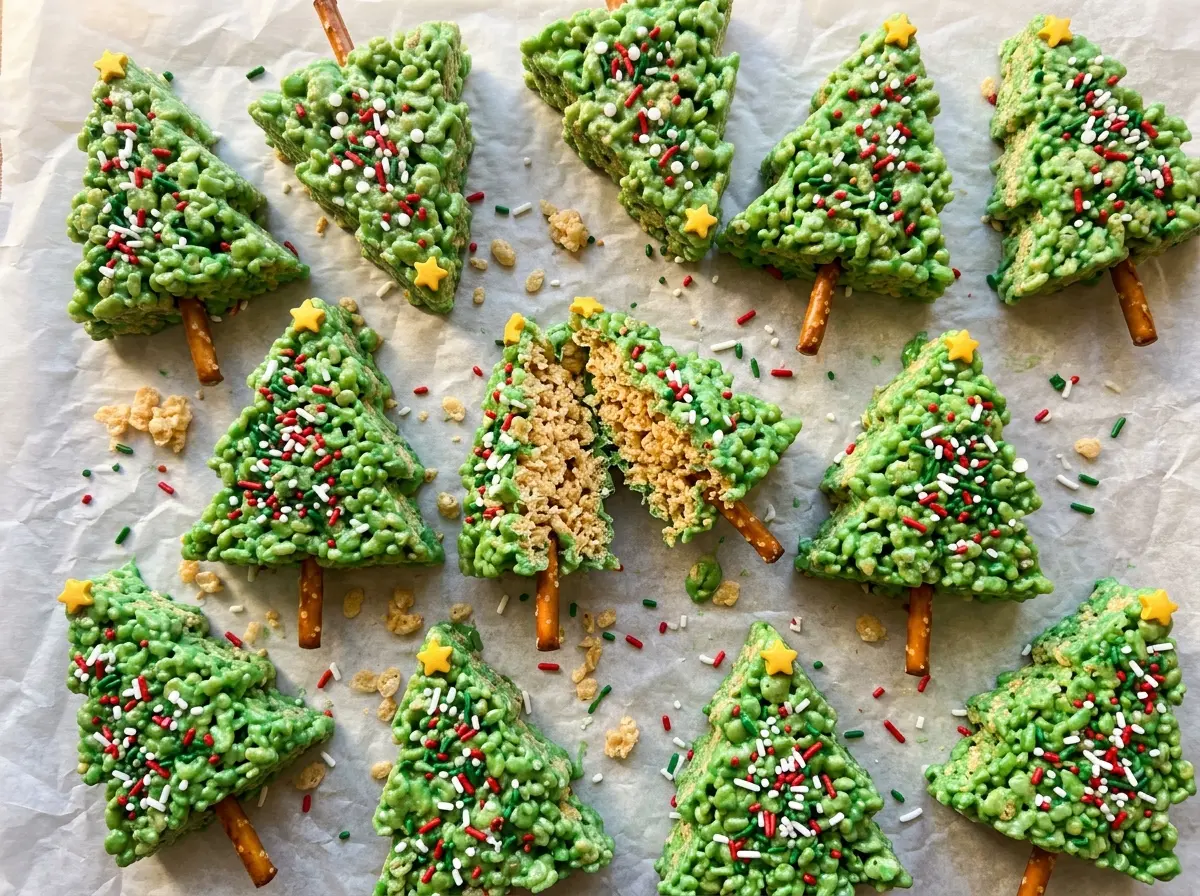
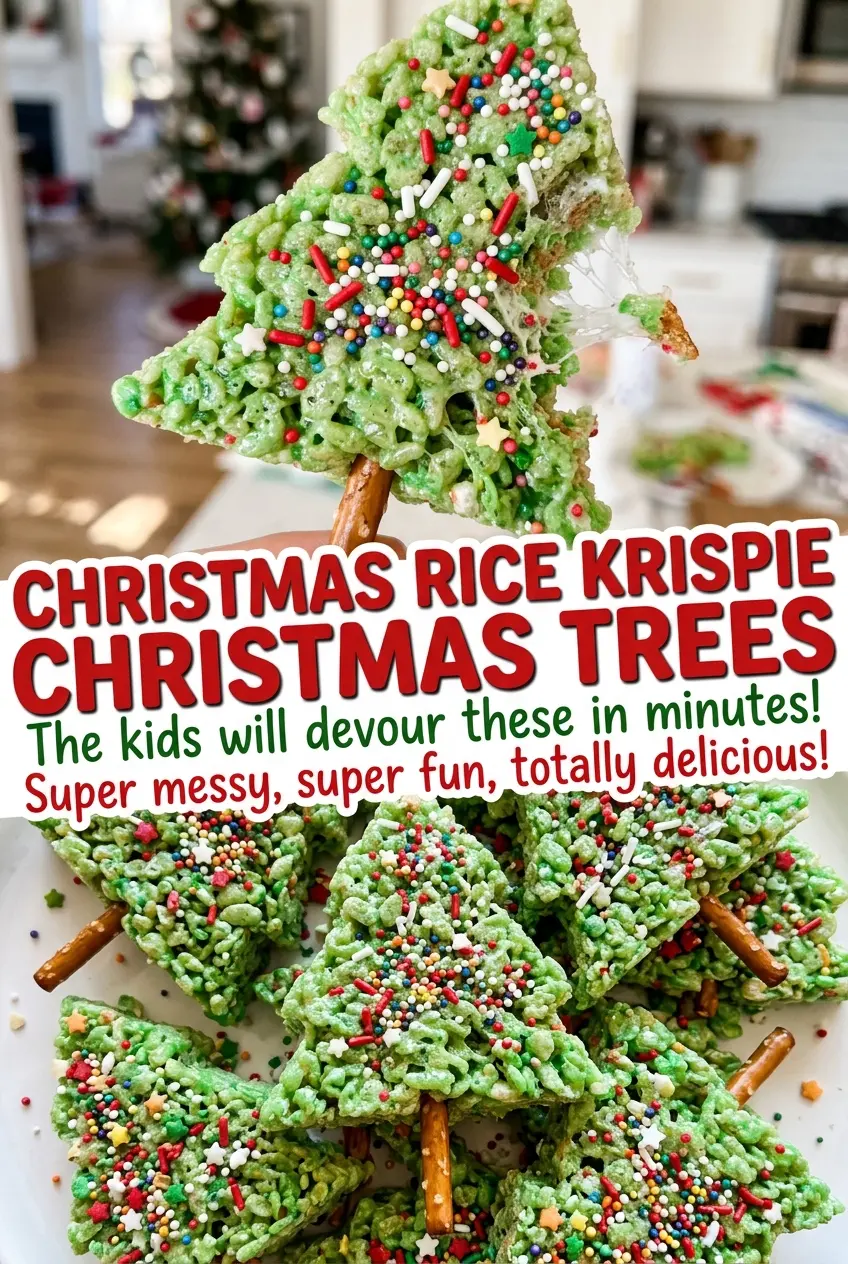
The first tree out of the pan tells you whether the treats are going to cut cleanly or crumble at the edges. With a little patience, that slab becomes a dozen Christmas Rice Krispie Christmas Trees with crisp cereal in every bite and a white chocolate drizzle that makes them look ready for a cookie plate. I like that the decorating happens after the shapes are cut, so each tree gets its own finish instead of a pan-wide layer of topping.
These are familiar marshmallow cereal treats in a festive shape, but the cutter changes how you handle the mixture. It needs to hold together without being pressed into a dense block, and the parchment overhang makes the cooled slab easy to lift and work with. The green color goes in before the cereal, which helps tint the mixture evenly without extra stirring once the cereal is added. The finished trees are chewy, crisp, and just sweet enough under that white chocolate.
Kitchen Note
White chocolate can scorch before it looks melted, so I keep the microwave at 50% power and stir every 20 seconds. Take it out when the last little pieces melt as you stir; it should look smooth and glossy, not hot or bubbling.
Save these Christmas Rice Krispie Christmas Trees for a cheerful holiday treat: green cereal trees, white chocolate drizzle, and a crisp little crunch.
Why Pressing the Slab Too Firmly Makes Ragged Trees
A tree-shaped cutter puts pressure on the cereal mixture from every side. If you press the slab down hard to make it look perfectly compact, the marshmallow binds the cereal into a dense layer that’s tougher to cut and less pleasant to bite. The treats should hold together, but they shouldn’t feel compressed.
Instead, spread the mixture into an even layer and press only enough to fill the pan. A level surface matters more than a tightly packed one: it gives the cutter a consistent depth to work through, so the trees don’t come out with thin tips and bulky bottoms. If the surface has a few small ridges, smooth those gently with the spatula rather than leaning your weight into it. That light touch is what keeps the centers airy and the tree edges neat.
The cooled slab also gives you a cleaner cut than trying to shape warm cereal mixture by hand. Let it become firm before lifting it from the pan, then use the cutter straight down rather than twisting it. A twist can tug at the cereal and leave a rough outline where the cutter turns.
What Gives These Trees Their Chew, Color, and Finish
- Mini marshmallows — They melt quickly and coat the cereal in the sticky binder that holds the trees together. Use a fresh bag; marshmallows that have dried out can take longer to melt and make the mixture less supple. Large marshmallows can work in the same weight, but cut them into smaller pieces so they melt more evenly.
- Unsalted butter — Butter adds richness and keeps the marshmallow mixture from tasting one-note sweet. Regular grocery-store butter works well here; unsalted butter lets the measured kosher salt keep the balance consistent. For a dairy-free batch, use stick-style dairy-free butter, not a soft tub spread.
- Crispy rice cereal — The light, crisp texture is what keeps each bite from turning into a solid marshmallow chew. A standard grocery-store cereal is fine; freshness matters more than brand because cereal that has gone stale won’t give you that crisp snap.
- Green gel food coloring — Gel gives the mixture a concentrated green without adding much liquid. If you switch to liquid coloring, add it gradually because the color may be less vivid and too much liquid can soften the treats.
- Vanilla and kosher salt — Vanilla rounds out the marshmallow sweetness, while salt keeps it from tasting flat. Pure vanilla is lovely, but a standard vanilla extract works just fine; there isn’t a direct swap for the salt that gives the same balance.
- White chocolate chips and holiday sprinkles — The chips make a quick drizzle, and the sprinkles add color and crunch on top. A familiar grocery-store brand is perfectly suitable. If you need a dairy-free finish, choose dairy-free white chocolate chips and pair them with dairy-free marshmallows.
From Melted Marshmallows to Clean-Cut Trees
Set Up the Pan and Cutter
Line a 9×13-inch pan with parchment, leaving enough overhang to lift the slab out later. Coat the parchment, a large heatproof spatula, and a 3-inch tree-shaped cookie cutter with cooking spray. This prep is worth doing before you melt anything; once the cereal goes in, the mixture gets sticky quickly. Keep the greased cutter nearby so you’re not searching for it while the slab cools.
Melt the Butter and Marshmallows Slowly
Melt the butter in a large pot over low heat, then add the mini marshmallows. Stir for 4 to 6 minutes, keeping the heat low until the marshmallows are completely melted and the mixture looks smooth. If you turn up the heat to speed things along, the marshmallows can scorch on the bottom before the rest has melted. Take the pot off the heat once there are no lumps left.
Color the Binder Before Adding Cereal
Stir the vanilla, kosher salt, and green gel food coloring into the melted marshmallow mixture off the heat. Work the color in until it looks even, with no concentrated streaks before you add the cereal. Fold in the crispy rice cereal until the pieces are coated throughout. Use a folding motion rather than stirring hard, which can crush the cereal and flatten its crisp texture.
Cool the Slab, Then Cut the Trees
Transfer the mixture to the prepared pan and spread it into an even layer without packing it tightly. Leave it at room temperature for 30 to 45 minutes, until firm enough to lift and cut. Use the parchment overhang to raise the slab from the pan, then cut out 12 trees with the greased cutter. Press straight down for each shape so the tips and branches keep their outline.
Drizzle and Let the Topping Set
Put the white chocolate chips in a microwave-safe bowl and heat them at 50% power in 20-second intervals, stirring after each interval. Stop once the chocolate is smooth. Drizzle it over the trees and add the holiday sprinkles right away, while the chocolate is still soft enough to catch them. Let the topping set before serving or stacking the treats.
Three Ways to Change the Shape, Color, or Ingredients
Cut Them Into Squares Instead
Skip the tree cutter and cut the cooled slab into squares with a knife. You’ll avoid the leftover outlines between shapes and get even, easy-to-portion pieces; keep the white chocolate and sprinkles for the same festive finish.
Leave Out the Green Coloring
Omit the green gel food coloring for pale, vanilla-colored trees. The cereal treats keep the same chewy-crisp texture, while the white chocolate and holiday sprinkles still give each cutout a decorated look.
Make a Dairy-Free Batch
Replace the butter with stick-style dairy-free butter, and use dairy-free marshmallows and dairy-free white chocolate chips. The treats may have a slightly different buttery note, but the marshmallow binder still holds the cereal together and the trees keep their shape.
Storage and Reheating
- Room temperature: Keep the trees in an airtight container for up to 3 days. They’ll gradually lose some of their crispness.
- Freezer: Freeze undecorated trees in an airtight container with parchment between layers for up to 6 weeks. Thaw them while still wrapped at room temperature, then add the chocolate and sprinkles.
- Reheating: These are best served at room temperature and don’t need reheating. Microwaving can make the marshmallow sticky and the cereal less crisp.
Questions That Come Up When Making Cereal Treat Trees
Christmas Rice Krispie Christmas Trees
Ingredients
Equipment
Method
- Line a 9x13-inch pan with parchment paper, leaving an overhang.
- Coat the parchment, a large heatproof spatula, and a 3-inch tree-shaped cookie cutter with cooking spray.
- Melt the butter in a large pot over low heat.
- Add the marshmallows and stir for 4 to 6 minutes until completely melted and smooth.
- Take the pot off the heat and stir in the vanilla, salt, and food coloring.
- Fold in the cereal until evenly coated.
- Press the mixture into the prepared pan in an even layer without packing it tightly.
- Let it cool at room temperature for 30 to 45 minutes until firm.
- Lift the slab out using the parchment overhang and cut out 12 trees with the greased cookie cutter.
- Put the white chocolate chips in a microwave-safe bowl and microwave at 50% power in 20-second intervals, stirring each time, until smooth.
- Drizzle the melted chocolate over the trees and immediately add the sprinkles.
- Let the chocolate set before serving.


