
The first thing I watch for is the butter: it should stay in little cold pieces while I work it into the flour, not disappear into a smooth paste. Those pieces help make a crust that bakes up tender and flaky instead of tough. For this classic apple pie, I keep the dough simple, then let firm baking apples bring their own balance of tartness and sweetness.
I start with the smaller amount of ice water and add only enough for the dough to hold together when squeezed. That keeps the crust from getting sticky, which makes it easier to roll and crimp after its rest in the refrigerator. A mix of Granny Smith and Honeycrisp gives the filling a pleasant balance, while the cinnamon, nutmeg, and lemon juice keep the apples bright beneath the top crust.
The pie comes out of the oven with golden pastry and bubbling apple juices at the vents. Give it time to cool before slicing; the filling needs that rest to settle into neat, generous wedges.
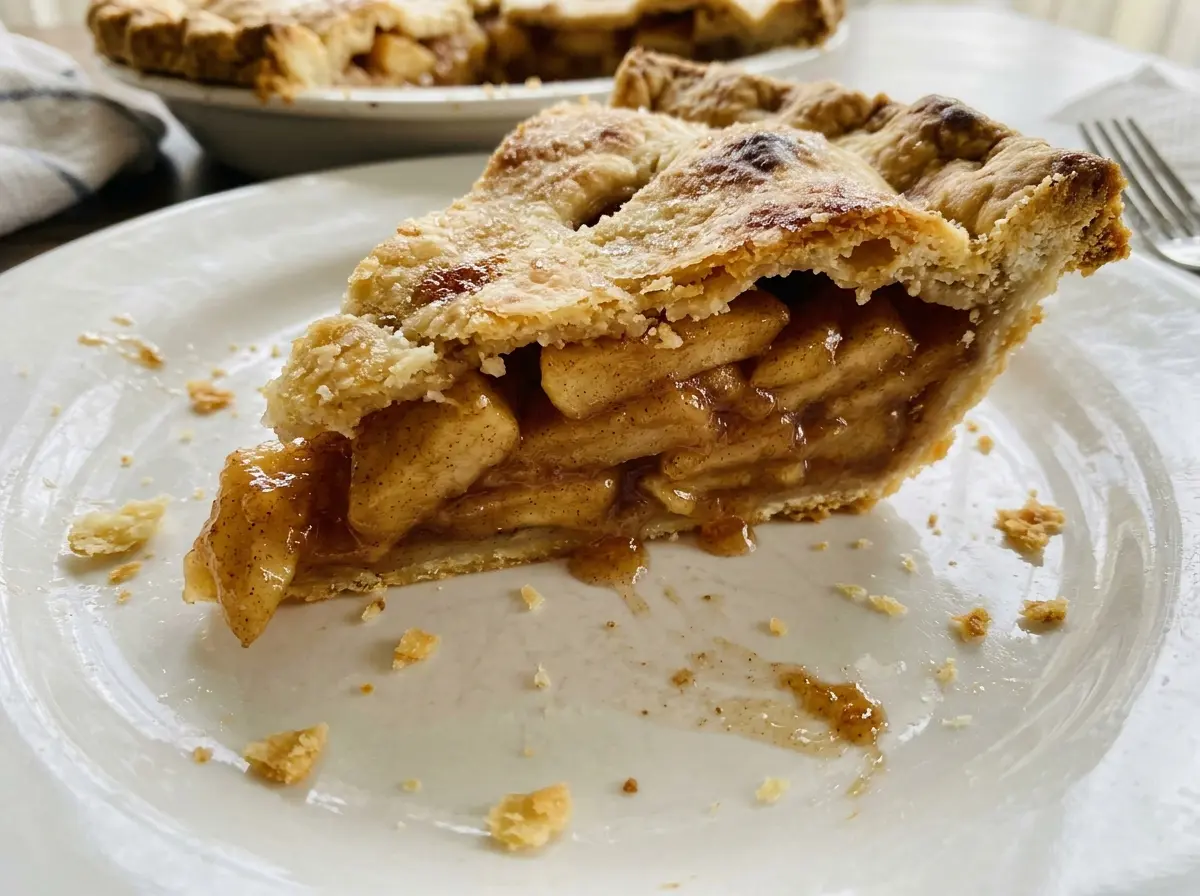
Kitchen Note
I give this pie the full three hours on the rack before cutting it. The filling is still settling while it cools, and slicing early is the easiest way to end up with loose apples and juices running across the plate.
Save this classic apple pie for a golden, flaky crust wrapped around cinnamon-scented apples and a bubbling, gently spiced filling.
Why This Pie Uses Two Oven Temperatures
Apple pie has two jobs happening at once: the crust needs to bake through, and the apples need time to soften and release their juices. Beginning at a higher temperature gives the pastry an early burst of heat. Then lowering the oven lets the filling continue cooking without asking the crust to stay at that initial heat for the entire bake.
The rack position matters, too. I set the pie in the lower third of the oven so the bottom crust gets a better chance to bake through beneath the fruit. A rimmed baking sheet catches any bubbling juices, which saves the oven floor from sticky drips. Keep an eye on the crust edges as the pie finishes; if they’re browning faster than the center, a loose foil cover protects them while the filling catches up.
Look for a golden top and apple filling bubbling through the vents rather than relying on color alone. The bubbling is a useful sign that the fruit and its thickener have heated through. Once the pie is out, the cooling time does the final bit of work: the juices settle instead of spilling as soon as the first slice is lifted.
How Apples, Flour, and Cold Butter Shape This Pie
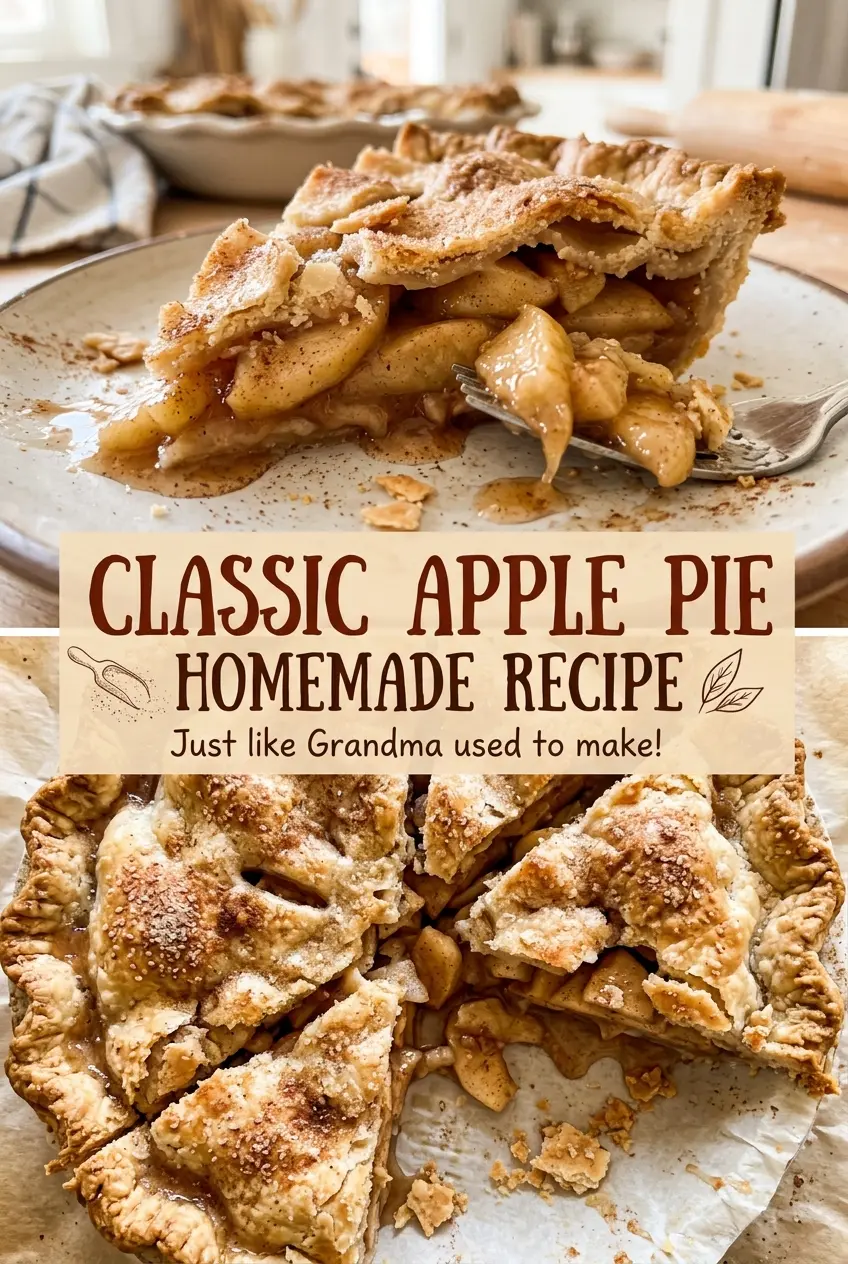
- Firm baking apples — Granny Smith and Honeycrisp are reliable choices because they hold their shape as they bake. A blend gives the filling a balance of tart and sweet; choose apples that feel firm, not soft or mealy. Peel, core, and slice them evenly so they cook at a similar pace.
- All-purpose flour — It serves two different purposes here: it helps form the pastry and thickens the juices released by the apples. Keep the flour for the filling evenly distributed over the fruit so you don’t get pockets of dry thickener. The same kind of flour works in both parts of the pie.
- Cold unsalted butter — For the crust, cold butter cut into small pieces creates the texture that makes the pastry tender. For the filling, little pieces of butter dot the apples beneath the top crust. Unsalted butter lets the measured kosher salt do the seasoning.
- Lemon juice and warm spices — Lemon juice brightens the apples, while cinnamon and a small amount of nutmeg give the filling its familiar warmth. Freshly opened spices smell more vivid, but there’s no need for a specialty brand.
- Egg and coarse sugar — The egg beaten with water brushes over the top crust to encourage an even golden finish. Coarse sugar adds a little sparkle and crunch; it belongs on the egg-washed pastry, not mixed into the apples.
Building the Pie Without Tough Pastry or Leaky Edges
Keep the Butter in Pea-Size Pieces
Whisk the flour, kosher salt, and granulated sugar in a large bowl, then cut in the cold butter with a pastry blender or your fingertips. Stop when the largest butter pieces are about pea-size; don’t work the mixture until it looks like fine crumbs. Sprinkle in six tablespoons of ice water and toss gently, adding more one tablespoon at a time only until a squeezed handful holds together. Divide the dough, shape each half into a disk, wrap, and refrigerate for at least an hour.
Roll and Chill the Bottom Crust
On a lightly floured counter, roll one disk into a 12-inch circle and fit it into a 9-inch pie plate. Trim the edge to a 1-inch overhang, then return the crust and the remaining dough disk to the refrigerator while you prepare the apples. If the dough gets soft or sticky as you roll, a short rest in the refrigerator makes it easier to handle. Keep the counter lightly floured so the circle doesn’t cling when you lift it.
Coat the Apples and Build the Center
Toss the peeled, cored, quarter-inch apple slices with the sugar, flour, cinnamon, kosher salt, nutmeg, and lemon juice in a large bowl. Turn the slices until the coating looks even, with no visible clumps of flour. Spoon the mixture into the chilled bottom crust and mound it slightly in the center, then scatter the small butter pieces over the apples. That centered mound gives the fruit room to settle as it softens.
Seal, Vent, and Bake Until Bubbling
Roll the remaining dough disk into a 12-inch circle and lay it over the apples. Trim both crusts to a 1-inch overhang, fold the edges, and crimp them together to seal; a loose edge can let juices escape. Beat the egg with the water, brush it over the top, sprinkle with coarse sugar, and cut several vents. Bake on a rimmed baking sheet in the lower third of a 425°F oven for 20 minutes, then reduce the heat to 375°F and bake 35 to 45 minutes more, covering the edges loosely with foil if they brown too quickly; the top should be golden and the filling should bubble through the vents.
Two Apple Choices for a Different Kind of Filling
A Brighter, Tart-Forward Pie
Use Granny Smith apples for the full apple amount instead of blending varieties. Their tartness gives the cinnamon-spiced filling a sharper edge, while the firm slices hold their shape in the crust.
A Milder, Sweeter Apple Filling
Choose Honeycrisp for the full amount of apples if you’d like the fruit to taste sweeter and less tart. Keep the rest of the filling ingredients the same so the flour still thickens the juices and the lemon juice keeps the flavor lively.
Storage and Reheating
- Refrigerator: Cover the cooled pie and refrigerate it for up to 4 days. The crust gradually softens as it sits.
- Freezer: Wrap the completely cooled pie tightly and freeze for up to 2 months. Thaw it overnight in the refrigerator before reheating.
- Reheating: Warm slices in a 350°F oven until heated through. The oven brings back more crispness than the microwave, which softens the pastry.
Questions That Come Up While Baking Apple Pie
Classic Apple Pie – Homemade Recipe
Ingredients
Equipment
Method
- In a large bowl, whisk together the flour, salt, and sugar.
- Cut in the cold butter with a pastry blender or your fingertips until the largest pieces are pea-size.
- Sprinkle 6 tablespoons ice water over the mixture and toss gently.
- Add more water 1 tablespoon at a time until the dough holds together when squeezed.
- Divide the dough in half and shape each half into a disk.
- Wrap the disks and refrigerate for at least 1 hour.
- On a lightly floured counter, roll one disk into a 12-inch circle.
- Fit the dough into a 9-inch pie plate and trim the edge to a 1-inch overhang.
- Refrigerate the crust and remaining disk while you make the filling.
- In a large bowl, toss the apples with the sugar, flour, cinnamon, salt, nutmeg, and lemon juice until evenly coated.
- Heat the oven to 425°F and position a rack in the lower third.
- Spoon the apple mixture into the chilled crust, mounding it slightly in the center.
- Dot the filling with the butter.
- Roll the remaining dough disk into a 12-inch circle and lay it over the apples.
- Trim both crusts to a 1-inch overhang, then fold and crimp the edges to seal.
- Beat the egg with the water.
- Brush the egg mixture over the top crust and sprinkle with coarse sugar.
- Cut several vents in the crust.
- Set the pie on a rimmed baking sheet and bake at 425°F for 20 minutes.
- Reduce the oven to 375°F and bake for 35 to 45 minutes more, covering the edges loosely with foil if they brown too quickly, until the crust is golden and the filling bubbles through the vents.
- Cool the pie on a wire rack for at least 3 hours before slicing.


