
The mixer starts with a soft, foamy swirl, then the whites turn glossy enough to hold a sharp peak. That change is the part I watch most closely when I make holiday meringue kisses; rushing the sugar or stopping before it dissolves can leave the finished cookies gritty instead of crisp.
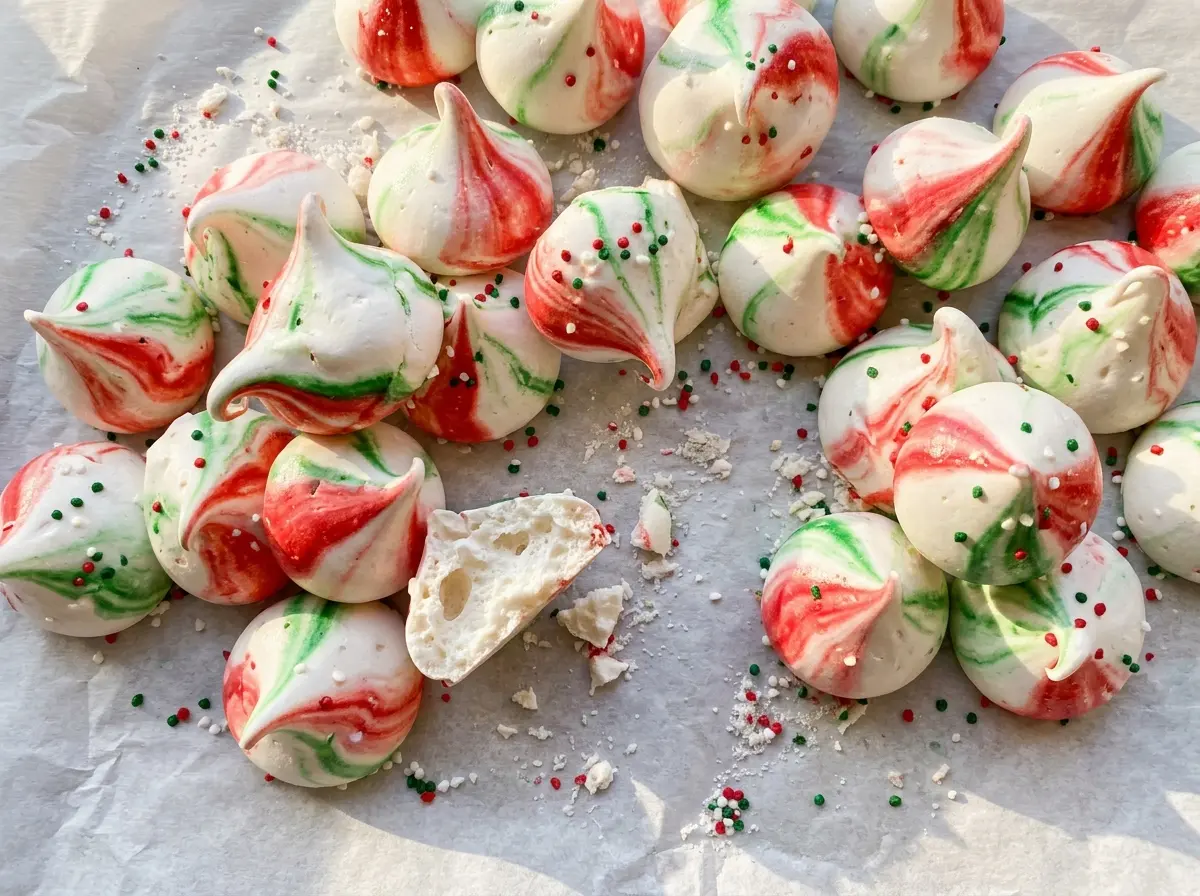
These little piped kisses get their red-and-green stripes from gel food coloring brushed inside the piping bag, not mixed through the meringue. The color stays in ribbons as you pipe, so each kiss comes out a little different without muddying the white base.
Low, steady heat dries them rather than browning them, and a quiet rest in the turned-off oven finishes the job. Once they lift cleanly from the parchment and cool completely, they’re light, crisp bites with a clean snap.
Kitchen Note
After the bake, keep the oven door closed for the full drying hour. That gentle finish helps the kisses dry through without a sudden change in temperature.
Save these holiday meringue kisses for a crisp, colorful cookie tray—the striped piping makes every batch look festive.
Why a Glossy Meringue Can Still Turn Gritty
A stiff peak tells you the whites have enough structure to hold their shape, but it doesn’t tell you whether the sugar has dissolved. That’s why I don’t stop at the visual cue. The finished meringue should feel smooth when you rub a small dab between your fingers; any sandy grains are a sign it needs more beating.
Adding the sugar a tablespoon at a time gives each addition a chance to blend into the whipped whites. Dumping it in all at once can leave undissolved crystals behind, even after the meringue looks thick. Those crystals affect the texture of the baked kisses, so the slow addition is worth the few extra minutes.
Keep the mixer running as you add the sugar, then give the mixture the full beating time it needs to become glossy and very stiff. The two checks work together: a firm peak helps the piped shape hold, while a smooth feel confirms the sugar has dissolved. Neither cue is a substitute for the other.
What Gives These Kisses Their Structure and Their Stripes
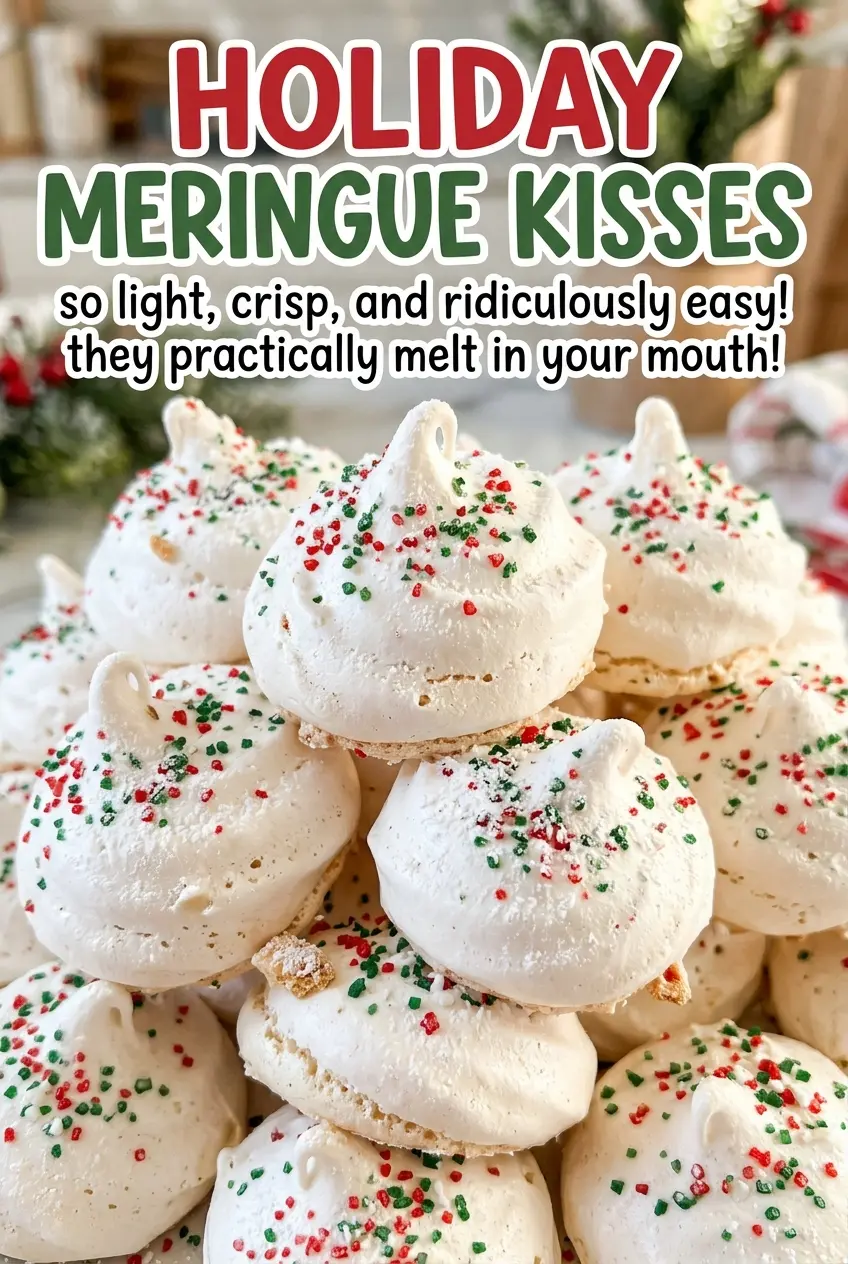
- Egg whites — Room-temperature whites whip into a generous foam and give the kisses their airy structure. Start with a clean, dry bowl; even a greasy film can keep the whites from building volume. There isn’t a simple substitute that produces the same meringue.
- Cream of tartar — This helps stabilize the whipped whites as they move from foamy to firm peaks. Keep it in the mix rather than relying on extra beating to create stability; there’s no exact replacement among the other ingredients here.
- Granulated sugar — Sugar sweetens and supports the crisp shell, but it needs time to dissolve. Keep the granulated sugar for this texture; changing its form changes how it incorporates into the whites.
- Vanilla extract — Vanilla gives the plain meringue a soft, rounded aroma. It goes in after the sugar is beaten smooth, so it doesn’t interrupt the gradual whipping and dissolving stage.
- Red and green gel food coloring — Gel coloring gives strong stripes without watering down the meringue. Its concentrated color works well with the small amount used here; the most straightforward color change is to use just one of the two gels or leave both out.
From Soft Peaks to Dry, Cleanly Lifted Kisses
Build a stable foam before adding sugar
Heat the oven to 200°F, set the racks in the upper and lower thirds, and line two 18×13-inch rimmed baking sheets with parchment paper. In a clean, dry mixing bowl, beat the room-temperature egg whites with the cream of tartar and salt on medium until foamy. Increase the speed to medium-high and continue until soft peaks form. Starting the sugar before the whites reach that stage makes it harder to build an even, stable meringue.
Beat until the meringue is smooth and very stiff
With the mixer running, add the sugar one tablespoon at a time. Continue beating for 5 to 7 minutes, until the meringue looks glossy and holds very stiff peaks. Rub a little between your fingers to check that the sugar has dissolved; if it still feels gritty, keep beating before adding the vanilla. Once smooth, beat in the vanilla extract.
Paint the bag, then pipe the kisses
Fit a piping bag with a 1/2-inch star tip, then use a small, clean brush to paint narrow red and green stripes inside the bag. Fill it with meringue without stirring the coloring into the mixture. Pipe 1-inch kisses about 1 inch apart on the prepared sheets, refilling the bag as needed. Keeping the stripes inside the bag gives you streaks of color rather than a uniformly tinted batch.
Dry slowly and let the oven finish the work
Bake the kisses for 1 hour 45 minutes, swapping the sheets between racks and rotating them front to back halfway through. They’re ready to leave the oven when they feel dry and lift cleanly from the parchment. Turn off the oven and leave its door closed while the meringues dry for 1 hour. Remove the sheets afterward and let the kisses cool completely before storing them.
Two Easy Ways to Change the Holiday Colors
Make a single-color batch
Paint narrow stripes of only the red gel or only the green gel inside the piping bag, leaving out the other color. You’ll keep the same vanilla meringue and crisp texture, with a simpler, coordinated look.
Pipe them pure white
Leave out both food colorings and pipe the vanilla meringue with the same star tip. The kisses keep their light, crisp texture, but the finished tray has a clean white look instead of colored stripes.
Storage and Reheating
- Refrigerator: Skip the refrigerator; moisture can make the shells tacky. Once completely cool, store the kisses in an airtight container at room temperature for up to 1 week.
- Freezer: Freeze fully cooled kisses in an airtight container for up to 1 month. Thaw them in the closed container so condensation forms outside the container rather than on the meringues.
- Reheating: They don’t need reheating. Keep them dry and serve at room temperature; warming isn’t part of the method and can affect their crisp texture.
Questions That Come Up While Making Meringue Kisses
Holiday Meringue Kisses
Ingredients
Equipment
Method
- Heat the oven to 200°F with racks in the upper and lower thirds, and line two 18x13-inch rimmed baking sheets with parchment paper.
- In a clean, dry mixing bowl, beat the egg whites, cream of tartar, and salt on medium speed until foamy.
- Increase the speed to medium-high and beat until soft peaks form.
- With the mixer running, add the sugar 1 tablespoon at a time.
- Beat for 5 to 7 minutes until the meringue is glossy and forms very stiff peaks.
- Rub a little meringue between your fingers to check that the sugar has dissolved.
- Beat in the vanilla.
- Fit a piping bag with a 1/2-inch star tip and use a small clean brush to paint narrow stripes of red and green food coloring inside the bag.
- Fill the bag with the meringue without stirring in the coloring.
- Pipe 1-inch kisses about 1 inch apart onto the prepared sheets, refilling the bag as needed.
- Bake for 1 hour 45 minutes, swapping the sheets between racks and rotating them front to back halfway through, until the kisses are dry and lift cleanly from the parchment.
- Turn off the oven and leave the door closed while the meringues dry for 1 hour.
- Remove the sheets and cool the kisses completely before storing them in an airtight container.


