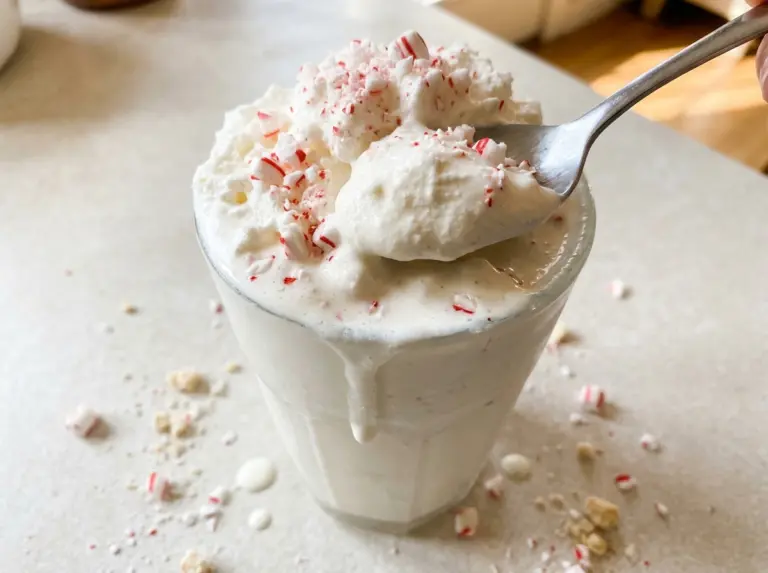
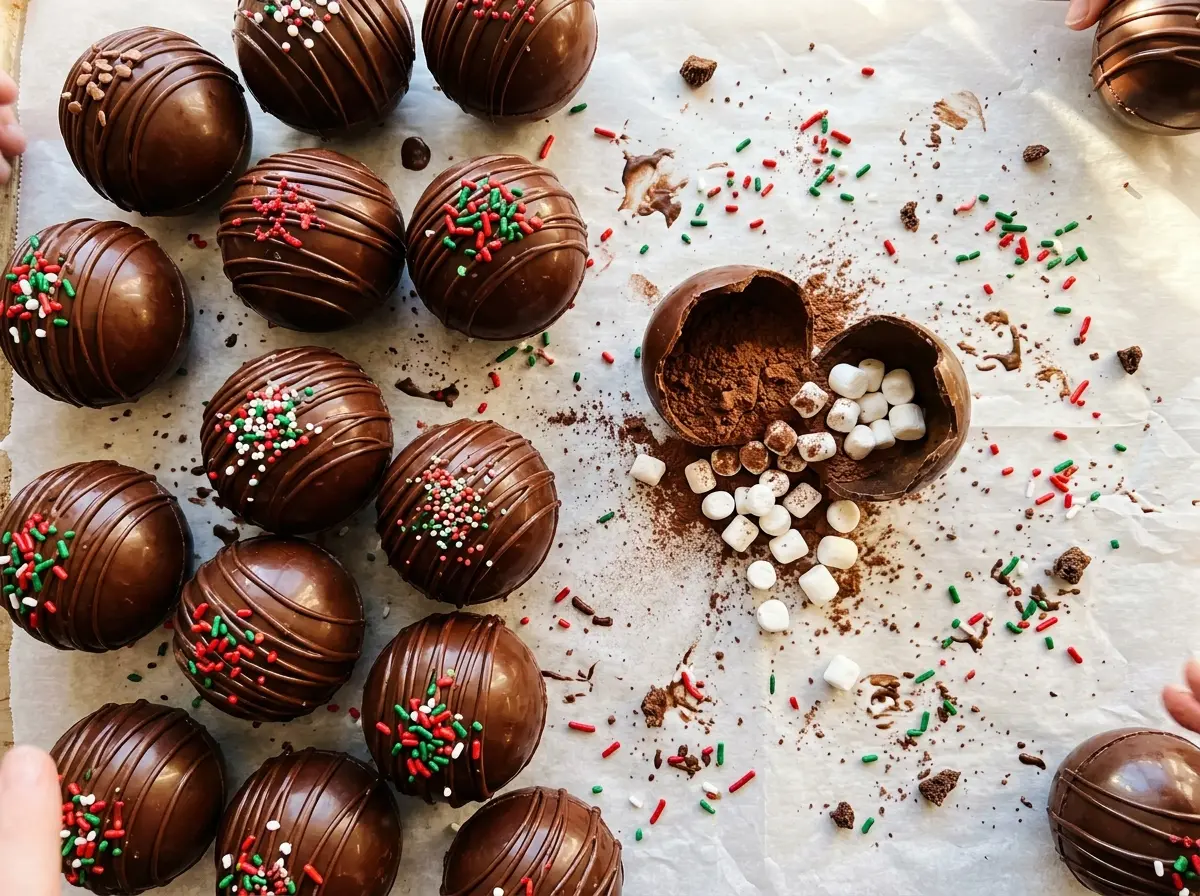
When hot milk lands on a cocoa bomb, the shell gives way and the marshmallows rise through the mug. The fun part is watching it open; the less forgiving part is getting six chocolate shells sturdy enough to lift from their mold without cracking. I use two thin coats of semisweet melting wafers, with a short chill after each one, so the shells hold their shape through filling and sealing.
Each bomb gets a packet of hot cocoa mix and mini marshmallows, then a drizzle of chocolate and holiday sprinkles. At serving time, warm whole milk until it’s steaming but not boiling, pour it over a bomb, and stir once the shell opens. The finished mug has a rich cocoa base, soft marshmallows, and a little chocolate still melting at the surface.
Kitchen Note
After warming the small plate with hot water, dry it completely before leveling the shell rims. A damp plate can make the chocolate edge harder to work with, so I touch each rim to the warm surface only briefly.
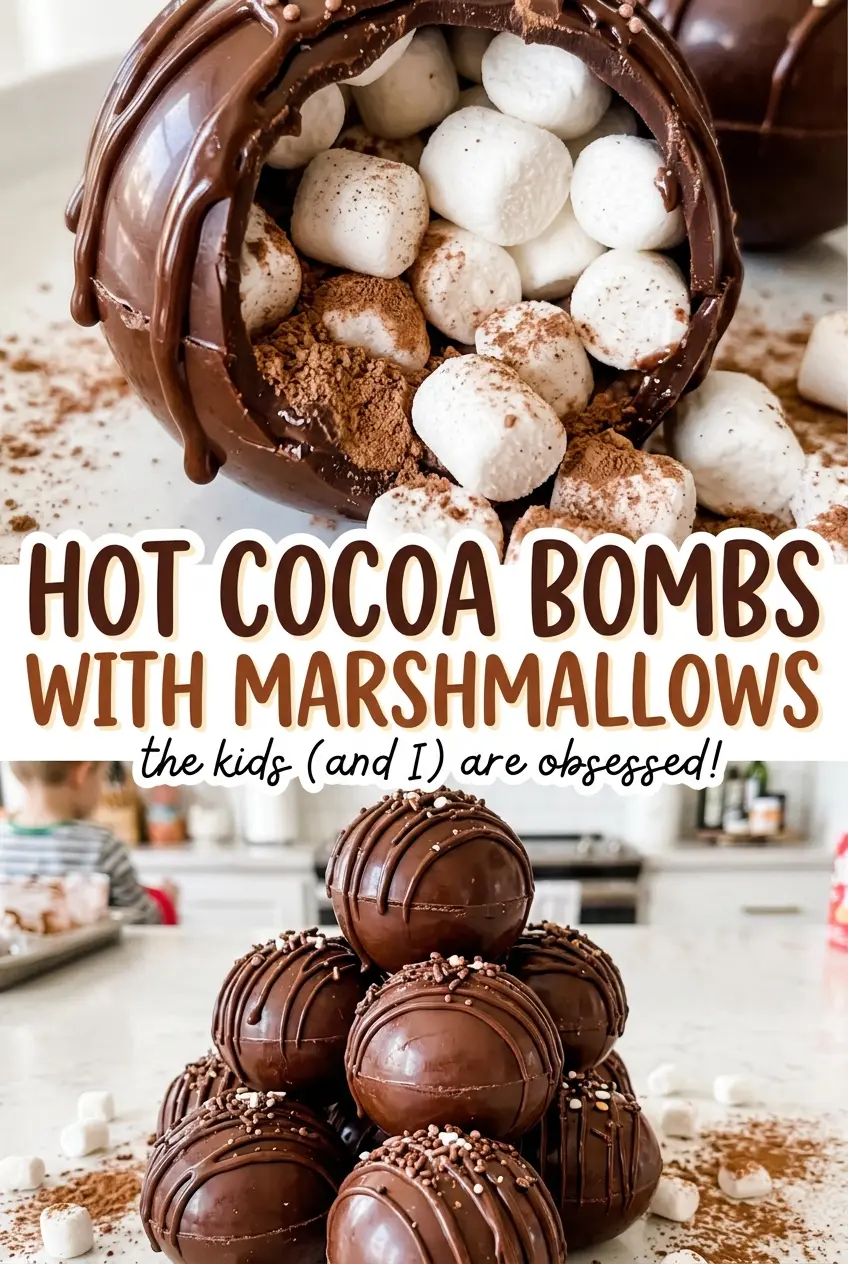
Save these hot cocoa bombs for a cozy mug of cocoa with marshmallows tucked inside a chocolate shell.
Why One Thin Chocolate Coat Leaves Cocoa Bombs Fragile
A thin shell is easier to bite and melts readily in hot milk, but a single coat can leave weak spots that split when you peel it from the mold. Going thicker all at once isn’t the best fix: it’s harder to spread evenly across a curved cavity, and the rim can end up bulky instead of flat enough to seal.
Two thin coats solve that problem. The first gives the chocolate a base; after it firms, the second fills in spots you might have missed and reinforces the shell. Let each coat chill until firm before moving on. If you rush the second layer onto chocolate that’s still soft, the brush can drag the first coat around instead of adding an even layer.
That extra pass also matters when the shells are filled. Each one has cocoa mix and marshmallows inside, and the top shell has to meet its partner around the full rim. A sturdy, even shell is much easier to handle while you line up and seal those halves.
Why Melting Wafers, Cocoa Mix, and Whole Milk Each Have a Job
- Semisweet chocolate melting wafers — These make the shells and the decorative drizzle, so choose wafers intended for melting rather than treating any chocolate as interchangeable. Stirring between short microwave bursts helps the wafers melt evenly. Keep the coating thin and even; lumpy or overly thick chocolate is harder to brush smoothly around the curved mold.
- Hot cocoa mix — The packets bring the cocoa base and sweetness together inside each shell. Use a mix you like drinking, since its flavor carries straight into the mug. Plain cocoa powder isn’t a like-for-like replacement for a complete cocoa mix.
- Mini marshmallows — Their small size fits inside the half-spheres without crowding the cocoa mix. Larger marshmallows take up more room and make it harder to bring the rims together cleanly, so mini ones are the best fit here.
- Holiday sprinkles — These add the festive finish without changing how the bomb works. A basic sprinkle blend is fine; choose a size that will sit on the drizzled chocolate instead of weighing down the decoration.
- Whole milk — Whole milk gives the cocoa a fuller feel than water and carries the melted chocolate through the mug. For a lactose-free serving, lactose-free whole milk is the closest swap; the cocoa mix and wafers still determine whether the bomb itself contains dairy.
Building Two Clean Shells and Sealing the Cocoa Inside
Melt and coat the silicone cavities
Set the 12-cavity, 2 1/2-inch silicone half-sphere mold on a rimmed baking sheet before you start coating. Microwave the semisweet wafers in a microwave-safe bowl at 50% power in 30-second bursts, stirring after each, until smooth; this takes about 1 1/2 to 2 minutes. Brush a thin, even layer inside each cavity and across the rims, then chill for 10 minutes. Add a second thin coat and chill another 10 minutes, until the shells are firm.
Release, fill, and seal each bomb
Gently peel the silicone away from the firm shells rather than pulling the chocolate out by the edges. Warm a small plate with hot water, dry it, and briefly touch each shell rim to the plate to level it. Fill six shells with one packet of hot cocoa mix and 2 tablespoons of mini marshmallows each. If the melted wafers have thickened, microwave them at 50% power in 10-second bursts, stirring until fluid; brush a thin line around each filled rim, set an empty shell on top, and hold the halves together until sealed.
Decorate, warm the milk, and serve
Drizzle the remaining melted chocolate over the sealed bombs and add the holiday sprinkles while the drizzle is still ready to hold them. Chill for 10 minutes, until the decoration is set. For the mugs, heat the whole milk in a 2-quart saucepan over medium heat for 6 to 8 minutes, stirring often, until steaming but not boiling. Put one bomb in each mug, pour 1 cup of hot milk over each, and stir once the shell opens.
Two Swaps for a Different Shell or a Lactose-Free Mug
A sweeter white-chocolate shell
Swap in white chocolate melting wafers for the semisweet wafers, keeping the same amount and shell process. The shell will taste sweeter and less cocoa-forward, while the hot cocoa mix still supplies the drink’s cocoa flavor. Melt at 50% power in 30-second bursts, stirring after each, and stop when smooth.
A lactose-free serving mug
Use lactose-free whole milk in place of the whole milk for serving. It keeps the mug closer in body to the original than a thinner milk alternative would, while making the serving milk lactose-free. The bombs themselves aren’t automatically dairy-free, since the wafers and cocoa mix may contain dairy.
Storing the Cocoa Bombs
- Room temperature: Keep the finished bombs in an airtight container in a cool, dry spot away from heat.
- Refrigerator: Refrigeration isn’t needed for the finished chocolate shells. Temperature changes can leave moisture on the chocolate.
- Freezer: I don’t freeze these; condensation as they thaw can affect the shells and sprinkles.
Questions That Come Up When Making Cocoa Bombs
Hot Cocoa Bombs With Marshmallows – Holiday Recipe
Ingredients
Equipment
Method
- Set a 12-cavity, 2 1/2-inch silicone half-sphere mold on a rimmed baking sheet.
- Microwave the semisweet chocolate melting wafers in a microwave-safe bowl at 50% power in 30-second bursts, stirring after each, until smooth, about 1 1/2 to 2 minutes.
- Brush a thin, even layer of melted wafers over the inside of each cavity, including the rims, and chill for 10 minutes.
- Brush on a second layer and chill for 10 minutes, until firm.
- Gently peel the silicone away from the shells.
- Warm a small plate with hot water and dry it.
- Briefly touch each shell rim to the plate to level it.
- Fill 6 shells with one packet of hot cocoa mix and 2 tablespoons of mini marshmallows each.
- If the melted chocolate has thickened, microwave it at 50% power in 10-second bursts, stirring, until fluid.
- Brush a thin line of melted chocolate around the rim of each filled shell, place an empty shell on top, and hold until sealed.
- Drizzle the remaining melted chocolate over the bombs.
- Add the holiday sprinkles and chill for 10 minutes, until set.
- Heat the whole milk in a 2-quart saucepan over medium heat for 6 to 8 minutes, stirring often, until steaming but not boiling.
- Put one bomb in each mug.
- Pour 1 cup hot milk over each bomb.
- Stir once the shell opens.