
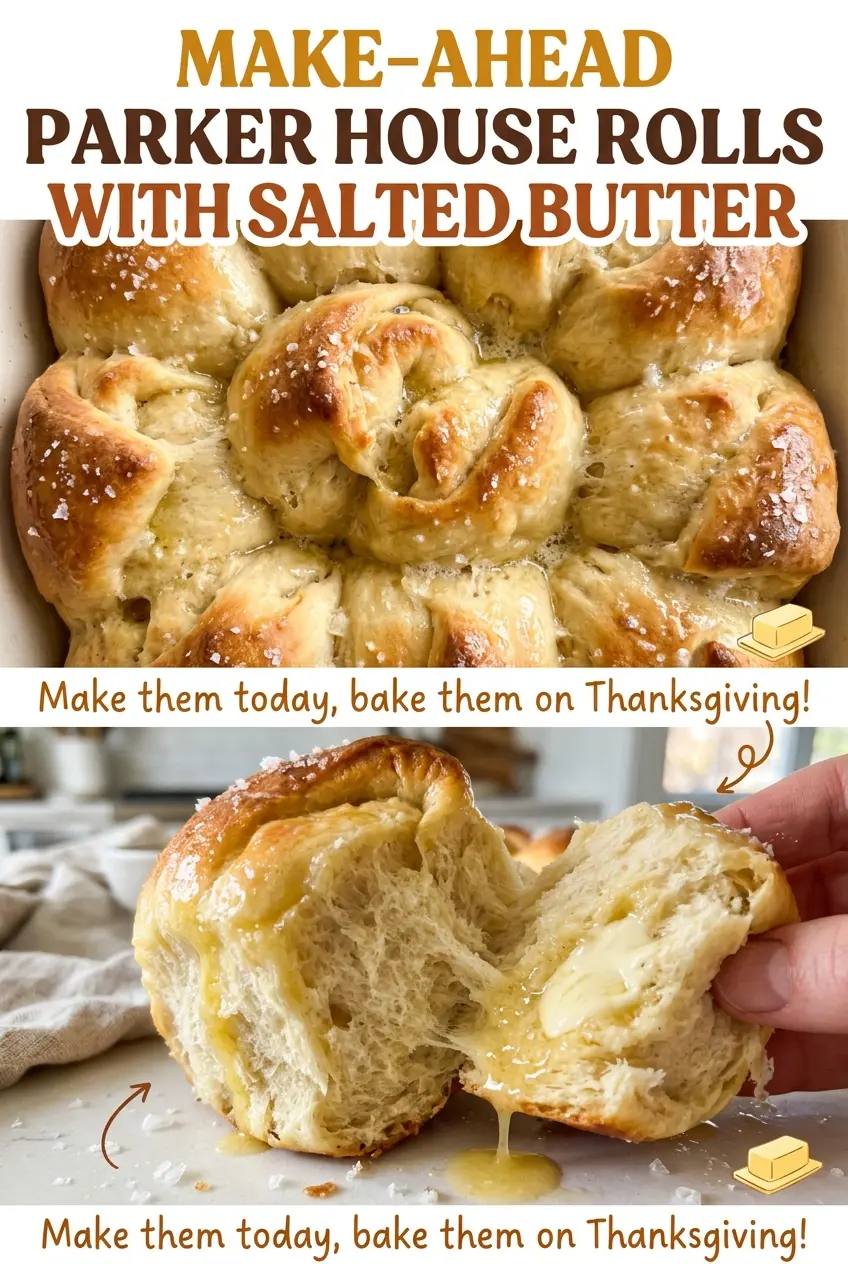
The folded edges of these rolls puff up in the oven, while the melted butter between each layer gives the soft centers a rich, savory finish. I like making Parker House rolls this way because the shaped dough can wait in the refrigerator overnight, so there’s less to do on the day I want to serve them.
The dough starts with warm milk, sugar, and active dry yeast. Once that mixture turns foamy, the egg and cooled melted butter go in, followed by the flour and salt. Kneading until the dough feels smooth and elastic gives the rolls their tender, pull-apart texture; rushing that part leaves you with a rougher dough that’s harder to shape evenly.
Each portion becomes a small oval, gets brushed with salted butter, then folds in half before it goes into the baking dish. After its chilled rest and a final rise at room temperature, the dough bakes into golden rolls with buttery seams and soft, pillowy middles.
Kitchen Note
After 8–10 minutes of kneading, the dough should feel smooth and springy rather than lumpy or slack. I use that texture as my stopping point, instead of adding extra flour just because the dough feels a little tacky.
Save these make-ahead Parker House rolls for a meal when you want warm, folded rolls without mixing and shaping dough at the last minute.
Why the Overnight Chill Doesn’t Replace the Final Rise
The refrigerator rest is for timing, not a shortcut to baking. Once the shaped rolls are covered and chilled for 8–16 hours, they still need to stand at room temperature until puffy before they go into the oven. The dough is cold when it comes out, and putting it straight into the oven skips the last rise that gives the rolls their light, soft interior.
I plan backward from serving time: shape the rolls, cover the dish tightly, and let it chill overnight. The next day, set the covered dish out for 1 1/2–2 1/2 hours. That range gives the dough time to lose its chill and puff up; watch the rolls, not just the clock. If they still look compact, they’re not ready for the oven yet.
This timing is also why the rolls are genuinely useful for a busy meal. The hands-on shaping happens ahead, while the final rise and bake take place close to serving. The dough goes into the oven only after it looks noticeably fuller, then the heat turns those folded layers golden.
Why the Dough Butter and the Folded-Roll Butter Are Different
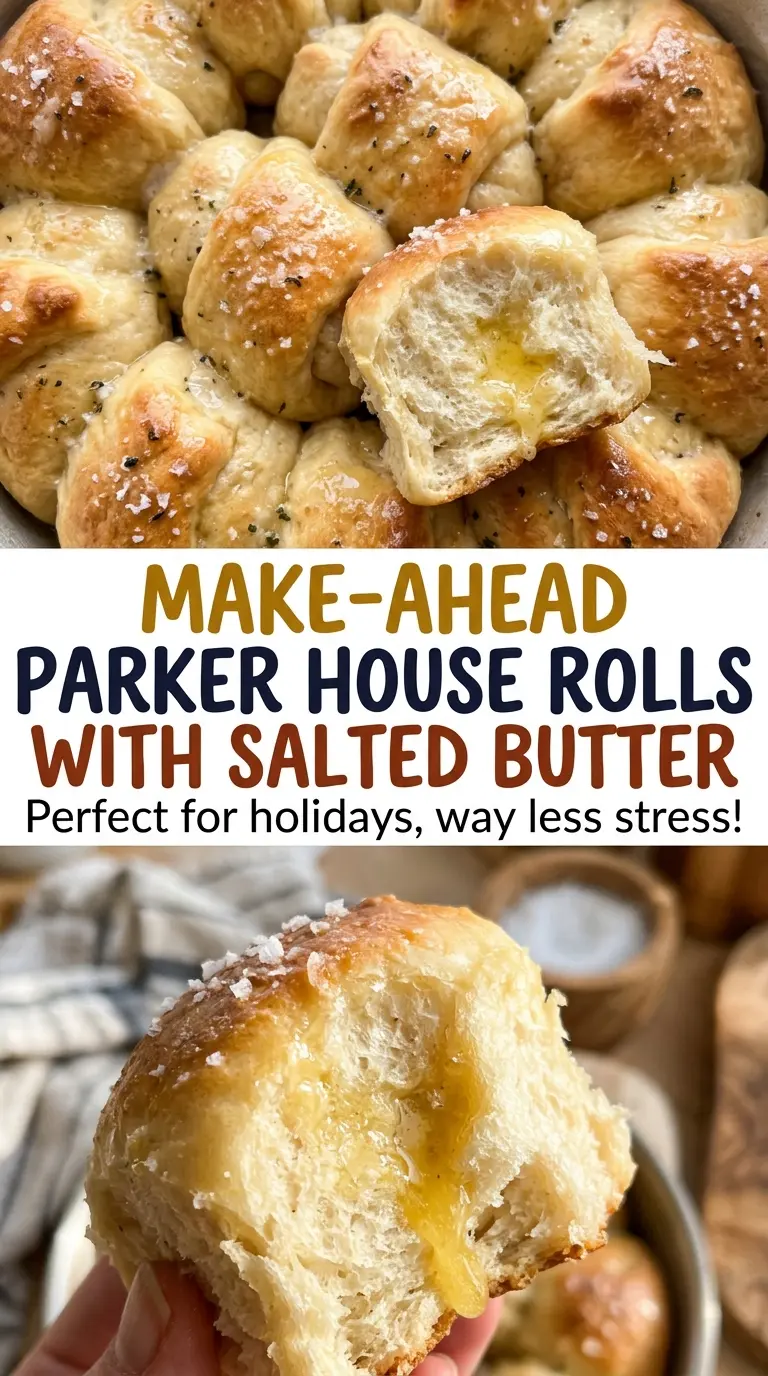
- Whole milk — It gives the dough richness and helps keep the crumb tender. Whole milk is the best fit for the softest result; 2% milk works as a practical swap, with a slightly less rich finish.
- Active dry yeast — The warm milk and sugar wake it up before the dough is mixed. Check that it foams after standing; old yeast that stays flat may not raise the dough reliably.
- All-purpose flour — It makes a tender, easy-to-shape dough without the extra chew of a stronger bread flour. Use fresh flour, but there’s no need to seek out a specialty brand for these rolls.
- Egg — It adds richness and helps give the dough its structure. Keep it at the specified large size so the dough’s moisture balance stays close to the intended texture.
- Unsalted butter in the dough — This adds richness without bringing extra salt into the dough. Melt it, then let it cool before mixing it with the egg and yeast mixture.
- Salted butter for shaping and finishing — This is where the buttery, lightly salty finish comes from. The melted butter brushed over each oval helps the folded layers separate, and the final brush adds shine and flavor after baking.
- Kosher salt — It seasons the dough itself, separate from the salted butter on the outside. Keep it in the dough even though the finishing butter is salted; each has a different job.
From Foamy Yeast to Golden Folded Tops
Wake the yeast in warm milk
Warm the milk to 105–110°F, then stir in the sugar and active dry yeast. Let the mixture stand for 5–10 minutes, until a foamy layer forms on top. If it stays flat, check the milk temperature and yeast freshness before moving on. Whisk in the egg and melted, cooled unsalted butter once the yeast is foamy.
Knead until the dough turns elastic
Stir in the flour and kosher salt until the mixture looks shaggy, then knead it on a clean counter for 8–10 minutes. At first the surface can look uneven; it should become smooth and elastic as you work. A rough dough hasn’t reached the texture you want yet, but extra flour can make the rolls dense, so resist adding more unless the dough is genuinely unmanageable. Put it in a large bowl lightly coated with cooking spray, cover, and let it rise at room temperature for 1–1 1/2 hours, until doubled.
Shape the ovals and butter the folds
Lightly coat a 9×13-inch baking dish with cooking spray. Divide the risen dough into 16 equal portions, then roll each one into a 3-inch oval about 3/8 inch thick. Brush the ovals with 4 tablespoons total of the melted salted butter, fold each in half, and arrange them in the dish with the folded edges facing up. If the ovals vary a lot in size, the rolls won’t bake as evenly, so take a moment to portion them evenly.
Chill, proof, and bake until golden
Cover the dish tightly and refrigerate the shaped rolls for 8–16 hours. Take the covered dish out and let the rolls stand at room temperature for 1 1/2–2 1/2 hours, until puffy, then preheat the oven to 375°F. Bake for 18–22 minutes, until the tops are golden brown; pale tops need more time in the oven. Rest the rolls for 5 minutes, then brush with the remaining 2 tablespoons melted salted butter and serve warm.
Two Practical Ways to Adapt the Dough
Make the rolls dairy-free
Use unsweetened soy milk in place of the whole milk and dairy-free stick butter in place of both butters, keeping the same amounts. The rolls will still be soft, though the buttery flavor and browning may be a little different. The egg remains in the dough, so this adaptation is dairy-free, not vegan.
Use 2% milk for a lighter dough
Swap 2% milk for the whole milk in the same amount. The dough will still rise and shape well, but the finished rolls won’t taste quite as rich. Keep the rest of the ingredients and method unchanged.
Storage and Reheating
- Room temperature: Keep leftover rolls in an airtight container for up to 2 days. They’ll gradually lose some of their soft, just-baked texture.
- Freezer: Cool the rolls completely, then seal them well and freeze for up to 2 months. Thaw at room temperature before warming.
- Reheating: Wrap the rolls in foil and warm them in a 300°F oven until heated through. The foil helps keep the edges soft; reheating them uncovered can dry them out.
Questions That Come Up When Making Parker House Rolls
Make-Ahead Parker House Rolls with Salted Butter
Ingredients
Equipment
Method
- Warm the milk to 105–110°F.
- Stir in the sugar and yeast, and let stand for 5–10 minutes until foamy.
- Whisk the egg and melted unsalted butter into the yeast mixture.
- Stir in the flour and salt until a shaggy dough forms.
- Knead on a clean counter for 8–10 minutes until smooth and elastic.
- Lightly coat a large bowl with cooking spray and add the dough.
- Cover and let rise at room temperature for 1–1 1/2 hours until doubled in size.
- Lightly coat a 9x13-inch baking dish with cooking spray.
- Divide the dough into 16 equal portions and roll each into a 3-inch oval about 3/8 inch thick.
- Brush each oval with 4 tablespoons of the melted salted butter.
- Fold each oval in half and arrange the rolls in the dish with the folded edges facing up.
- Cover the dish tightly and refrigerate for 8–16 hours.
- Let the covered rolls stand at room temperature for 1 1/2–2 1/2 hours until puffy.
- Preheat the oven to 375°F.
- Bake for 18–22 minutes until golden brown.
- Let the rolls rest for 5 minutes.
- Brush with the remaining 2 tablespoons melted salted butter and serve warm.