
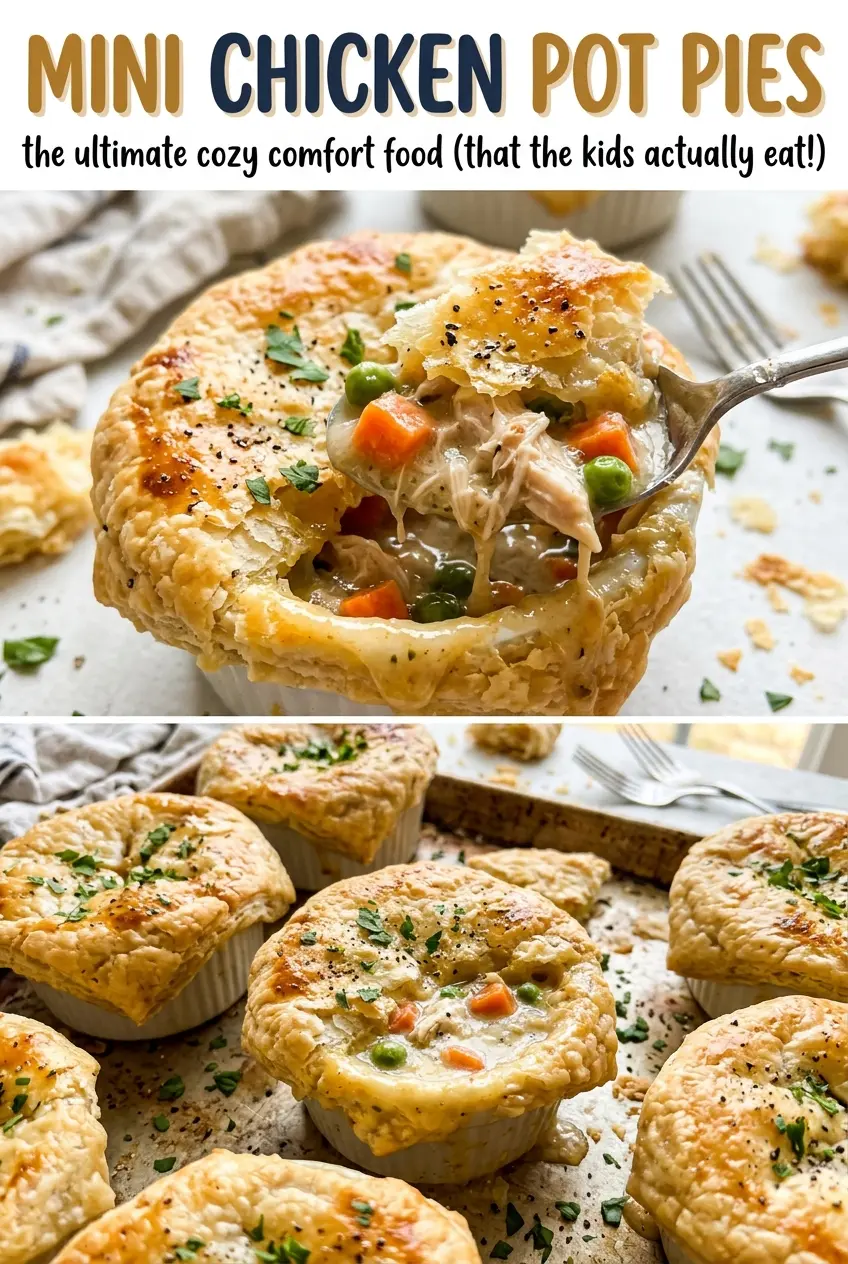
The pastry tops start to rise before the filling bubbles, and that’s when these little pies begin to look like dinner. I like how each ramekin gets its own puffed, golden lid instead of a pastry crust that has to support a deep layer of filling. These Mini Chicken Pot Pies have tender pieces of chicken, soft vegetables, and a creamy thyme sauce tucked underneath.
The filling comes together in the same skillet used for the chicken, so the onion and celery pick up the savory bits left behind. A quick flour-and-butter base thickens the broth and milk into a sauce that clings to the chicken and vegetables rather than running across the plate. Spoon it into ramekins, add a pastry round, and the oven takes care of the rest.
Cutting the chicken into even 1/2-inch pieces helps it cook on the same schedule, so you don’t end up with a mix of dry little bits and underdone centers. Once baked, the individual pies come out with crisp tops and a warm, spoonable filling.
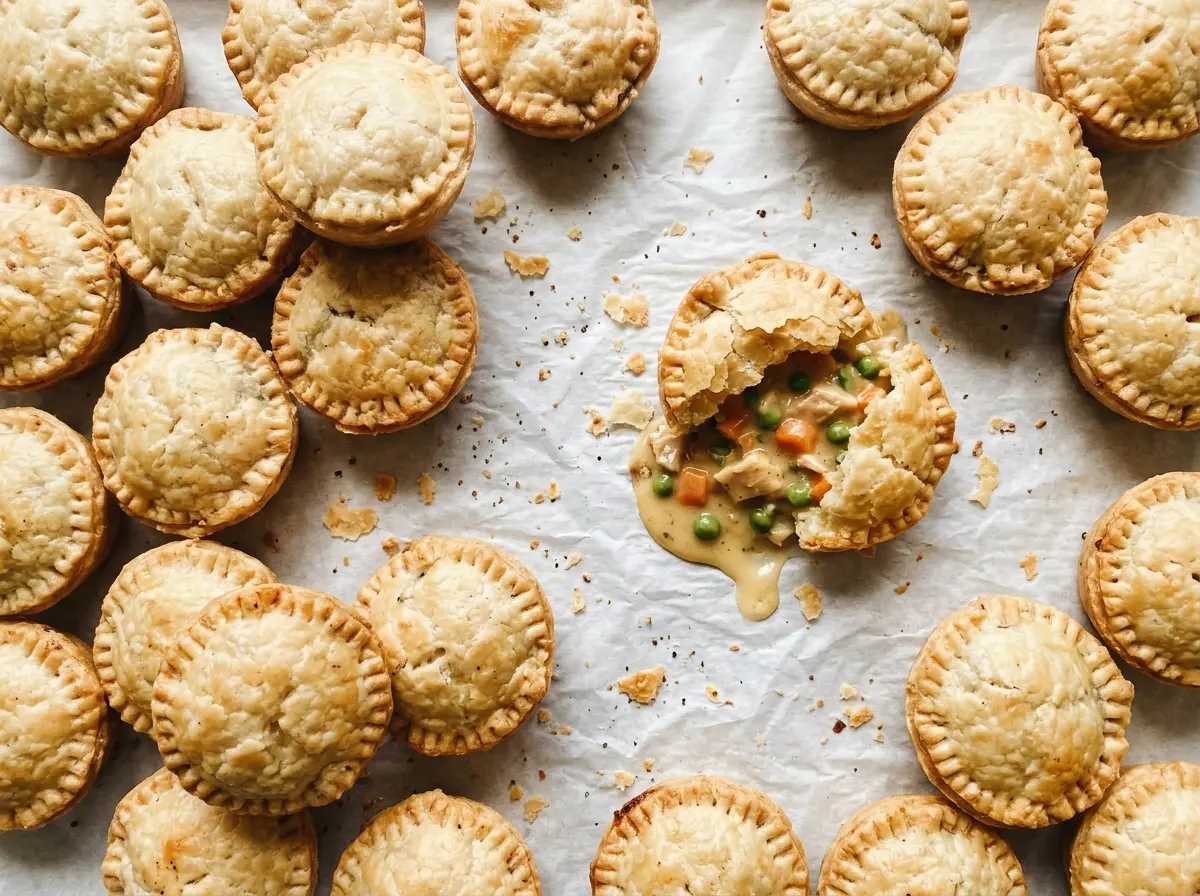
Kitchen Note
Keep the chicken pieces close to the same 1/2-inch size. They’ll cook more evenly, and you won’t have to choose between dry small pieces and larger ones that need more time.
Save these Mini Chicken Pot Pies for a cozy dinner with creamy chicken filling and crisp puff pastry lids.
Why These Pot Pies Have a Puff-Pastry Lid, Not a Bottom Crust
These are individual pot pies with pastry only across the top. The filling sits directly in the ramekins, so there’s no bottom crust to roll out or bake before the filling goes in. That gives the pastry one job: puff above the creamy filling and turn golden while the sauce heats underneath.
It also changes what you’re looking for when you serve them. The lid should be crisp and lofty, while the filling below stays soft enough to scoop. A bottom crust would make this a different kind of pie, with more pastry and a different balance between crust and filling. Here, the chicken and vegetables are the substantial part, and the puff pastry is the buttery top layer.
Individual ramekins help keep the portions consistent, too. Each gets the same filling and a round cut to fit over the opening. Since the pastry is on top rather than buried under the filling, it can puff without needing a separate crust-baking step. Let the pies rest before serving; the filling is hot from the oven and needs a few minutes to settle.
What Gives the Filling Its Creamy Body—and the Top Its Lift
- Chicken breast — Boneless, skinless breast keeps the filling lean and gives you tender, bite-size pieces. Cutting it evenly matters more here than choosing an especially premium cut.
- Onion, celery, and butter — These build the savory base before the sauce goes in. Finely chopped vegetables soften quickly and distribute through the filling instead of leaving large, crunchy pieces.
- All-purpose flour — Flour thickens the broth and milk into a sauce that stays with the chicken and vegetables. For a gluten-free version, use a one-to-one gluten-free flour blend and gluten-free puff pastry; the texture can vary a little by brand.
- Chicken broth and whole milk — Low-sodium broth brings savory depth, while whole milk rounds out the sauce. Two-percent milk works in its place, though the filling will be a little less rich.
- Frozen peas and carrots, dried thyme — The frozen vegetables go straight into the warm filling, and thyme gives it a familiar savory note. Choose a bag with vegetables you like, but keep the pieces small enough to fit easily on a spoon.
- Puff pastry and egg — Thawed puff pastry creates the flaky lid, and the beaten egg with water helps the tops bake to a glossy golden finish. The pastry needs to be thawed before you cut the rounds so it can unfold without cracking.
From Skillet Filling to Golden Ramekin Tops
Brown the Chicken Without Crowding the Skillet
Heat the oven to 400°F, then warm the oil in a 10-inch skillet over medium-high heat. Add the chicken with 1/2 teaspoon of the kosher salt and the black pepper, and cook for 6–8 minutes, stirring occasionally, until the chicken reaches 165°F. Move it to a plate once it’s cooked through. If the skillet is crowded, the chicken will release moisture and cook less evenly, so use the stated skillet size and keep the pieces in a single layer as much as you can.
Soften the Vegetables and Build the Sauce
Melt the butter in the same skillet over medium heat, then add the onion and celery. Stir for 3–4 minutes, until both have softened. Stir in the flour and cook for 1 minute, then gradually whisk in the broth and milk. Bring the mixture to a simmer and cook for 3–5 minutes, stirring, until the sauce visibly thickens; a runny sauce at this stage won’t cling to the filling.
Warm the Chicken and Vegetables Through
Stir the frozen peas and carrots, dried thyme, remaining salt, and cooked chicken into the thickened sauce. Cook for 2–3 minutes, stirring, until the filling is hot. The vegetables should be warmed through, and the sauce should coat the chicken rather than pooling thinly at the bottom of the skillet. Divide the filling among six 8-ounce oven-safe ramekins set on a rimmed baking sheet.
Seal the Pastry Lids and Bake Until Puffing
Unfold the thawed pastry and cut six 4-inch rounds. Set one round over each ramekin, press its edges against the rim, and cut two small vents in each top so steam can escape. Beat the egg with the water and brush the tops, then bake for 20–25 minutes. Look for puffed, golden pastry and filling bubbling through the vents; let the pies rest for 10 minutes before serving.
Two Easy Ways to Adapt These Individual Pot Pies
Make the Pot Pies Gluten-Free
Replace the all-purpose flour with a one-to-one gluten-free flour blend, then use gluten-free puff pastry for the lids. Keep the rest of the filling and assembly the same; different pastry brands may puff and brown a little differently.
Leave Out the Thyme for a Plainer Filling
Skip the dried thyme if you want the chicken, onion, and creamy sauce to come through without an herbal note. The filling will still thicken and bake the same way, with a simpler savory taste.
Storage and Reheating
- Refrigerator: Store leftover pies covered for 3–4 days. The pastry softens as it sits against the filling.
- Freezer: Once completely cool, wrap the pies individually and freeze for up to 2 months. Thaw overnight in the refrigerator; the pastry may be less crisp after freezing.
- Reheating: Warm in an oven-safe ramekin until the center is hot and the pastry has crisped again. A microwave heats the filling but softens the pastry, and a ramekin that’s oven-safe isn’t automatically microwave-safe.
Questions That Come Up When Making Mini Chicken Pot Pies
Mini Chicken Pot Pies
Ingredients
Equipment
Method
- Heat the oven to 400°F.
- Heat the oil in a 10-inch skillet over medium-high heat. Add the chicken, 1/2 teaspoon of the salt, and the pepper; cook for 6–8 minutes, stirring occasionally, until the chicken reaches 165°F.
- Transfer the chicken to a plate.
- Melt the butter in the skillet over medium heat. Add the onion and celery, and cook for 3–4 minutes, stirring, until softened.
- Stir in the flour and cook for 1 minute.
- Gradually whisk in the broth and milk, bring to a simmer, and cook for 3–5 minutes, stirring, until the sauce thickens.
- Stir in the peas and carrots, thyme, remaining 1/4 teaspoon salt, and chicken. Cook for 2–3 minutes, until the filling is hot.
- Set six 8-ounce oven-safe ramekins on a rimmed baking sheet.
- Divide the filling among the ramekins.
- Unfold the puff pastry and cut out six 4-inch rounds.
- Place a round over each ramekin and press the edges against the rim.
- Cut two small vents in each top.
- Beat the egg with the water in a small bowl.
- Brush the pastry tops with the egg wash.
- Bake for 20–25 minutes, until the pastry is puffed and golden and the filling bubbles through the vents.
- Let the pot pies rest for 10 minutes before serving.


