
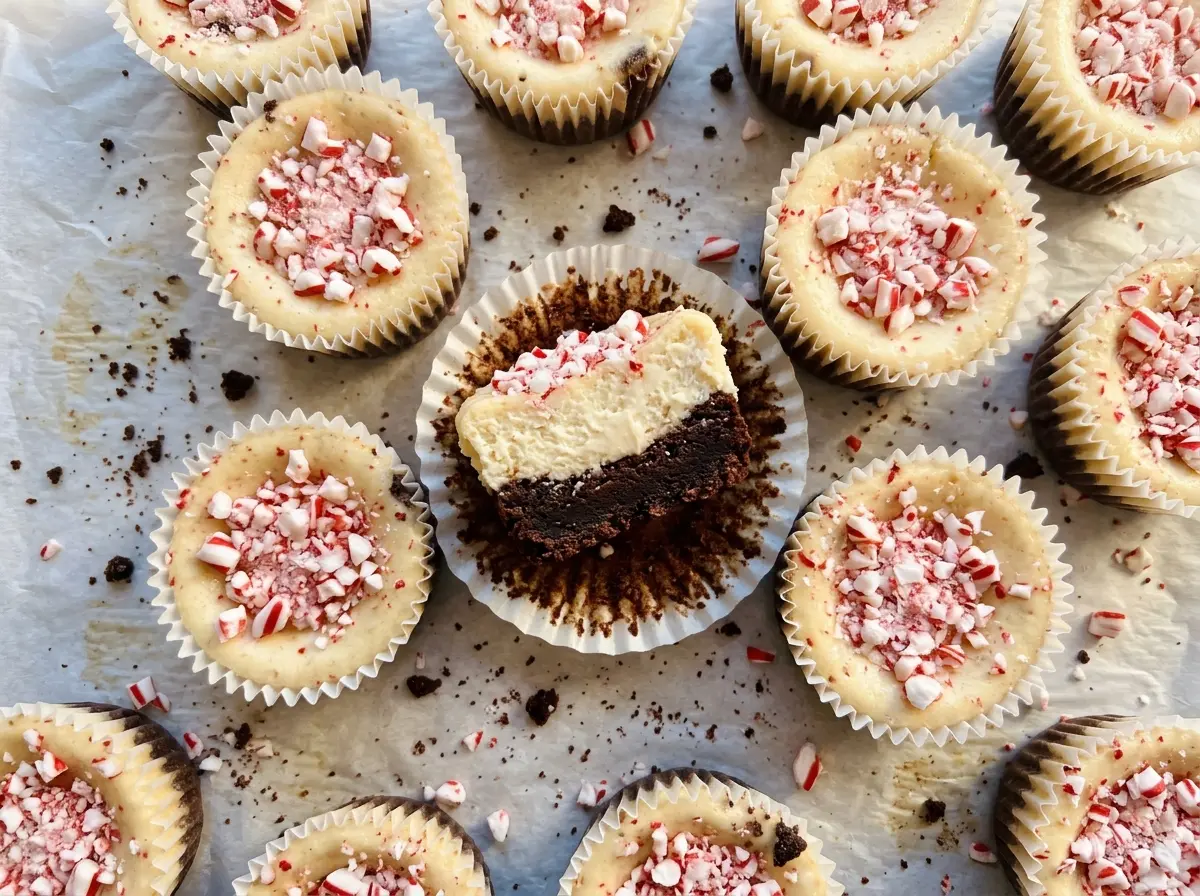
The brownie bases come out of the oven looking like thin, set chocolate rounds, not full-size brownies—and that’s exactly what you want under a cheesecake layer. I used to expect a thicker brownie foundation, but keeping these small and tender gives each bite room for both textures. These mini peppermint brownie cheesecakes start with a quick bake at 350°F, then the oven temperature drops before the filling goes in.
The filling gets its peppermint flavor from extract, so it tastes cool and clear without needing a heavy layer of frosting. I beat the eggs in one at a time on low speed; that keeps the mixture smooth without whipping in more air than it needs. After a long chill, the centers turn creamy and firm, with a little crunch from crushed peppermint candies on top.
Kitchen Note
Let the cream cheese soften fully, and bring the eggs and sour cream to room temperature before mixing. Those small temperature differences matter here: the filling comes together evenly instead of leaving little cream cheese flecks behind.
Save these mini peppermint brownie cheesecakes for a make-ahead dessert with a tender chocolate base, cool mint filling, and crushed candy on top.
Why These Brownie Bases Get a Head Start in a Hotter Oven
The brownie layer bakes first at 350°F, before the cheesecake filling is ready to go in. That short head start gives the batter time to set into a base that can hold the filling instead of blending into it. The goal isn’t to bake a finished brownie; the tops should look set after 8 to 10 minutes, while the centers are still tender.
Then the oven drops to 325°F for the cheesecake. That lower temperature gives the filling time to set without asking the thin brownie layer to withstand another long stretch of hotter baking. Skipping the temperature change can push the edges of the cheesecake toward overbaking before the middle has finished setting.
Because the brownie layer is divided into muffin cups, portioning matters too. About a tablespoon in each liner makes a modest base, leaving enough space for the filling. If you add a much thicker layer, the balance shifts: there’s less room for the creamy center, and the brownie takes longer to bake through.
What the Chocolate, Cream Cheese, and Peppermint Each Bring
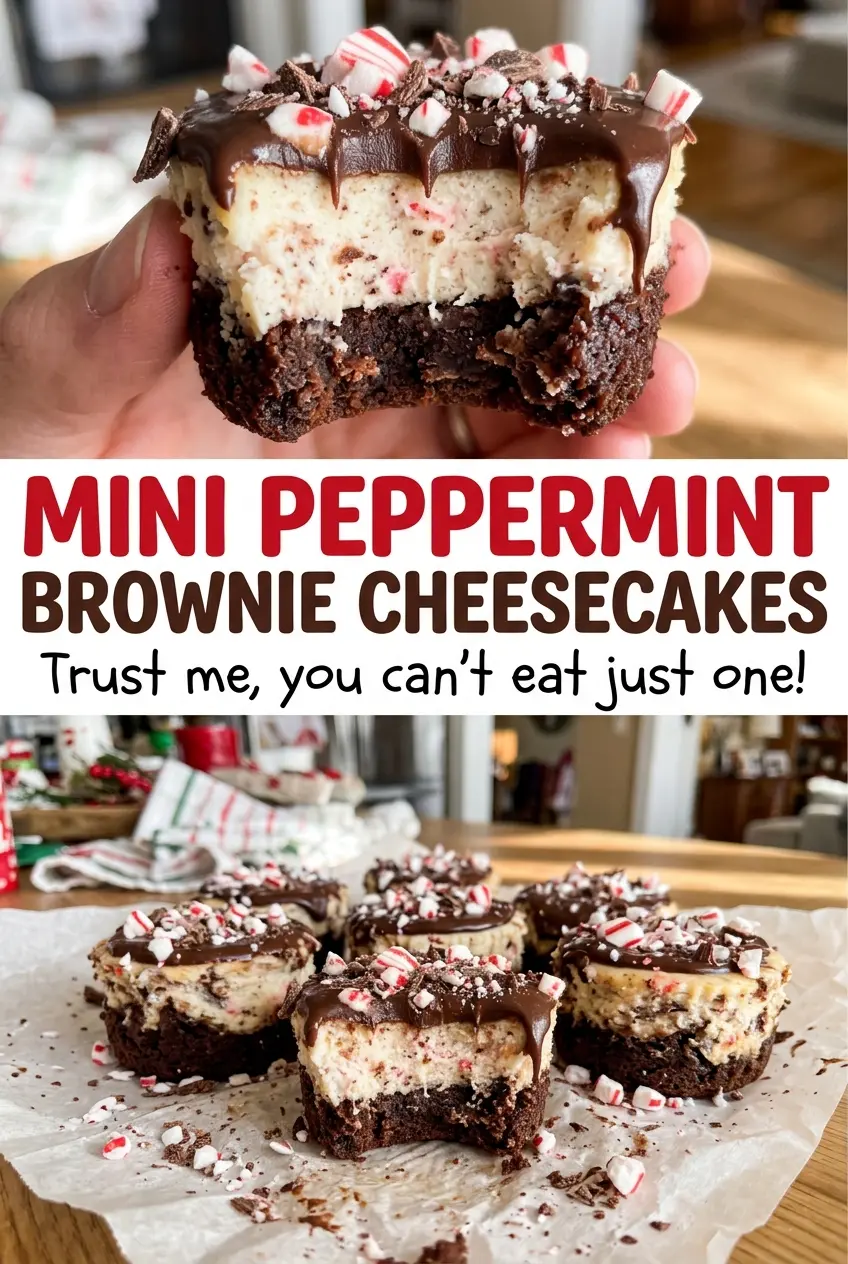
- Semisweet chocolate and unsalted butter — Together they make a smooth, rich base that sets into a soft brownie layer. Chopped baking chocolate melts evenly, and a dependable grocery-store bar works well; there’s no need to buy a specialty chocolate. Bittersweet chocolate is a useful swap in the same quantity if you prefer a darker, less sweet base.
- Light brown sugar — Its moisture helps keep the brownie layer tender rather than dry and crumbly. Dark brown sugar works in its place and brings a deeper molasses note. Pack either kind firmly when measuring.
- All-purpose flour — A small amount gives the base enough structure to support the filling without turning it cakey. A standard all-purpose flour is fine here; avoid self-rising flour, which adds leavening the thin base doesn’t need.
- Cream cheese and eggs — Cream cheese gives the filling its creamy body, while the eggs help it set as it bakes. Plain block-style cream cheese is a reliable choice; spreadable cream cheese from a tub is softer and can leave you with a looser filling. There isn’t a dependable direct egg substitute for this two-layer dessert, since the eggs provide structure in both the brownie and cheesecake.
- Sour cream — It softens the richness of the cream cheese with a gentle tang. Plain, full-fat Greek yogurt can stand in at the same quantity; the filling will be a touch tangier and slightly denser.
- Peppermint extract and crushed peppermint candies — The extract flavors the filling, while the candies bring the crisp, minty finish. Extract quality matters because peppermint is easy to notice, but an ordinary baking extract works. Crush the candies into small pieces so they’re easy to eat with the creamy center.
The Two Oven Temperatures That Give Each Layer Its Own Texture
Melt the Chocolate Without Scorching It
Put the chopped semisweet chocolate and butter in a microwave-safe bowl and heat them in 20-second bursts, stirring between each one. Stop when the mixture looks smooth; chocolate can hold its shape even as it melts, so stirring is what shows you whether any pieces remain. Let it cool for 5 minutes before adding the egg. If the mixture is still hot, the egg can start to cook before it’s mixed into the batter.
Mix a Thin, Tender Brownie Batter
Whisk the brown sugar into the cooled chocolate mixture, then whisk in the egg and vanilla. Fold in the flour and salt only until no dry streaks remain. A few extra strokes can make this small amount of batter tougher, so stop as soon as the flour disappears. Divide it among the paper liners, using about a tablespoon in each cup.
Set the Bases Before Adding the Filling
Bake the brownie bases at 350°F for 8 to 10 minutes, until the tops look set. They’ll bake again beneath the cheesecake, so don’t wait for them to look deeply browned or firm all the way through. Once the bases are ready, reduce the oven to 325°F for the filling. Keeping the two baking temperatures distinct helps the brownie and cheesecake finish at the pace each layer needs.
Mix Gently, Then Chill Until Firm
Beat the cream cheese and granulated sugar until smooth, then add the eggs one at a time on low speed, mixing just until incorporated. Mix in the sour cream and peppermint extract, divide the filling among the cups, and bake for 18 to 22 minutes. The edges should be set while the centers still jiggle slightly; baking until the centers are completely firm can leave the cheesecake dry. Cool the pan on a rack for 30 minutes, refrigerate the cheesecakes in the pan for at least 4 hours, then lift them out and add the crushed candies.
Simple Changes for a Different Mint or Chocolate Balance
Make the Brownie Base Gluten-Free
Replace the all-purpose flour with a cup-for-cup gluten-free baking blend formulated for baking, ideally one that includes xanthan gum. Fold it in just until the dry streaks disappear. The base may be a little more delicate, so let the cheesecakes chill fully before lifting them from the pan.
Turn Them Into Chocolate-Vanilla Cheesecakes
For a version without mint, replace the peppermint extract in the filling with vanilla extract and leave off the crushed peppermint candies. The chocolate base stays the same, but the top layer becomes softly vanilla-scented instead of cool and minty.
Make-Ahead and Storage
- Make ahead: Bake and chill the cheesecakes a day before serving; keep them covered in the refrigerator.
- Refrigerator: Store the cheesecakes in an airtight container for up to 4 days. Add the crushed peppermint candies close to serving so the pieces keep their crunch.
- Freezer: Freeze the chilled cheesecakes without the candy topping. Once firm, wrap them individually and freeze for up to 1 month; thaw overnight in the refrigerator.
- Serving: These are meant to be served cold, so don’t microwave them. Add the topping after thawing if you froze them.
Questions That Come Up With Mini Peppermint Brownie Cheesecakes
Mini Peppermint Brownie Cheesecakes
Ingredients
Equipment
Method
- Preheat the oven to 350°F.
- Line a standard 12-cup muffin pan with paper liners.
- Melt the chocolate and butter in a medium microwave-safe bowl in 20-second bursts, stirring between each, until smooth.
- Let the chocolate mixture cool for 5 minutes.
- Whisk the brown sugar into the chocolate mixture.
- Whisk in the egg and vanilla.
- Fold in the flour and salt just until no dry streaks remain.
- Divide the batter among the liners, about 1 tablespoon per cup.
- Bake for 8–10 minutes, until the tops look set.
- Reduce the oven temperature to 325°F.
- Beat the cream cheese and granulated sugar in a large bowl until smooth.
- Beat in the eggs one at a time on low speed, mixing just until incorporated.
- Mix in the sour cream and peppermint extract.
- Divide the filling among the muffin cups.
- Bake for 18–22 minutes, until the edges are set and the centers still jiggle slightly.
- Cool the cheesecakes in the pan on a rack for 30 minutes.
- Refrigerate in the pan for at least 4 hours, until cold and set.
- Lift the cheesecakes from the pan.
- Sprinkle with the crushed peppermint candies just before serving.


