
The centers look a little loose when these mini cheesecakes come out of the oven, and that’s exactly right. They firm up as they cool, so waiting for them to look completely solid in the pan can leave you with dry, overbaked edges. I watch for set edges and a gentle wobble in the middle, then let the pan cool before it goes into the refrigerator.
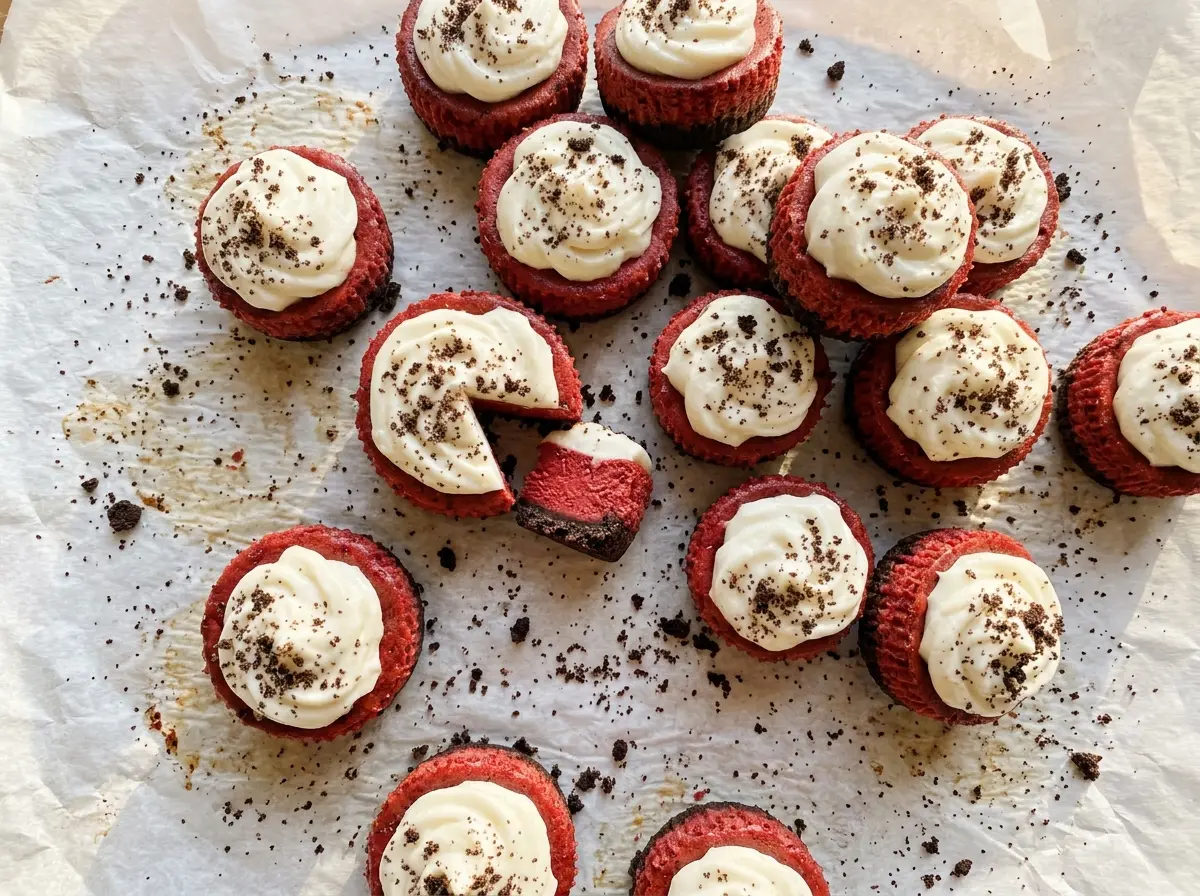
These Mini Red Velvet Cheesecakes get their chocolate note from cocoa in the filling and chocolate graham crackers underneath. The cream cheese mixture stays smooth when the softened cream cheese is beaten first and the eggs go in one at a time on low speed. That keeps the batter from picking up more air than it needs, and the little cheesecakes bake into creamy, neat portions with a red velvet color.
A short bake for the crust gives it a head start before the filling goes in. After chilling, each bite has a firm chocolate crumb base and a cool, tender center.
Kitchen Note
Let the pan cool on the counter for the full 30 minutes before chilling the cheesecakes. Moving a hot pan straight into the refrigerator can create condensation on the tops, so that short pause is worth keeping.
Save these Mini Red Velvet Cheesecakes for a make-ahead dessert with chocolate crumb crusts and creamy red centers.
Why the Centers Should Still Jiggle When These Cheesecakes Come Out
Mini cheesecakes bake quickly, so there’s a narrow point between a creamy center and one that’s gone too far. The edges should look set, while the centers still have a small, soft jiggle when you gently move the pan. They shouldn’t look liquid, but they also shouldn’t be firm all the way across.
That movement can be hard to trust if you’re used to testing cakes with a toothpick. A toothpick isn’t useful here; the filling is meant to stay creamy, and waiting for a completely firm center pushes the edges past their best texture. The center of a cheesecake should reach 160°F, so use an instant-read thermometer if you want a clear check alongside the visual cue.
The stated bake time is a range because ovens and pans don’t behave identically. Start checking at the earlier end, then give the pan a little longer if the edges haven’t set. Once the centers barely jiggle, take them out and let the residual warmth finish the gentle set.
How Cocoa and Chocolate Crumbs Shape the Red Velvet Balance

- Chocolate graham crackers — Their mild chocolate flavor gives the crust a clear cocoa note without overpowering the filling. Finely crushed crumbs pack more evenly than chunky pieces, so take a moment to get them close to a sand-like texture.
- Cream cheese — The filling depends on cream cheese for its dense, tangy cheesecake texture; the two packages listed make a rich base for the cocoa and sour cream. Let it soften before mixing, because cold cream cheese tends to leave lumps that are hard to beat out later.
- Unsweetened cocoa powder — Cocoa brings the chocolate note that makes the red coloring read as red velvet rather than plain tinted cheesecake. Use unsweetened cocoa here so the filling’s sweetness stays balanced.
- Sour cream — Sour cream loosens the cream cheese mixture and adds a gentle tang. It also helps keep the filling from tasting one-note sweet.
- Eggs and vanilla — Room-temperature eggs blend more evenly into the softened cheese, while vanilla rounds out the cocoa. Add the eggs separately and keep the mixer on low once they go in.
- Liquid red food coloring — Liquid coloring disperses easily through this filling when mixed just until combined. Add it with the sour cream and vanilla so the color spreads without needing a long round of mixing.
From a Firm Crumb Base to a Just-Set Center
Press and briefly bake the chocolate crust
Heat the oven to 325°F and line a 12-cup standard muffin pan with paper liners. Stir together the chocolate graham cracker crumbs, melted butter, and sugar until the crumbs look evenly moistened, then divide them among the liners. Press the mixture firmly into each bottom so it forms a compact layer instead of a loose pile. Bake the crusts for 5 minutes, then set the pan aside while you prepare the filling.
Mix a smooth, low-air filling
Beat the softened cream cheese with an electric mixer until it looks smooth, with no visible lumps. Beat in the sugar and cocoa powder, scraping down the bowl if needed so the cocoa is distributed through the mixture. Add the room-temperature eggs one at a time on low speed; mixing at high speed here can whip in extra air. Mix in the sour cream, vanilla, and liquid red food coloring just until combined, stopping when the color looks even.
Fill, bake, and let the centers settle
Divide the filling evenly among the liners, filling each about three-quarters full. Bake for 18–22 minutes, watching for set edges and centers that barely jiggle; the center of a cheesecake should reach 160°F. Cool the cheesecakes in the pan for 30 minutes before moving them to the refrigerator. Chill for at least 4 hours before serving so the centers have time to firm up.
Two Small Changes for Different Tables
Make the crust gluten-free
Use finely crushed gluten-free chocolate graham-style crackers in place of the regular chocolate graham crackers, keeping the same volume. The filling stays unchanged, and the crust may have a slightly different crumb depending on the brand.
Make the chocolate crust less sweet
Leave the granulated sugar out of the crust mixture if you prefer the chocolate crumbs to taste more pronounced. The butter still moistens the crumbs, though the pressed bases may be a little more delicate when you peel away the liners.
Keeping Them Chilled and Ready to Serve
- Refrigerator: Store covered for up to 4 days. The crust softens a little as it sits, while the chilled filling stays firm.
- Freezer: Freeze the cooled cheesecakes in a single layer until firm, then wrap them airtight and freeze for up to 2 months. Thaw overnight in the refrigerator.
- Serving: These are served chilled, so reheating isn’t needed. Don’t microwave them to soften the centers; warming can make the filling too soft and the texture uneven.
Questions That Come Up While Baking Mini Red Velvet Cheesecakes
Mini Red Velvet Cheesecakes
Ingredients
Equipment
Method
- Heat the oven to 325°F and line a 12-cup standard muffin pan with paper liners.
- Stir together the chocolate graham cracker crumbs, melted butter, and sugar, then divide among the liners and press firmly into the bottoms.
- Bake the crusts for 5 minutes, then set the pan aside while you make the filling.
- Beat the cream cheese with an electric mixer until smooth, then beat in the sugar and cocoa powder.
- Beat in the eggs one at a time on low speed, then mix in the sour cream, vanilla, and red food coloring just until combined.
- Divide the filling evenly among the liners, filling each about three-quarters full.
- Bake for 18–22 minutes, until the edges are set and the centers barely jiggle; the center of a cheesecake should reach 160°F.
- Cool in the pan for 30 minutes, then refrigerate for at least 4 hours before serving.


