
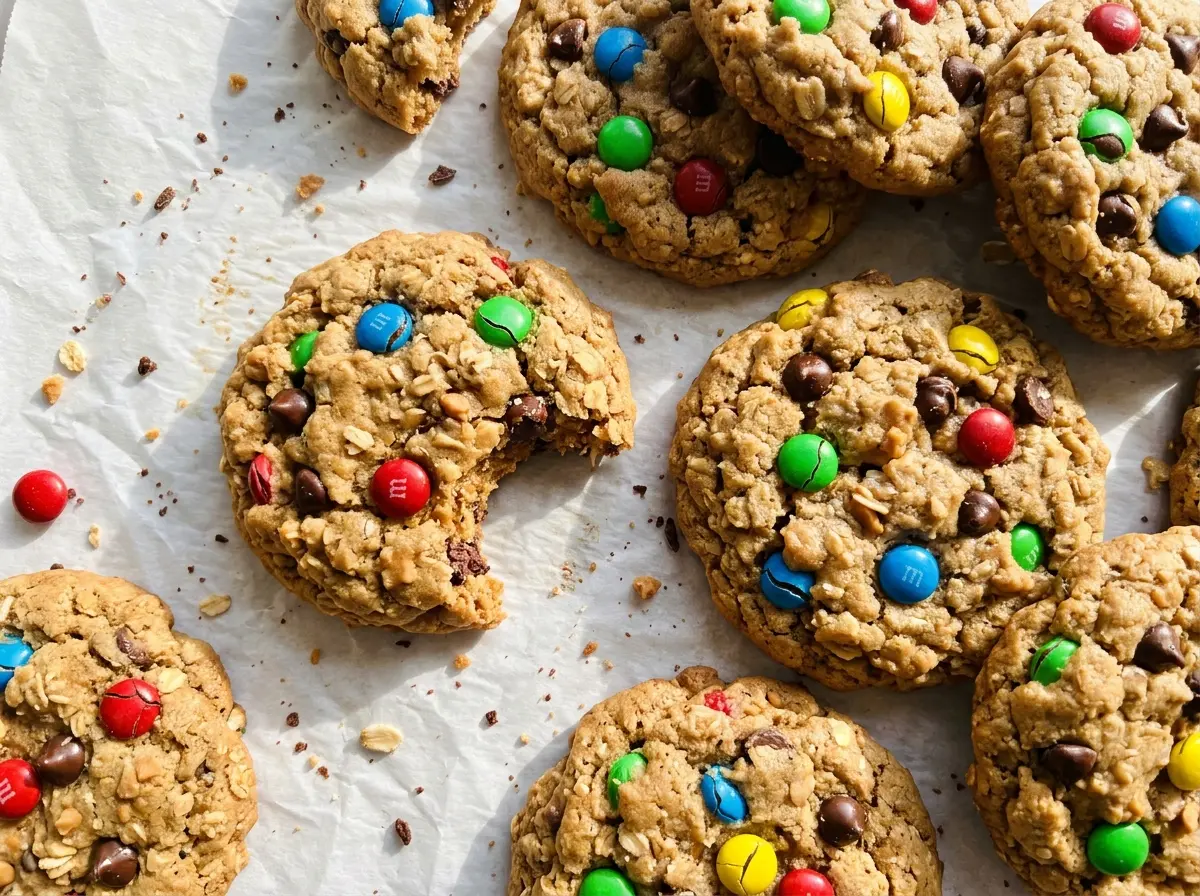
The dough for these cookies looks almost like a bowl of oats and chocolate before it comes together. That’s normal. Once the peanut butter, butter, and eggs coat everything, it holds together well enough to scoop, and the oats bake into a chewy center instead of disappearing into a floury crumb.
I make these monster cookies when I want a generous batch with both candy-coated chocolate and chocolate chips in every bite. The dough chills before it goes into the oven, which makes it easier to portion evenly. Give the cookies room on the baking sheet, too; the 2-inch spacing helps them bake without running into each other. You’ll get about 30 cookies with lightly browned edges, soft centers, and plenty of chocolate.
Kitchen Note
Chill the covered dough for the full 30 minutes before scooping. It firms up enough to portion neatly, so the cookies keep their shape instead of spreading too quickly.
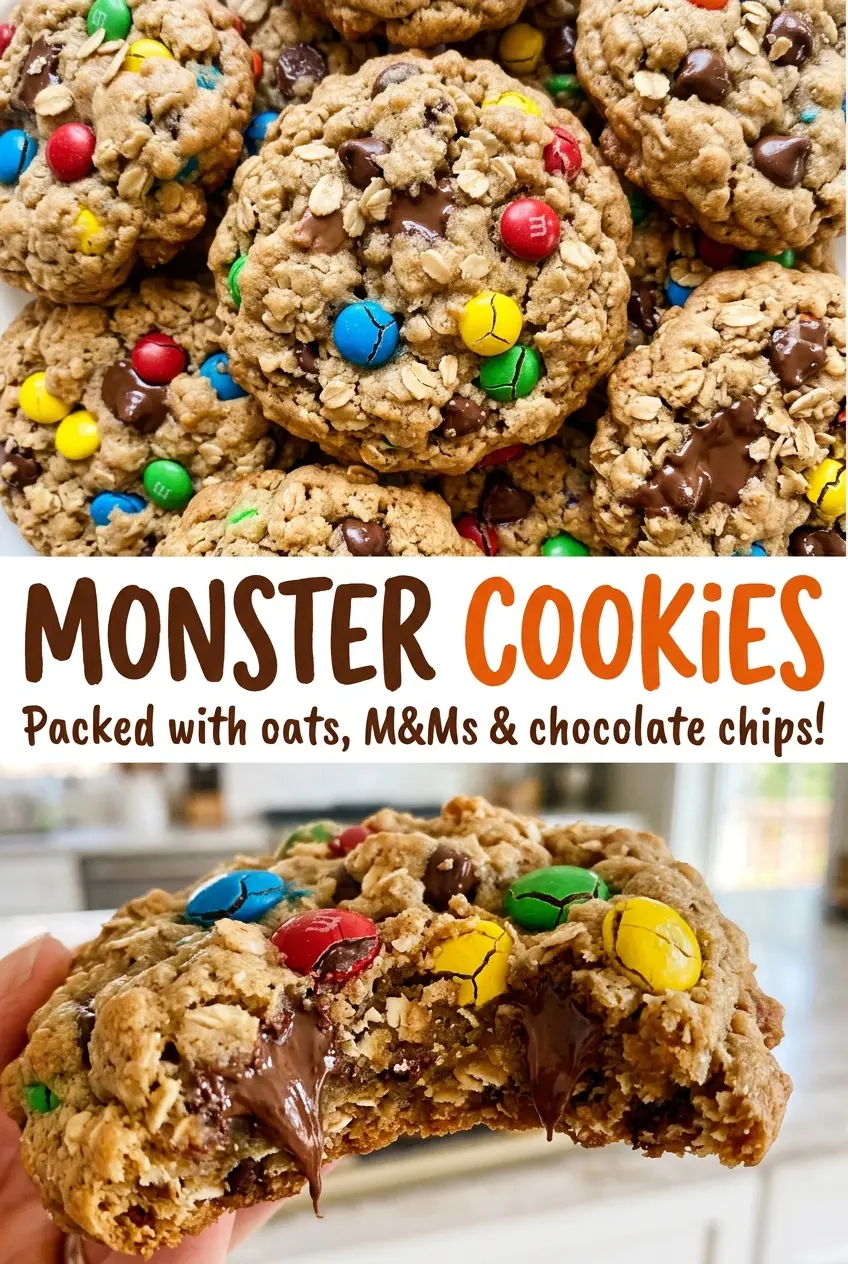
Save these homemade monster cookies for a chewy oat cookie packed with candy-coated chocolate and chocolate chips.
Why These Monster Cookies Hold Together Without Flour
There’s no flour in this dough, so the oats aren’t a background ingredient; they provide the chew and much of the structure. Old-fashioned rolled oats keep their shape during mixing and baking, giving each cookie a hearty bite. Quick oats absorb moisture differently and tend to make a tighter, less distinct texture, so the old-fashioned kind is worth using here.
The peanut butter and eggs help bind those oats into a scoopable dough. That’s also why the dough looks shaggy when the oats and mix-ins first go in: it needs a thorough stir so the creamy base coats everything evenly. Don’t keep beating it with the mixer at that point. Stirring by hand distributes the chocolate without crushing the oats or breaking up the candy shells.
With a dough built around oats rather than flour, even portions matter. A 2-tablespoon scoop gives the cookies a consistent size, so they bake at about the same rate and you can judge doneness by the same visual cues across the pan.
What the Peanut Butter, Oats, and Mix-Ins Bring to the Dough
- Creamy peanut butter — It gives the dough richness and helps hold the oats together. A familiar creamy peanut butter makes the mixture easy to combine; natural peanut butter with oil separation can leave the dough looser and less predictable. Crunchy peanut butter works in the same amount if you want extra nutty texture, though the cookies will have a rougher bite.
- Old-fashioned rolled oats — These are what make the cookies chewy rather than smooth. Quick oats can stand in at the same amount, but they create a denser, less distinct oat texture. Avoid steel-cut oats; they won’t soften enough in this bake.
- Light brown sugar — Its moisture helps keep the centers tender and gives the cookies a deeper sweetness than granulated sugar alone. Pack it into the measuring cup so the amount is consistent; dark brown sugar also works, with a more pronounced molasses note.
- Candy-coated pieces and semisweet chips — The candy shells add color and a little crispness, while the chips soften into pockets of chocolate. If you prefer a simpler chocolate cookie, replace the candy-coated pieces with the same amount of semisweet chips; the cookies will lose the colorful crunch but keep their chocolate-filled centers.
- Unsalted butter — Softened butter creams smoothly with the sugars and adds tenderness. If salted butter is what you have, use it and reduce the added salt to 1/4 teaspoon so the overall seasoning stays balanced.
- Eggs — They bind the oats and peanut butter into a dough that can be scooped and baked. There isn’t a dependable egg-free swap for this flourless base; changing the binder can leave the cookies crumbly or unable to hold together.
From Creamed Peanut Butter to Soft-Centered Cookies
Cream the Butter, Peanut Butter, and Sugars
Beat the softened butter, creamy peanut butter, packed brown sugar, and granulated sugar with an electric mixer until creamy, about 2 minutes. Scrape down the bowl if you see a thick layer of butter or sugar clinging to the sides. The mixture should look cohesive, with no large streaks of butter. Starting with softened butter helps it blend instead of leaving hard pieces in the dough.
Add the Eggs Before the Dry Ingredients
Beat in the eggs one at a time, then mix in the vanilla. Adding each egg separately gives it a chance to blend into the peanut butter mixture rather than pooling on top. The batter may look softer after the eggs go in; that’s expected. Mix in the baking soda and salt before adding the oats.
Stir in the Oats and Chocolate
Add the old-fashioned oats, candy-coated chocolate pieces, and semisweet chocolate chips, then stir until everything is evenly combined. The dough will be thick and visibly full of oats and chocolate, not smooth like a traditional flour cookie dough. Check the bottom of the bowl for dry oats that haven’t been coated. Stop stirring once the mix-ins are distributed.
Chill and Portion the Dough
Cover the bowl and chill the dough for 30 minutes. Line two large baking sheets with parchment paper while it chills, then scoop the dough into 2-tablespoon portions. Arrange the portions about 2 inches apart so there’s room for them to spread. Keep the dough covered until you’re ready to scoop the next sheet.
Bake Until the Edges Set
Heat the oven to 350°F and bake one sheet at a time for 10–12 minutes. Look for edges that are set and lightly browned while the centers still look soft; don’t wait for the middle to look firm in the oven. Let the cookies cool on the baking sheet for 5 minutes, then transfer them to a wire rack to cool completely. Moving them sooner can make the warm cookies break before they’ve set.
Easy Ways to Change the Chocolate and Oat Texture
Make the Cookies All Chocolate
Replace the cup of candy-coated pieces with a cup of additional semisweet chocolate chips. You’ll have 1 1/2 cups of chips in the dough, with no candy-shell crunch or bright color, but the chocolate will be more evenly distributed.
Use Crunchy Peanut Butter
Swap creamy peanut butter for the same amount of crunchy peanut butter. It keeps the peanut flavor and the dough’s basic structure, with little bits of peanut adding a more textured bite.
Make a Gluten-Free Batch
Choose certified gluten-free old-fashioned oats, candy-coated chocolate pieces, and chocolate chips. The cookies keep their chewy oat texture; the certified ingredients are what make this a suitable gluten-free adaptation.
Storage and Reheating
- Room temperature: Store completely cooled cookies in an airtight container for up to 4 days. The edges soften over time, while the centers stay chewy.
- Freezer: Freeze cooled cookies in an airtight freezer-safe container for up to 2 months, separating layers with parchment. Thaw at room temperature.
- Reheating: Warm a cookie in the microwave for about 8 seconds if you want the chocolate soft again. Don’t heat it for too long; the chocolate can get hot before the cookie feels warm.
Questions That Come Up While Baking Monster Cookies
Monster Cookies – Homemade Recipe
Ingredients
Equipment
Method
- Preheat the oven to 350°F.
- Line two large baking sheets with parchment paper.
- In a large bowl, beat the butter, peanut butter, brown sugar, and granulated sugar with an electric mixer until creamy, about 2 minutes.
- Beat in the eggs one at a time.
- Beat in the vanilla extract.
- Mix in the baking soda and salt.
- Stir in the oats, candy-coated chocolate pieces, and chocolate chips until evenly combined.
- Cover and chill the dough for 30 minutes.
- Scoop the dough into 2-tablespoon portions.
- Arrange the portions about 2 inches apart on the prepared baking sheets.
- Bake one sheet at a time for 10–12 minutes, until the edges are set and lightly browned and the centers still look soft.
- Let the cookies cool on the baking sheet for 5 minutes.
- Transfer the cookies to a wire rack to cool completely.


