
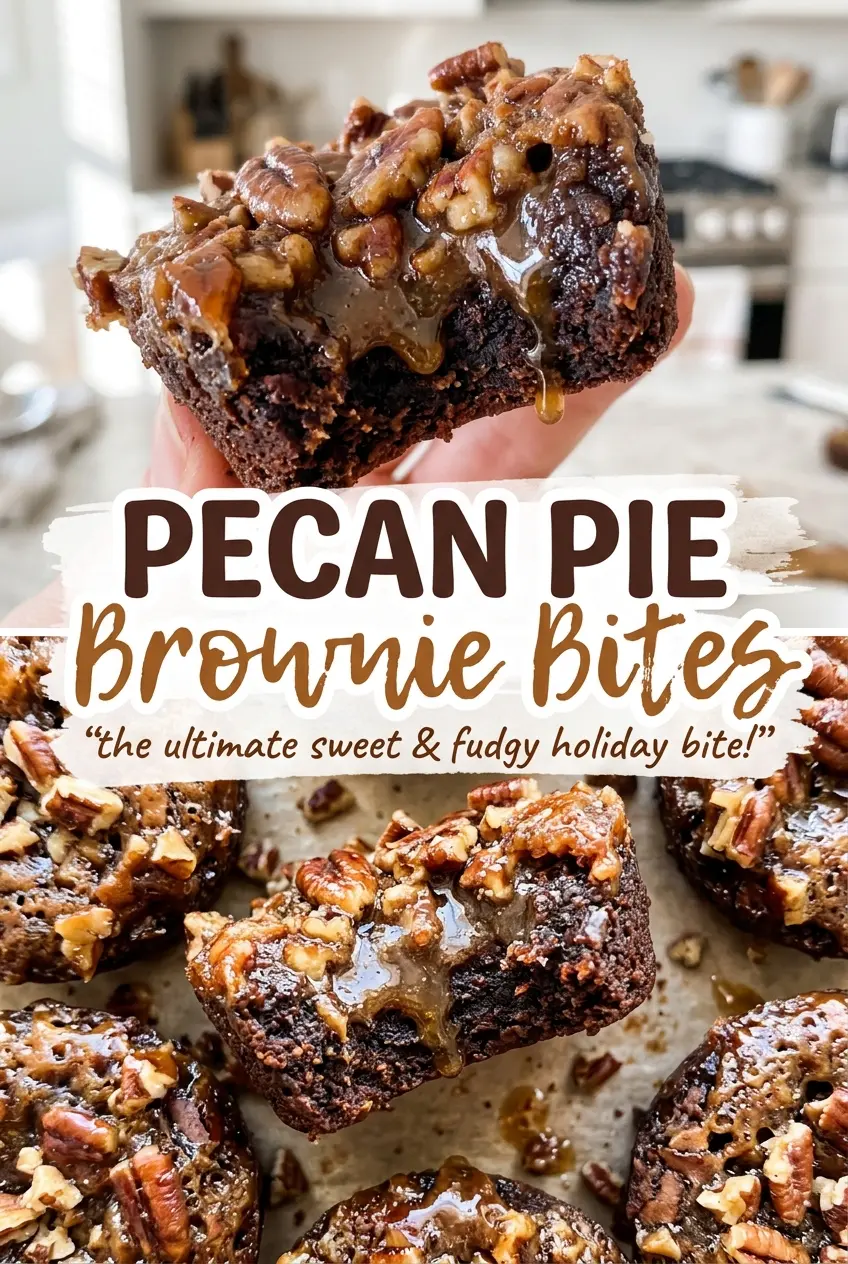
When the mini muffin pan comes out after its first 10 minutes, the brownie centers are still soft. That’s exactly when a teaspoon can press a neat well into each one without cracking the edges. I spoon the pecan mixture into those little hollows and let the bites finish baking together, so the brownie stays tender underneath a set, glossy topping.
These pecan pie brownie bites bring two familiar desserts into one small package, but the order matters: bake the brownie base first, then add the filling. The result is easier to portion than a full pecan pie and richer than a plain brownie bite. Finely chopped pecans make the topping easy to divide among the wells, and each bite cools into a tidy chocolate-and-pecan treat.
Kitchen Note
Check the filling in a center bite with an instant-read thermometer and look for 160°F. A set-looking top is helpful, but that temperature is the cue I rely on before cooling the pan.
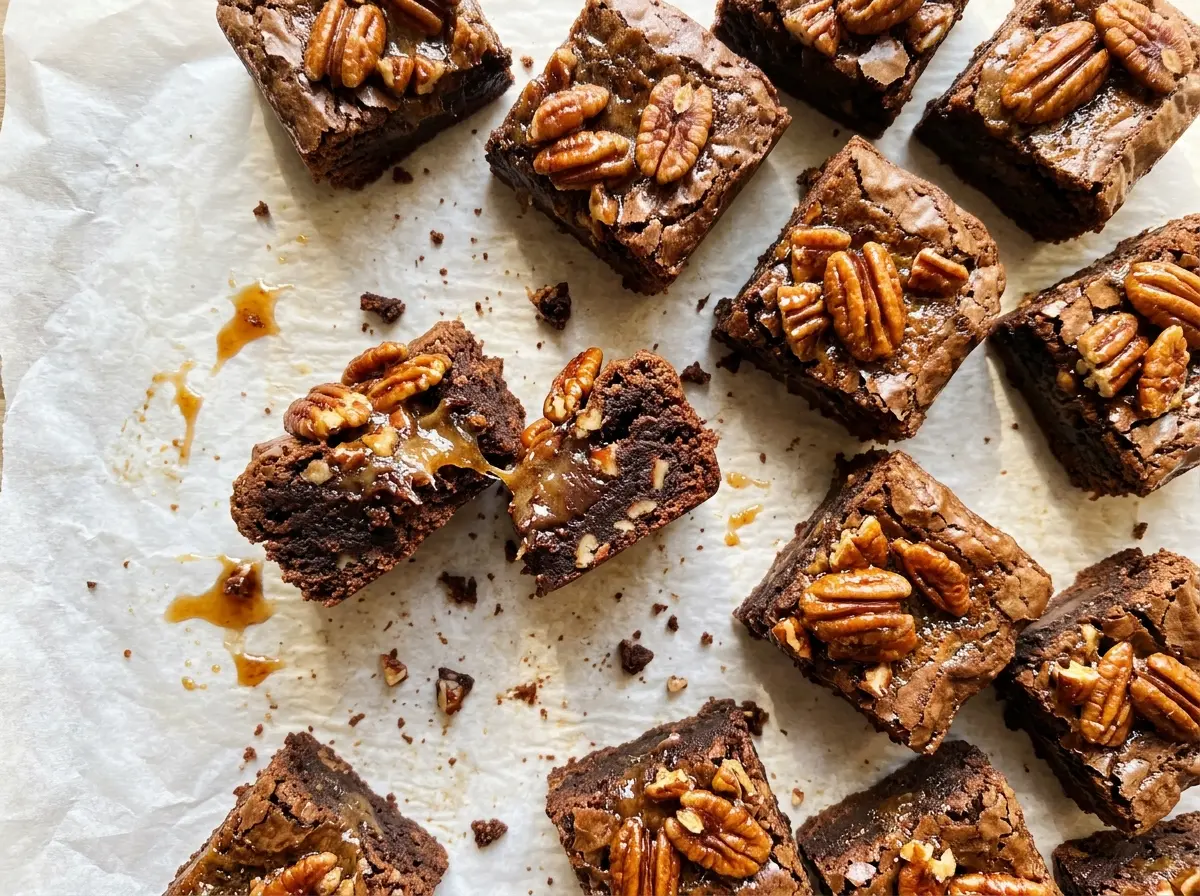
Save these pecan pie brownie bites for a bake sale or dessert tray: fudgy brownie bottoms with a little pecan pie filling in every bite.
Why the Pecan Filling Goes In After the Brownies Start Baking
Putting the topping on at the beginning seems like the shortest route, but the brownie batter is loose before it has had time in the oven. If you add the pecan mixture straight away, it has no shallow pocket to sit in and can spread across the surface instead of staying in a distinct layer. The short first bake gives the brownie tops enough structure to hold a well.
Press each well while the brownies are still warm, using the rounded end of a teaspoon. You don’t need to dig down to the bottom; make a hollow deep enough to cradle the filling while leaving brownie around it. Keep the edges intact, then divide the pecan mixture among the wells. That small bit of shaping is what makes these look and eat like individual pecan pie bites instead of brownies with topping sliding off the sides.
The second bake finishes the brownie and sets the topping in one go. It also means the filling doesn’t need to be cooked separately, and you can portion the finished dessert straight from the mini muffin pan.
What the Cocoa, Butter, and Corn Syrup Bring to Each Layer
- Unsweetened cocoa powder — It gives the brownie layer its chocolate flavor without adding extra sweetness. Use a cocoa you enjoy tasting on its own; Dutch-process cocoa also works in the same amount and gives a darker, rounder chocolate note.
- Unsalted butter — Butter gives the brownie its rich, soft texture and carries the topping’s buttery flavor. A standard stick is fine here; there’s no need for a specialty butter. For a dairy-free batch, use plant-based baking sticks in both places where butter is used.
- Eggs — The eggs give the brownie structure and help the pecan topping set. Use large eggs, as the recipe is balanced around that size; smaller eggs can leave both layers less cohesive.
- Light corn syrup — This helps the pecan mixture hold together in a smooth, chewy layer. It’s worth using the light version for the mild sweetness and color; swapping in another syrup can change how the filling sets.
- Finely chopped pecans — Small pieces spread through the topping and fit neatly into the wells. Fresh pecans have a sweeter, cleaner taste, but ordinary store-bought chopped pecans work well; check that the pieces are small enough to portion evenly.
- All-purpose flour — It gives the brownie base enough structure to support the filling without turning it cakey. For a gluten-free version, use a cup-for-cup gluten-free baking blend made to replace all-purpose flour.
- Light brown sugar and vanilla — Brown sugar gives the pecan layer its caramel-like note, while vanilla rounds out both the chocolate and nut flavors. Pack the brown sugar so the topping has a consistent sweetness.
Build the Brownie Base, Then Give the Pecan Filling Its Own Layer
Stir Together the Smooth Brownie Batter
Heat the oven to 350°F and coat the cups of a 24-cup mini muffin pan with nonstick cooking spray. Melt the butter in a medium microwave-safe bowl, then stir in the granulated sugar. Whisk in the eggs and vanilla before stirring in the cocoa powder, flour, and salt. Stop as soon as the dry ingredients disappear; mixing longer can make the brownie bites tougher.
Give the Brownies Their First Bake
Divide the batter evenly among the prepared cups, using about 1 1/2 tablespoons in each. Bake for 10 minutes. While the pan is in the oven, whisk the egg, brown sugar, corn syrup, melted butter, and vanilla in a small bowl, then stir in the chopped pecans. Having the topping ready before the pan comes out keeps the warm brownie centers easy to shape.
Press Wells and Add the Pecan Mixture
Take the pan from the oven and use the rounded end of a teaspoon to press a well into the center of every brownie. Work gently so you don’t break through the bottom or crush the edges. Divide the pecan mixture among the hollows, keeping it centered rather than spreading it over the brownie tops. If a little filling lands on the pan, wipe it away before the final bake so it doesn’t bake onto the edges.
Bake Until Set, Then Cool Before Unmolding
Return the pan to the oven and bake for 12–15 minutes, until the filling is set. Check a center bite with an instant-read thermometer to confirm it reaches 160°F. Cool the bites in the pan for 15 minutes, then carefully loosen each one with a small knife and transfer it to a wire rack. Wait until they’re completely cool before packing or serving; the brownie edges are more delicate while warm.
Three Easy Ways to Adapt These Pecan Pie Brownie Bites
Make Them Gluten-Free
Replace the all-purpose flour with a cup-for-cup gluten-free baking blend formulated for baking. The chocolate-and-pecan layers stay intact, though the brownie texture may be a little more delicate depending on the blend.
Use Walnuts Instead of Pecans
Finely chopped walnuts can stand in for the pecans in the topping without changing the method. They bring a slightly earthier, less buttery nut flavor, while keeping the same crunchy contrast against the brownie.
Make a Dairy-Free Batch
Use an unsalted plant-based baking stick in place of the butter in both the brownie and pecan topping. Choose a firm baking stick rather than a soft tub spread, which has a different water content and can make the layers bake up less predictably.
Storage and Reheating
- Refrigerator: Store completely cooled bites in an airtight container for 3–4 days. The brownie firms up when chilled, and the pecan topping stays neat.
- Freezer: Freeze the cooled bites in a single layer until firm, then transfer them to an airtight freezer container with parchment between layers. They keep well for about 2 months; thaw in the refrigerator.
- Reheating: These are best served chilled or brought to room temperature. Skip the microwave, which can soften the brownie unevenly and make the pecan topping sticky.
Questions That Come Up When Baking These Mini Bites
Pecan Pie Brownie Bites – Homemade Recipe
Ingredients
Equipment
Method
- Heat the oven to 350°F and coat the cups of a 24-cup mini muffin pan with nonstick cooking spray.
- Melt the butter in a medium microwave-safe bowl.
- Stir the granulated sugar into the melted butter.
- Whisk in the eggs and vanilla.
- Stir in the cocoa powder, flour, and salt just until combined.
- Divide the batter evenly among the muffin cups, using about 1 1/2 tablespoons per cup.
- Bake for 10 minutes.
- While the brownie bites bake, whisk the egg, brown sugar, corn syrup, melted butter, and vanilla in a small bowl.
- Stir in the pecans.
- Remove the pan from the oven.
- Press a well into the center of each brownie with the rounded end of a teaspoon.
- Divide the pecan mixture among the wells.
- Bake for 12–15 minutes, until the filling is set and reaches 160°F when checked with an instant-read thermometer in a center bite.
- Cool the bites in the pan for 15 minutes.
- Loosen them carefully with a small knife.
- Transfer the bites to a wire rack to cool completely.


