
The center should still move a little when the pan comes out of the oven, even though the edges look set. That small jiggle is the cue I watch for with these peppermint cheesecake bars; waiting until the whole surface looks firm can leave the edges dry. A short bake gives the graham cracker crust a chance to set before the creamy filling goes on top, so the layers stay distinct when you cut the bars.
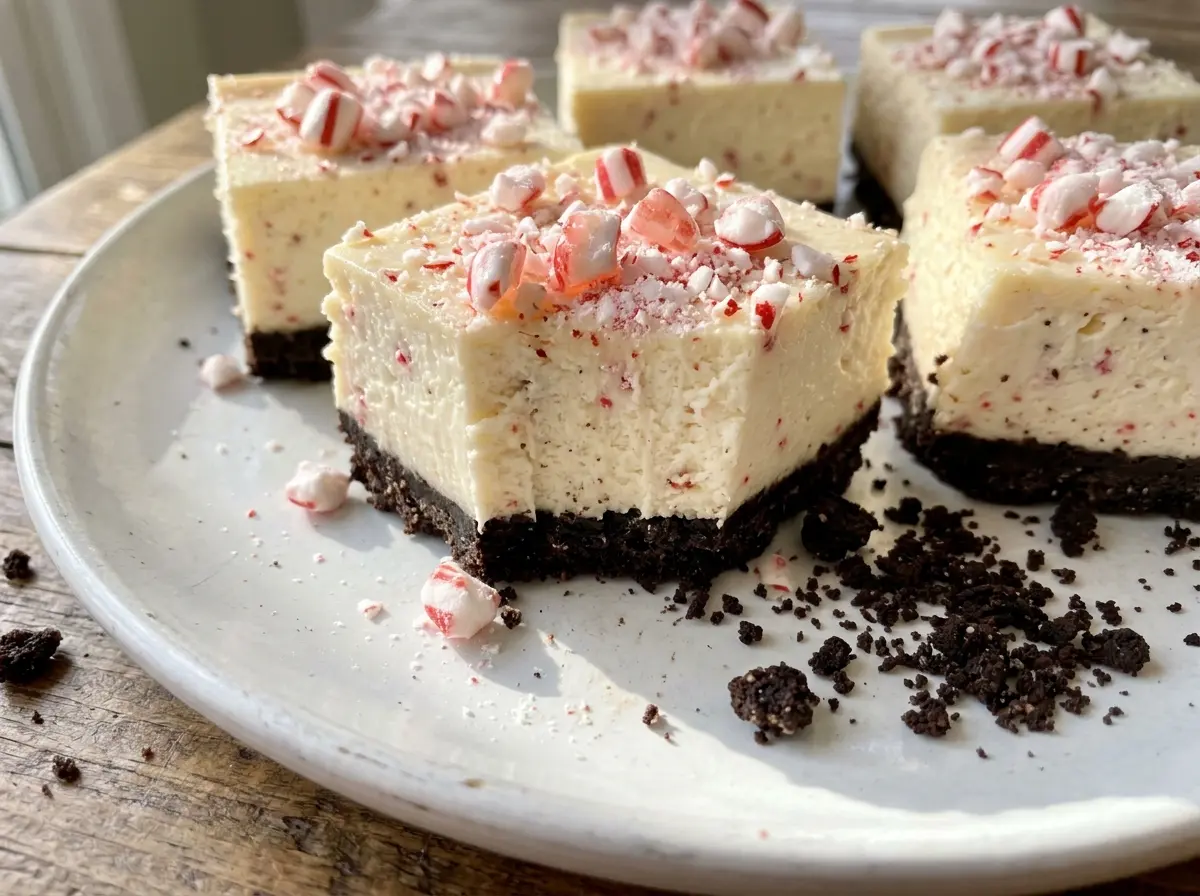
I keep the peppermint flavor in the filling and finish the chilled bars with crushed peppermint candies. You get that cool mint taste throughout, then a little crunch on top instead of a mouthful of candy in every bite. The bars are cut into 24 pieces, which makes them easy to portion for a cookie tray or dessert table. Each square has a buttery base, a smooth cheesecake center, and a bright peppermint finish.
Kitchen Note
Wait until the bars are thoroughly chilled before adding the crushed peppermint. Warm filling softens the candy, and you lose that crisp little crunch on top.
Save these peppermint cheesecake bars for a holiday tray or any time you want cool mint, creamy filling, and a crisp candy finish.
Why I Stop Mixing Before the Filling Gets Airy
Cheesecake filling needs to be smooth, but beating it until it looks fluffy works against the texture you want. Extra air expands in the oven, then the filling can sink as it cools and leave cracks across the surface. I use medium-low speed for the cream cheese and sugar, scraping the bowl so no dense pockets are left behind. Once the eggs go in, I lower the speed and mix only until each one disappears.
Room-temperature ingredients help that gentle mixing do its job. Cold cream cheese tends to hold stubborn lumps, and beating harder to smooth them out adds air. The eggs and sour cream blend in more evenly when they aren’t cold, so the filling stays cohesive without a long mixing session. Don’t chase a whipped texture; a smooth, thick filling is what you want to pour over the crust.
What Gives These Bars Their Minty Cheesecake Balance
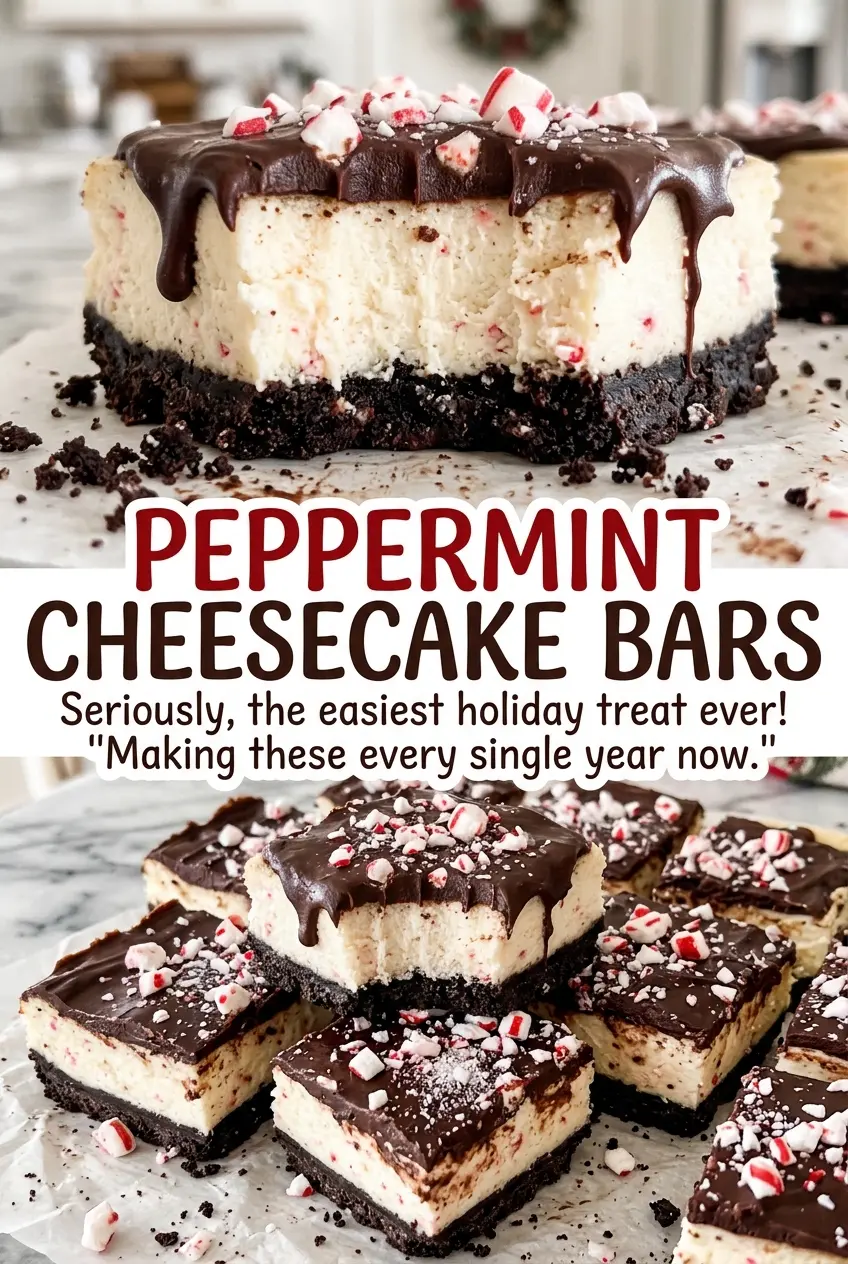
- Graham cracker crumbs — Fine, even crumbs pack into a firm base without leaving loose pockets. Store-bought crumbs are convenient, while crumbs made from whole graham crackers work too if you grind them finely. For a gluten-free crust, use gluten-free graham cracker crumbs in their place.
- Butter and sugar — Melted butter binds the crumbs, and granulated sugar helps the base hold together. Unsalted butter keeps the crust from tasting overly salty; there’s no need for a specialty brand. Stir until the crumbs look evenly damp before pressing them into the pan.
- Cream cheese — The blocks provide the dense, rich structure that makes these bars slice like cheesecake. Use brick-style cream cheese rather than whipped cream cheese from a tub, which has more air and won’t give the same compact filling. Let it soften before mixing so you don’t have to beat out lumps.
- Eggs and sour cream — Eggs set the filling as it bakes, while sour cream loosens the texture and brings a gentle tang. Ordinary large eggs work well; bringing them and the sour cream to room temperature helps them blend in without overworking the mixture. Plain full-fat Greek yogurt can replace the sour cream in the same amount, though the filling will taste a little tangier.
- Peppermint and vanilla extracts — Peppermint extract gives the filling its mint character, and vanilla rounds it out so the mint doesn’t taste sharp or one-note. Stick with peppermint extract rather than peppermint oil, which is much more concentrated. The extracts don’t need a premium label to do their job.
- Crushed peppermint candies — These add crunch and a brighter hit of peppermint at the surface. Any plain peppermint hard candy that crushes cleanly will work; avoid candies with a soft center, which won’t give you the same crisp topping.
From a Firm Graham Base to a Clean-Cutting Filling
Press and prebake the crust
Heat the oven to 325°F and line a 9×13-inch pan with parchment, leaving an overhang on two sides. Lightly grease the parchment and the exposed sides of the pan so the chilled bars release without tearing. Stir the crumbs, sugar, and melted butter until evenly moistened, then press them into a level layer; loose crumbs at the corners can make the base crumble when sliced. Bake for 10 minutes, then set the pan on a rack while you mix the filling.
Mix a smooth, low-air filling
Beat the softened cream cheese and sugar on medium-low until smooth, scraping down the bowl as needed. Add the eggs one at a time on low speed, stopping as soon as each is combined. Mix in the sour cream, peppermint extract, and vanilla until the filling looks even, not fluffy. If you still see cream cheese streaks, scrape the bottom and sides before mixing briefly again.
Bake until the center barely moves
Pour the filling over the crust and smooth it into the corners. Bake for 40 to 50 minutes, until the edges look set, the center barely jiggles when the pan is nudged, and a thermometer inserted in the center reads 160°F. Don’t wait for the middle to look completely firm; it continues to set as the pan cools. If the edges are already firm but the center still has a small wobble, that’s the texture cue to trust.
Cool, chill, then finish
Cool the pan on a rack for 1 hour, then cover it and refrigerate for at least 4 hours, until thoroughly chilled. Use the parchment overhang to lift the slab from the pan without bending the crust. Sprinkle the crushed peppermint candies over the top, then cut the slab into 24 bars. If the parchment sticks at the sides, ease it away slowly rather than pulling hard and breaking an edge.
Two Changes That Keep These Bars Flexible
Make a vanilla cheesecake version
Leave out the peppermint extract and the crushed peppermint topping, keeping the vanilla in the filling. The result is a straightforward vanilla cheesecake bar with the same graham base and creamy texture, but without the mint or candy crunch.
Use a gluten-free graham crust
Swap in gluten-free graham cracker crumbs for the regular crumbs, keeping the crust proportions and method the same. The filling and peppermint topping stay unchanged, and the crust may have a slightly different crumb depending on the brand.
Storage and Reheating
- Refrigerator: Keep the bars covered and chilled for 3 to 4 days. The candy topping may soften as it sits.
- Freezer: Freeze the chilled bars without the candy topping, wrapped individually or in an airtight container, for up to 2 months. Thaw them in the refrigerator and add the crushed peppermint after thawing.
- Reheating: These bars are best served cold, so skip the microwave; heat softens the cheesecake and melts the candy topping.
Questions That Come Up Before You Slice the Bars
Peppermint Cheesecake Bars
Ingredients
Equipment
Method
- Heat the oven to 325°F.
- Line a 9x13-inch baking pan with parchment paper, leaving an overhang on two sides; lightly grease the parchment and exposed sides of the pan.
- Stir the graham cracker crumbs, sugar, and melted butter together until evenly moistened.
- Press the crumb mixture firmly into an even layer in the pan.
- Bake for 10 minutes, then set the pan on a rack to cool while you make the filling.
- Beat the cream cheese and sugar in a large bowl with an electric mixer on medium-low speed until smooth, scraping down the bowl as needed.
- Beat in the eggs one at a time on low speed, mixing just until combined.
- Mix in the sour cream, peppermint extract, and vanilla extract until smooth.
- Pour the filling over the crust.
- Bake for 40 to 50 minutes, until the edges are set, the center barely jiggles, and a thermometer inserted in the center reads 160°F.
- Cool the bars in the pan on a rack for 1 hour.
- Cover and refrigerate for at least 4 hours until thoroughly chilled.
- Lift the chilled bars from the pan using the parchment overhang.
- Sprinkle with the crushed peppermint candies.
- Cut into 24 bars.


