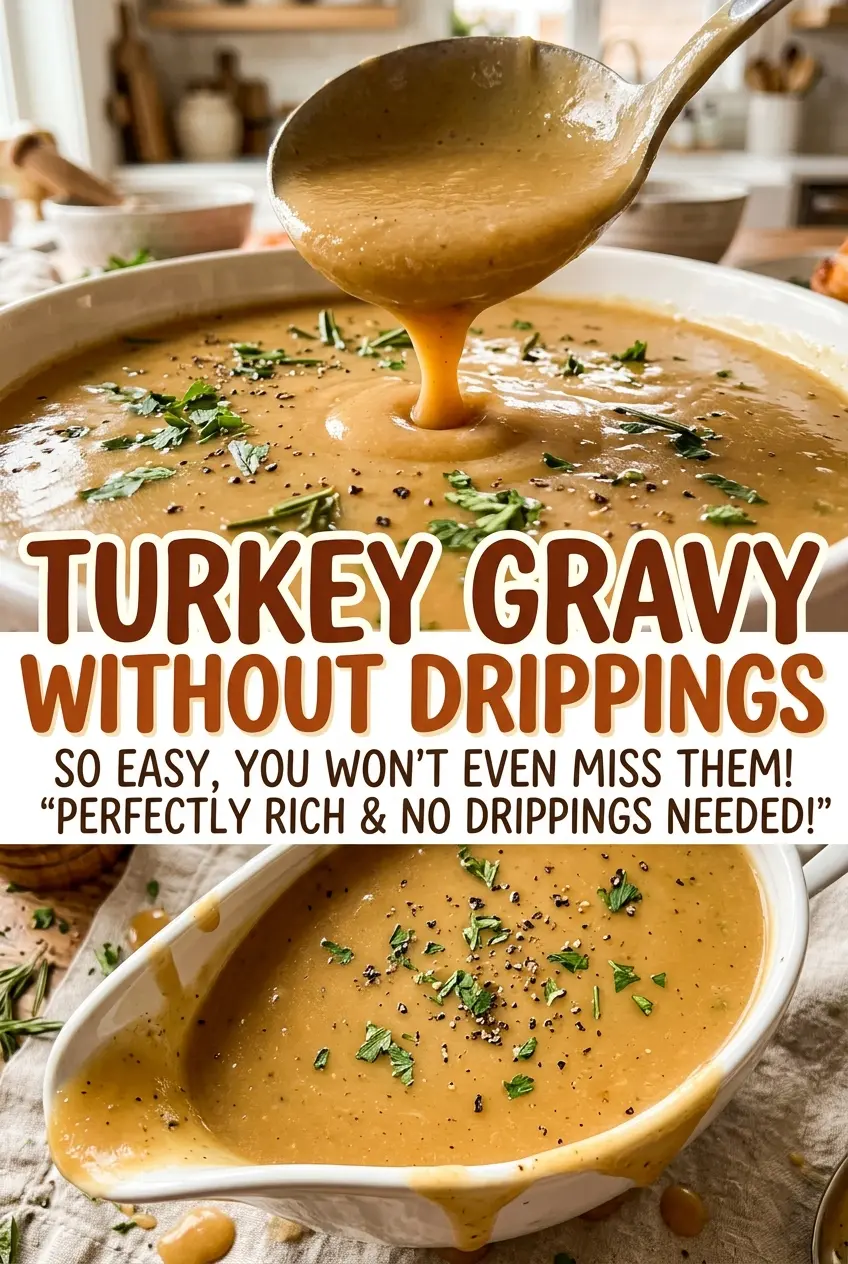
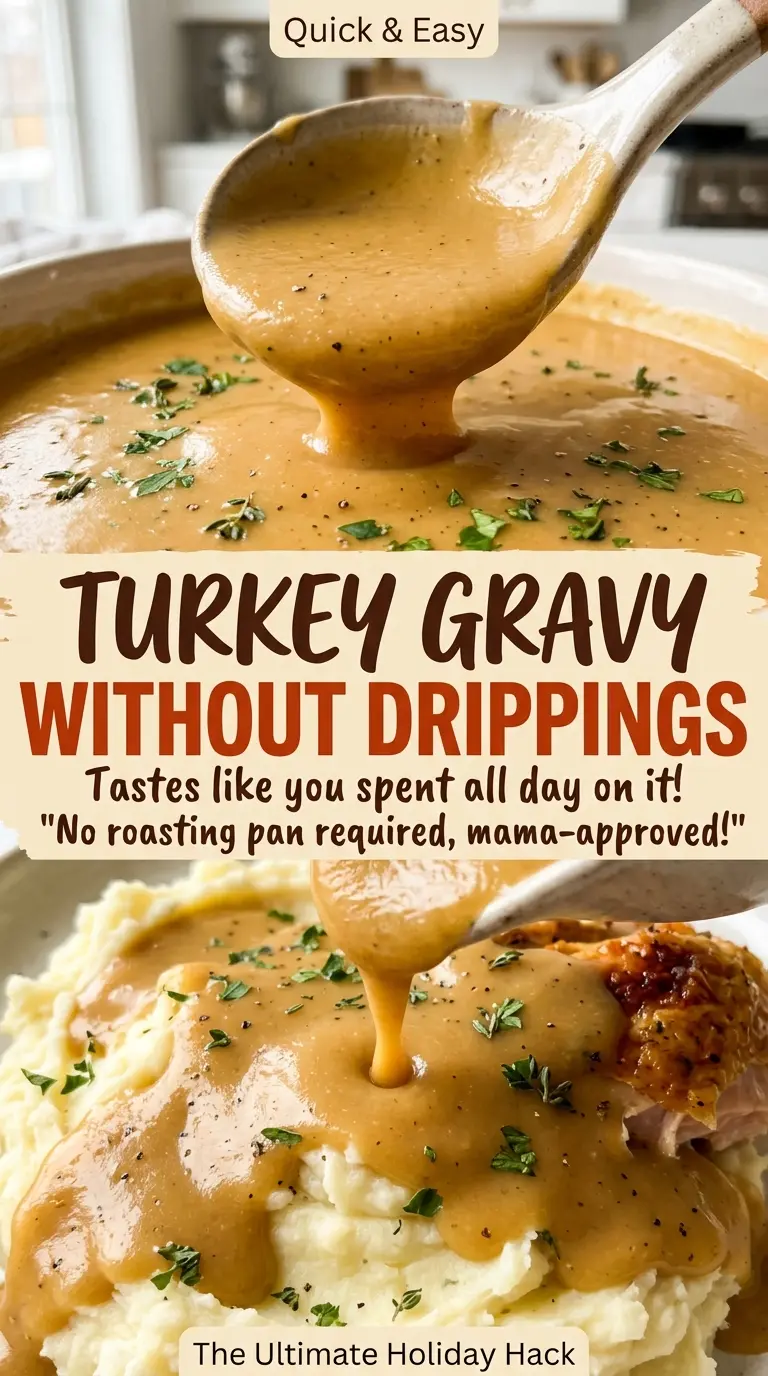
When the broth first meets the butter-and-flour mixture, the gravy can look thinner than you expect. Keep whisking as the liquid goes in, and the roux gradually turns it into a smooth sauce instead of a pan of little floury lumps. That’s the simple foundation behind this turkey gravy without drippings: you don’t need a roasting pan or a last-minute scramble to make gravy with a spoon-coating finish.
I like this method because its starting point is easy to control. Butter and flour make the thickening base, while low-sodium turkey broth brings the savory flavor without making the seasoning guesswork. A short simmer gives the gravy time to thicken, and you can see exactly when it’s ready by how it clings to the back of a spoon.
Kitchen Note
Set a timer for the roux rather than guessing. Two minutes of steady whisking keeps the butter and flour smooth and bubbling, and stepping away is when the flour is most likely to catch on the bottom.
Save this smooth turkey gravy without drippings for a roast dinner when the pan juices aren’t available.
Why This Gravy Doesn’t Need Turkey Drippings to Thicken
Drippings are flavorful, but they aren’t what gives gravy its body. That job belongs to the butter-and-flour roux, which thickens the broth as it simmers. Starting with measured butter and flour means the sauce has a consistent base before the broth goes in, rather than relying on whatever amount of fat and liquid happens to be left in a roasting pan.
That makes this a useful gravy to prepare when the turkey is still roasting, or when you’re cooking turkey pieces without a whole bird. The broth supplies the turkey flavor, and the roux gives you control over the final texture. Low-sodium broth is a smart choice here because you can season the finished gravy to taste instead of having to work around a salty base. There’s no need to chase a dark, roasted-pan look; aim for a smooth, savory gravy that coats a spoon.
What the Butter, Flour, and Broth Each Bring
- Unsalted butter — Butter gives the gravy its rounded, savory base and carries the flour into a smooth roux. Unsalted is helpful because it leaves you in charge of the final seasoning; an ordinary grocery-store butter works well, so there’s no need for a specialty brand.
- All-purpose flour — This is the thickener that makes the gravy cling to a spoon. Stick with all-purpose flour for the expected texture; self-rising flour isn’t a direct swap because it includes leavening and salt.
- Low-sodium turkey broth — Broth provides the main savory flavor, and low-sodium broth gives you more room to season at the end. A good carton from the grocery store is fine. If making a variation, low-sodium chicken broth can stand in, though the finished gravy will taste less specifically of turkey.
- Kosher salt and black pepper — These bring the broth and roux into balance. Add them after the gravy has thickened, so you’re seasoning the finished sauce rather than trying to predict how it will taste before it comes together.
Build the Roux First, Then Let the Broth Thicken
Start with a Smooth, Bubbling Roux
Melt the butter in a 3-quart saucepan over medium heat. Whisk in the flour and keep the whisk moving as the mixture cooks for 2 minutes. It should look smooth and bubble gently, with no dry patches of flour. If you see flour clinging to the bottom, keep whisking rather than leaving the pan unattended.
Whisk in the Broth Gradually
Pour in the low-sodium turkey broth a little at a time while whisking. The mixture will loosen as you add liquid; keep whisking until each addition is smooth before adding more. Once all the broth is incorporated, bring the gravy to a simmer over medium-high heat. A gradual pour gives the roux a chance to blend into the broth instead of forming lumps.
Simmer Until It Coats a Spoon
Reduce the heat to medium-low and simmer for 5 to 8 minutes, whisking often. The gravy is ready when it thickens enough to coat the back of a spoon rather than running straight off. Stir in the kosher salt and black pepper once it reaches that consistency. If it still looks loose, give it the full simmering time and check the spoon again before deciding it needs anything else.
Three Practical Ways to Adapt This Turkey Gravy
Make It Dairy-Free with Plant Butter
Replace the unsalted butter with the same amount of stick-style vegan butter. It will still form a roux with the flour, though the gravy may have a slightly different buttery flavor. Choose a firm stick product rather than a soft tub spread for a more dependable texture.
Use a Cup-for-Cup Gluten-Free Flour Blend
Swap the all-purpose flour for the same amount of a gluten-free blend designed to replace wheat flour cup for cup. The gravy may finish a little less silky, and blends can thicken at different rates, so use the spoon-coating cue to judge when it’s ready. Almond flour and coconut flour aren’t suitable one-for-one replacements for this roux.
Switch to Low-Sodium Chicken Broth
Use low-sodium chicken broth in place of the turkey broth when that’s what you have. The thickening method stays the same, but the result tastes more like a general poultry gravy and less distinctly like turkey. Keep the low-sodium choice so you can control the seasoning yourself.
Storage and Reheating
- Refrigerator: Refrigerate within 2 hours and keep in a covered container for 3 to 4 days. The gravy will firm up as it chills.
- Freezer: Freeze in an airtight, freezer-safe container for up to 3 months for best quality. Thaw it overnight in the refrigerator.
- Reheating: Warm it gently in a saucepan, whisking often, until it reaches 165°F. Avoid a hard boil, which can make the texture uneven.
Questions That Come Up When Making Turkey Gravy Without Drippings
Turkey Gravy Without Drippings
Ingredients
Equipment
Method
- Melt the butter in a 3-quart saucepan over medium heat.
- Whisk in the flour and cook for 2 minutes, whisking constantly, until smooth and bubbling.
- Gradually whisk in the turkey broth until smooth.
- Bring the gravy to a simmer over medium-high heat.
- Reduce the heat to medium-low and simmer for 5 to 8 minutes, whisking often, until thickened enough to coat the back of a spoon.
- Stir in the salt and pepper.